
http://www.mirafiori.com/faq/content/wi ... break.html
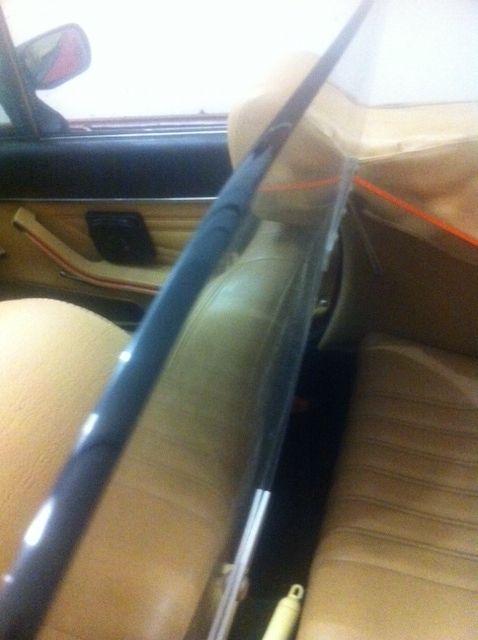
I ilike the look. Clarity through the rear-view is favorable so i copied it and created it with different mounting hardware instead of straps. I know windscreens can be had for quite cheap these days but i wanted to create it using local sources. (Sergio you asked for info) here's what i did:
I used Lexan MR10 grade which is scratch resistant. It's what motorcycles use as windscreens. Plexiglass is half the price but is not shatterproof, so avoid plexiglass, you don't want your work wasted by cracking at the mounting points.
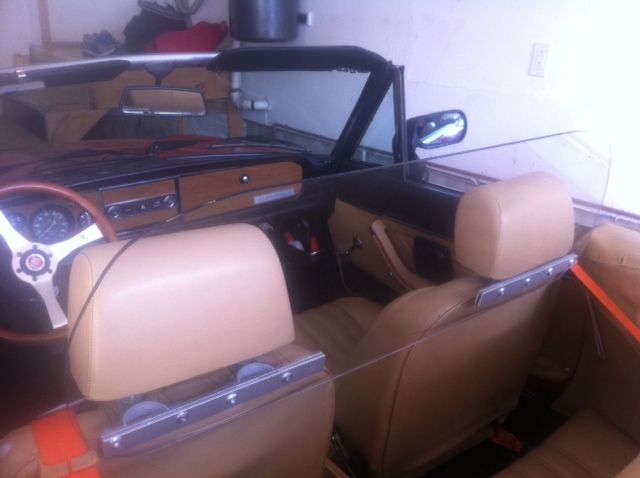
You do not want to go too high with this, 12 inches is enough to keep conversation with your passenger at high speed and enough to keep that cool evening draft from slapping the back of your neck. Too wide and you'll need to make additional mods for seatbelt clearance. Besides, the bigger & bulkier the windscreen, the more your seatback will get tugged by the wind. (If i were to do this again i'd go 13 inches high, the top edge would line up better with the top of my rearview, but it all depends on your height and how you sit.)

Brackets slip into the mounting points of the headrests. Measure carefully.
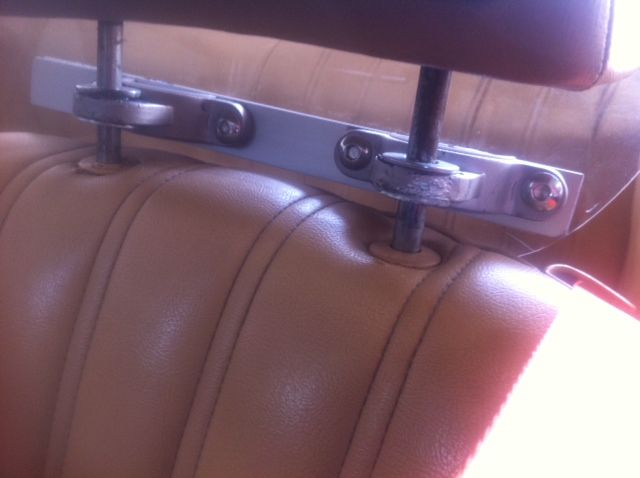
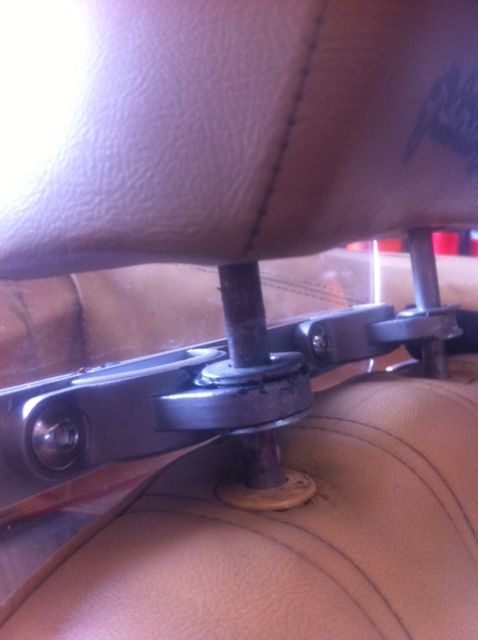
Washers (3/8) can be glued on or tacked on by welding if you're equipped and careful. The hole in my bracket was oval, you need the least play possible to avoid movement and squeaking at speed.
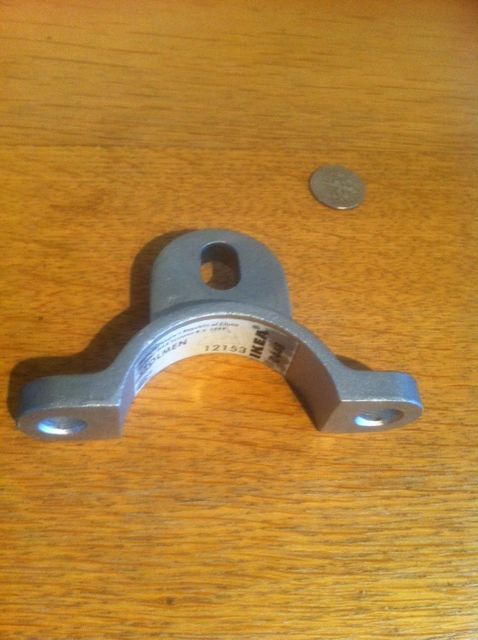
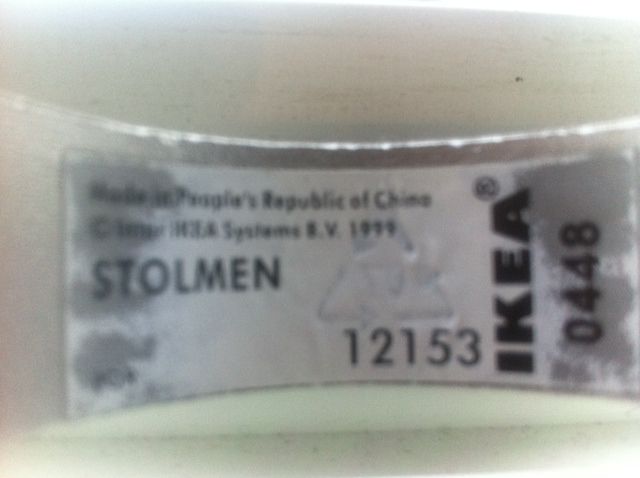
The brackets came from Ikea Wardobe Solution you'd need to have these numbers cross-referenced by Ikea.
I got the Lexan cut by a glass cutter after tracing the shape, however his finish was amateurish. I went over the contour repeatedly by dremel, then by hand starting at 80 grit and gradually higher. At 400 grit i switched over to watersand, then proceded to 1000, 1500, 2000, 3000, then a polishing compound to get a shiny edge. Exactly what we do to restore faded plastic headlight lenses because they are made of... you guessed it, Lexan, or polycarbonate. Peel off the protective paper at the very end after the unit is installed on your headrests. Do not use ammonia-based cleaners (windex), use google to find the appropriate cleaners for this material.
It's one more addition in preparation for that bad-ass drive to FFO (in addition to feeling creative).
Ron Conlon, i don't know if you are still around or if you still drive a Fiat, but this is one more example that your idea still lives on in one form or another. Thank you.

