Hello all,
Well here's the lowdown on the actual conversion, it's finally (almost) done.
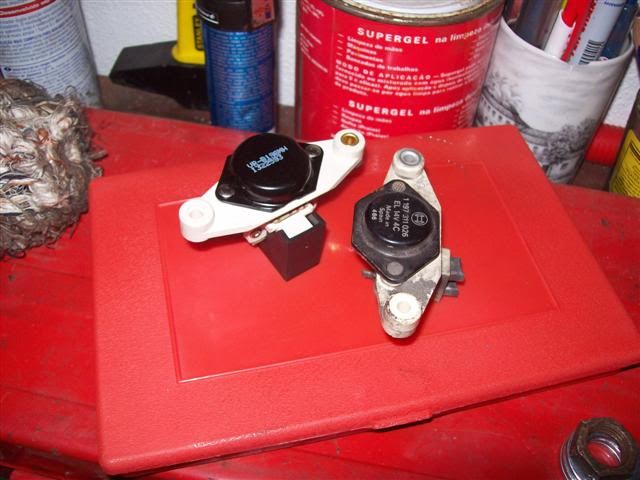
Last week the new regulator/brush set arrived. You can see it here, but it's still wearing its protective cap over the brushes:
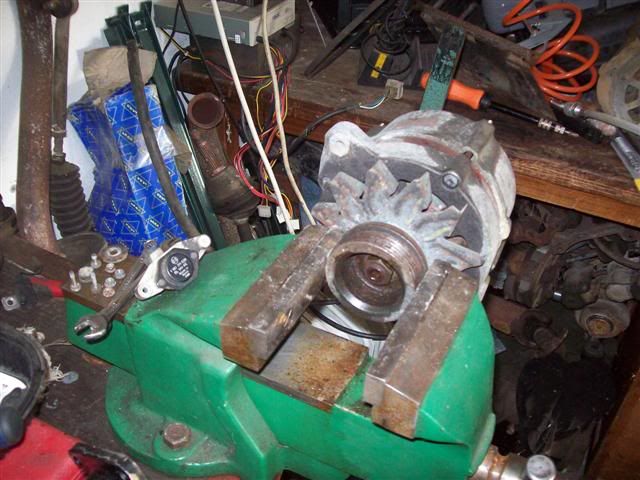
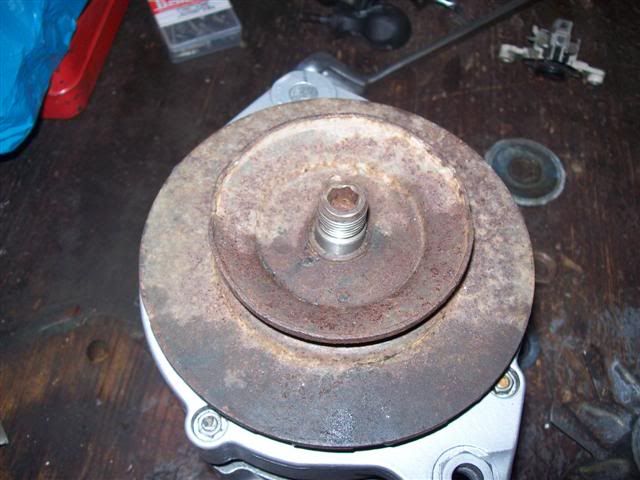
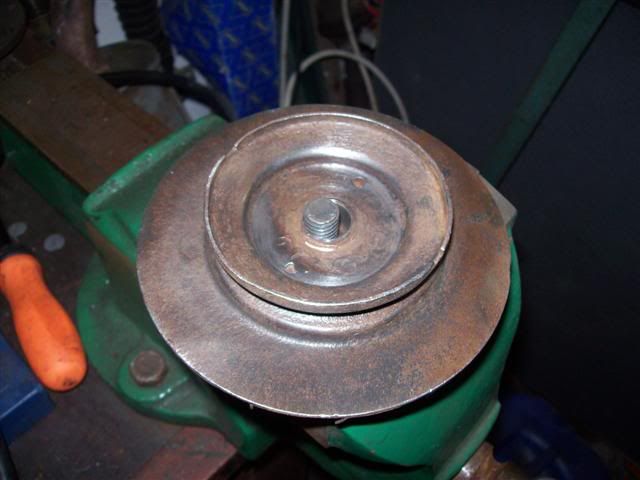
I cleaned up the pulley using a wire brush that attaches to the power drill, and it shifted the rust and remnants of the original paint quite well:
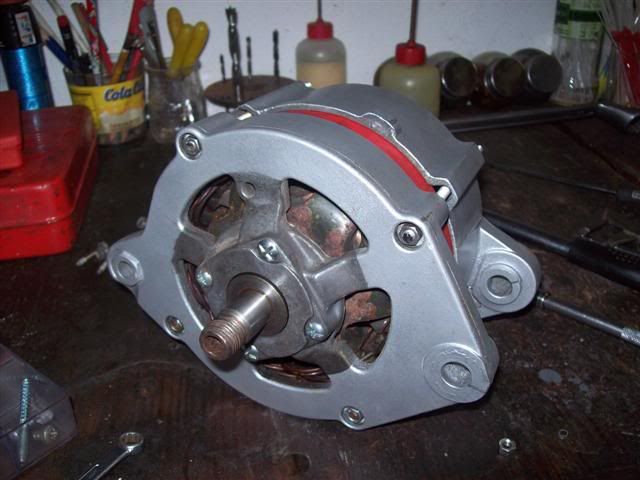
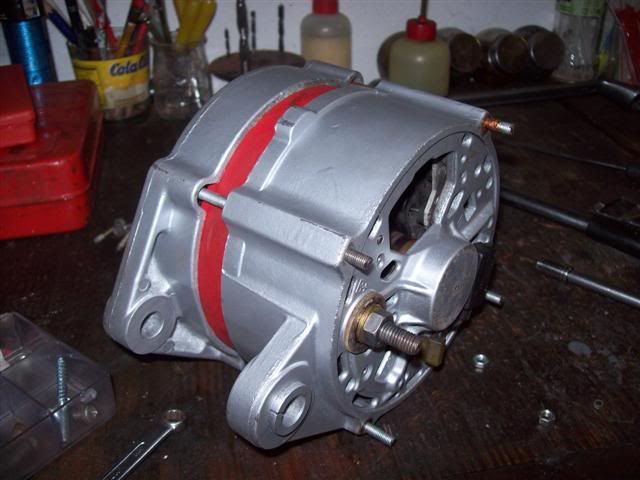
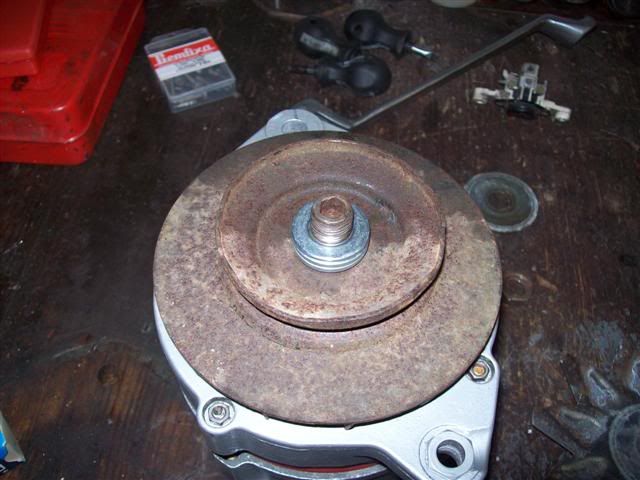
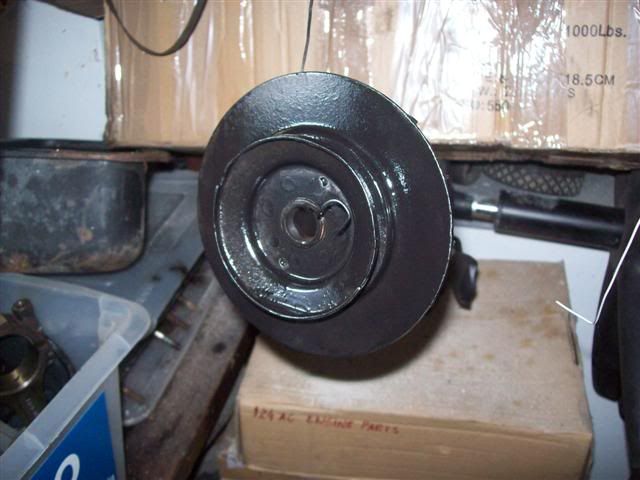
A quick spruce up with paint followed:
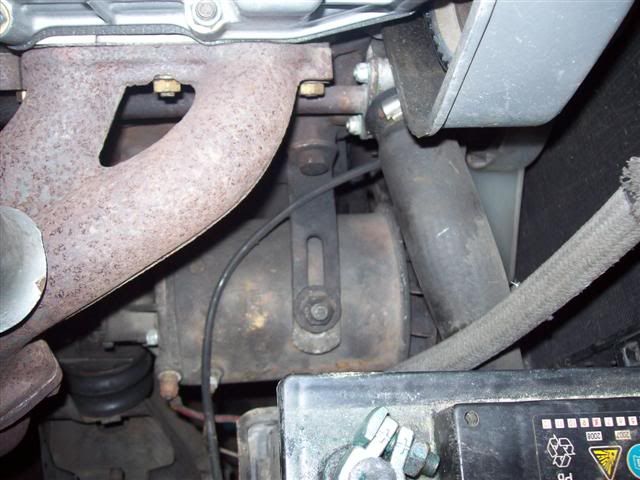
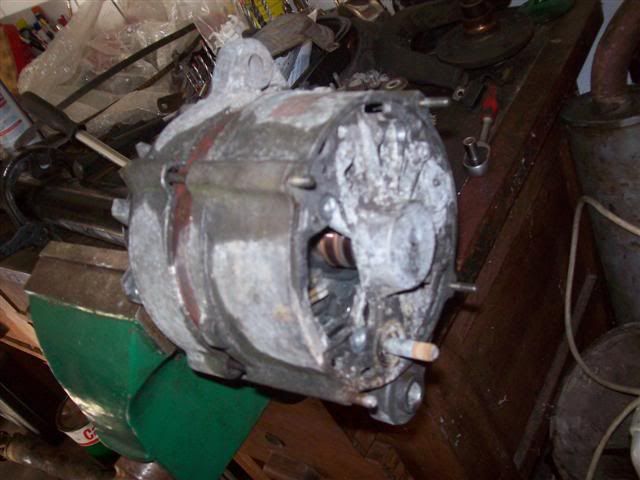
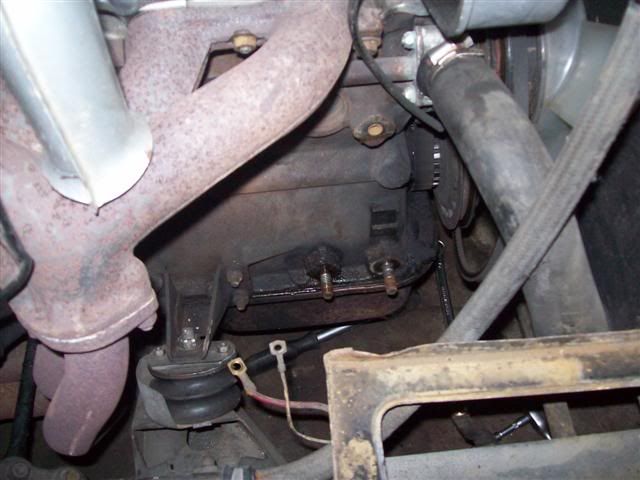
While the paint dried, I started the eviction of the dynamo (generator to you US folks, I've just remembered):
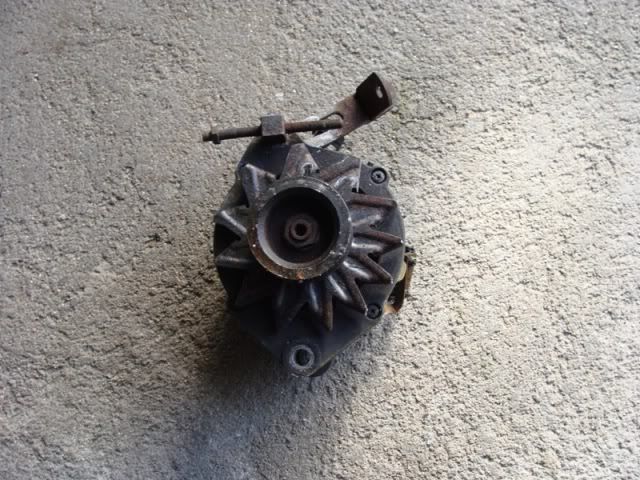
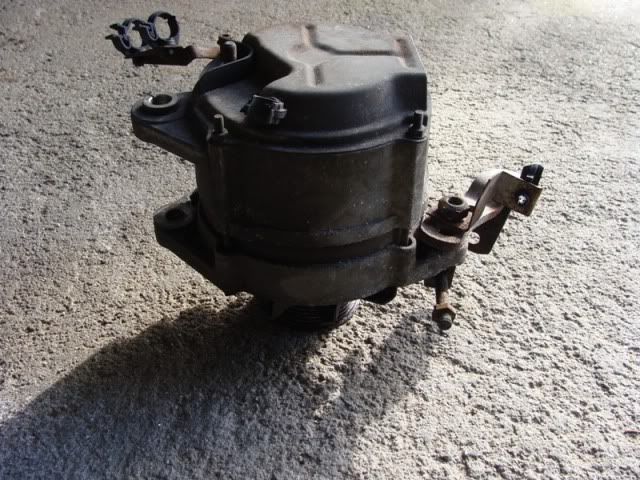
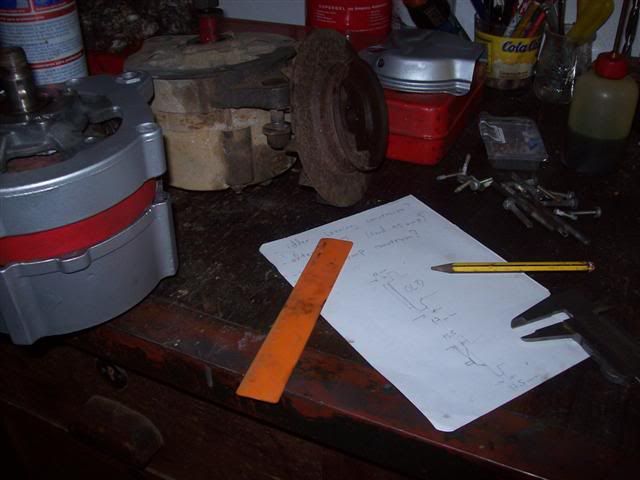
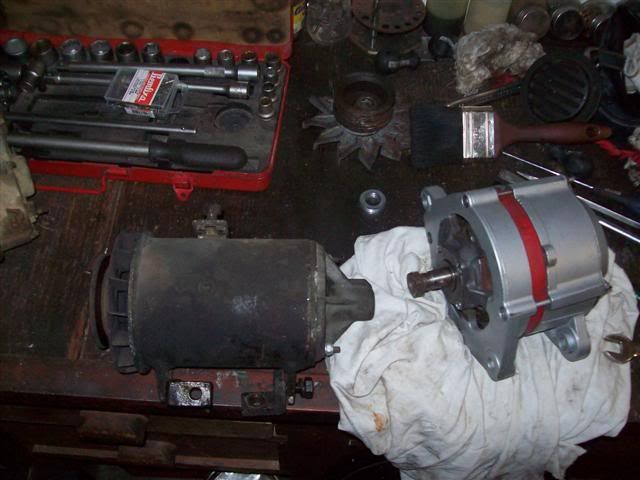
Here they are on the bench side by side. The dynamo is pretty heavy, as its armature is iron, not aluminium like the alternator. You can see the mounting brackets are different too, but luckily I had a proper mount in stock.
Here's the bracket in place:
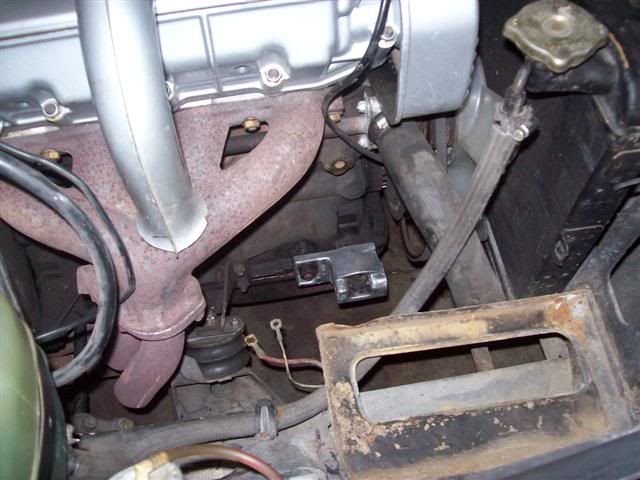
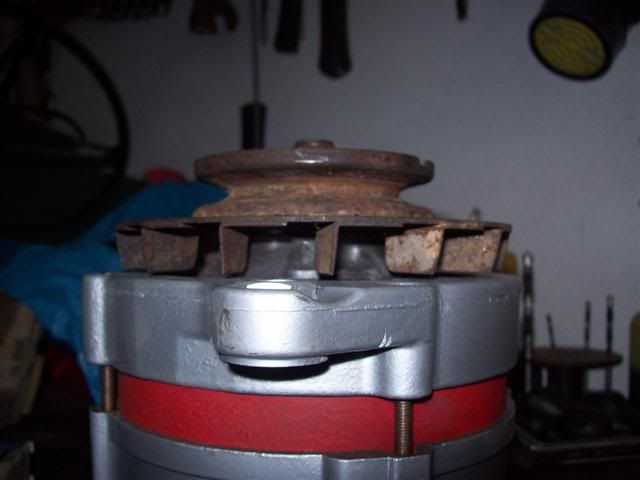
After getting it on, my first worry was the alignment check, and it seems ok. I still suspect the alternator pully may be a bit forward in relation to the other two, but it's a minute thing, or maybe it's just me. I'll get it checked later.
After slotting the lower bolt in place, the alternator would not move. After getting it out, and the bracket too, I found that it needed some trimming as this modern unit is a bit wider than the original ones, so I modified it with the angle grinder and later refined the cuts with the Dremel.
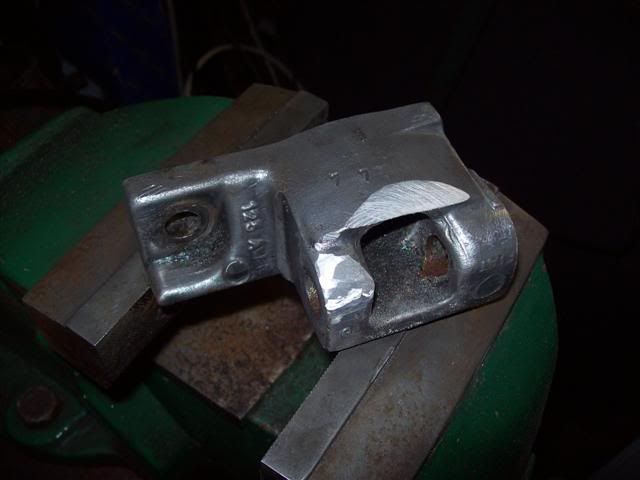
This still wasn't enough, as the alternator would stick and wouldn't go all the way towards the engine block, and in fact it wouldn't even reach the point where the upper bracket for adjusting tension would end.
At this point I lost patience and transfered the whole setup to another engine block I have completely bared for another rebuild (for a friend's car), and mocked it up there:
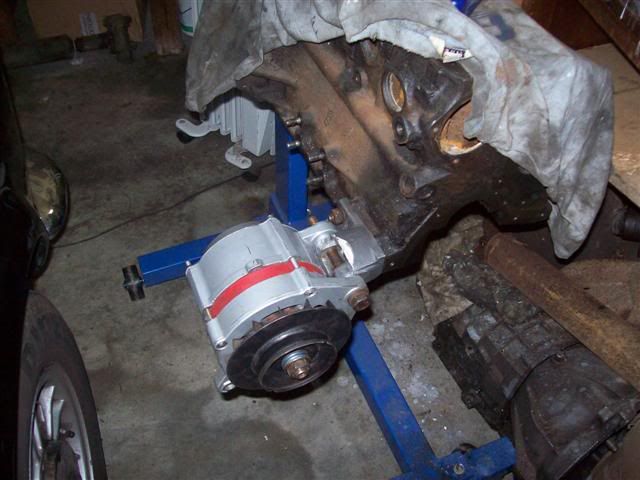
I needed to round off the rear end a bit more, but above all it needed skimming a touch more on the top part. After this, it went on fine, apart from the belt being so tight that I couldn't get it over the pulley, so I got it on the pulley groove before fitting the lower bolt. This still left a tiny bit of adjustment room, so it's not excessively tight.
The upper bracket was also spaced out a bit, a necessity for clearing the extra girth of the new unit, and also a spacer on the top bolt as the bracket is a bit more forward than it should be:
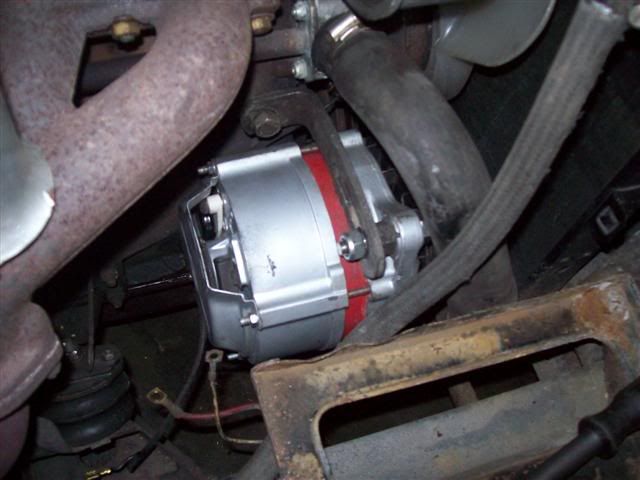
After this, I got on with the wiring. The rewiring was not complicated, I just needed to keep two brown wires together as they were the original connection from the ignition switch to the regulator and from that to the starter's solenoid, and another set of wires paired was the incoming white line from the dynamo that was bridged with the outgoing black line to the charge light on the dashboard. You can see here one of the pairs already isolated, and the other one already bolted up but still awaiting tape:
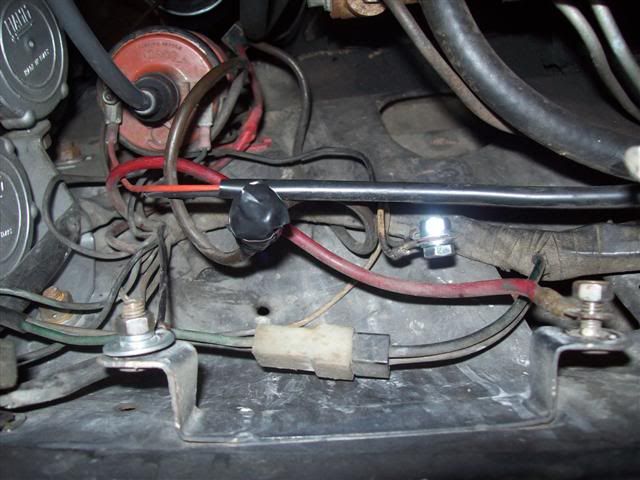
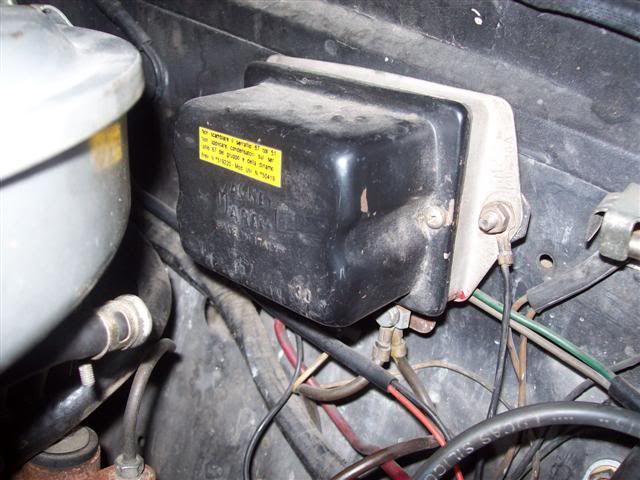
I ended up choosing to remove the regulator, as you can see above, the bracket is already cleared. There was another redundant wire, the thick red that used to come from the dynamo to the regulator. As I intend to keep all the work reversible, I just bolted it to the bracket on this end and to the alternator's back cover as an extra ground, so it's redundant but not flying around the engine bay, and it stays where it belongs.
I got the charge line from the alternator running directly to the battery via a heavy gauge wire, and from my stock I got a terminal protective cover to get it as tidy as possible:
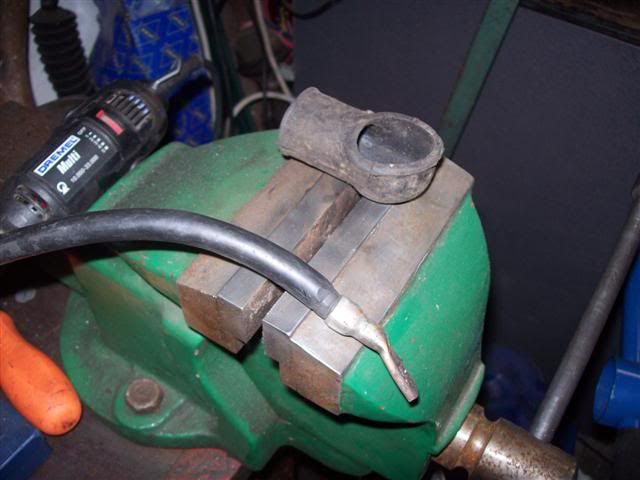
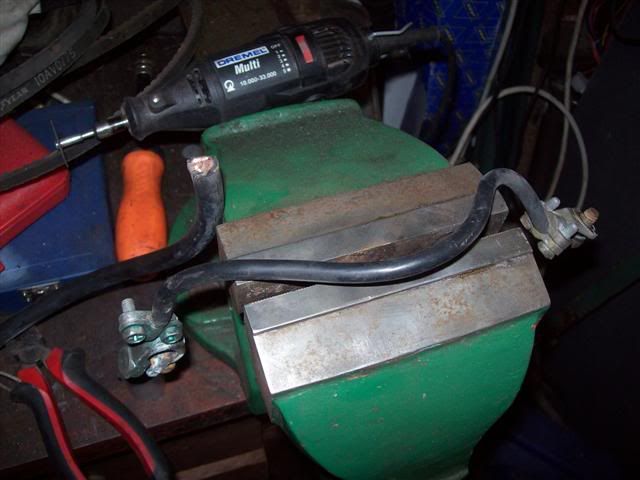
I also ended up using a bit more to reinforce the original ground wire, as it was a bit thin. You can see here the original over the vice and the new wire leaning on the left side:
And after that, we're done:
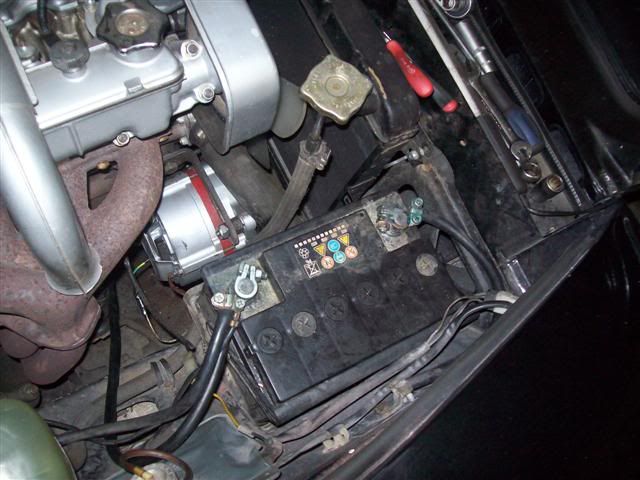
I got the thing running, but the charge light wouldn't go out. I already expected this as the charge light circuit on this car has a very low resistance (measured at 20 ohm), so I need to get this changed. After revving the engine a bit, I got it out and it stayed like that afterwards, so it's really just a matter of getting this right. I'm going to check with my friend over at the local Fiat dealer for the proper resistance needed, so i can get this sorted out.
After getting the light out, I measured the current at the battery terminals and it read at slightly above 14,5 V with the engine just above idle speed (the choke was on). No further testing was done as it was damn late (finished at 3:50 am) and I was freezing (outside temp was nearing 0 deg. C) as I needed the garage open because of the exhaust fumes.
So there you have it, the conversion is not very hard to do. If you have a normal production Spider it would be even easier, it just takes a bit of machining to the pulley and some grinder work on the mounting bracket.
Hope you enjoyed this as much as I have enjoyed doing it! I'll give some impressions later as the car gets some use (it's raining now, and will stay that way for a few days if the forecast is to be believed, so no play for now).
Cheers, Eddie
