Page 2 of 3
Re: 1980 124 Rebuild
Posted: Tue Oct 15, 2013 11:36 am
by BEEK
they are welded into the crossmember, you can remove and replace them, its not that bad
Re: 1980 124 Rebuild
Posted: Tue Oct 22, 2013 5:18 pm
by Meistro
Finally, almost done! Had to replace 3 of the 4 lower control arm bolts. Could not find any fine thread metric bolts, so I went with 1/2" fine thread grade 8 nuts and bolts. The problem was that the 1/2" bolts would not fit in the bolt holes, so I had to drill out the bolt hole. Sounds easier that it was. The spacers were loose, so I had to remove them to drill them out and when I replaced them I tacked them in with the welder. I also had to repair a crack in the cross-member around one of the bolts.
I tried and destroyed several 1/2" bits trying to drill out the lower control arm mounting holes, which are made from hardened steel. Finally found a cobol drill bit at Home Depot (after the sales guy stated they did not carry any such thing!). It went through like butter. Oh well, time to get out the Bit Dr to fix up all the damaged bits.
Should be able to finish up the assembly of the control arms, spring and tie rod ends tomorrow. Then I can push up my other car and start switching parts. The hub on this one had a spun bearing that fill out when I removed the hub. So I will get another off my spare car.
I already have the rebuild kits for the calipers and new front brake lines, so I will be finished with the front end.
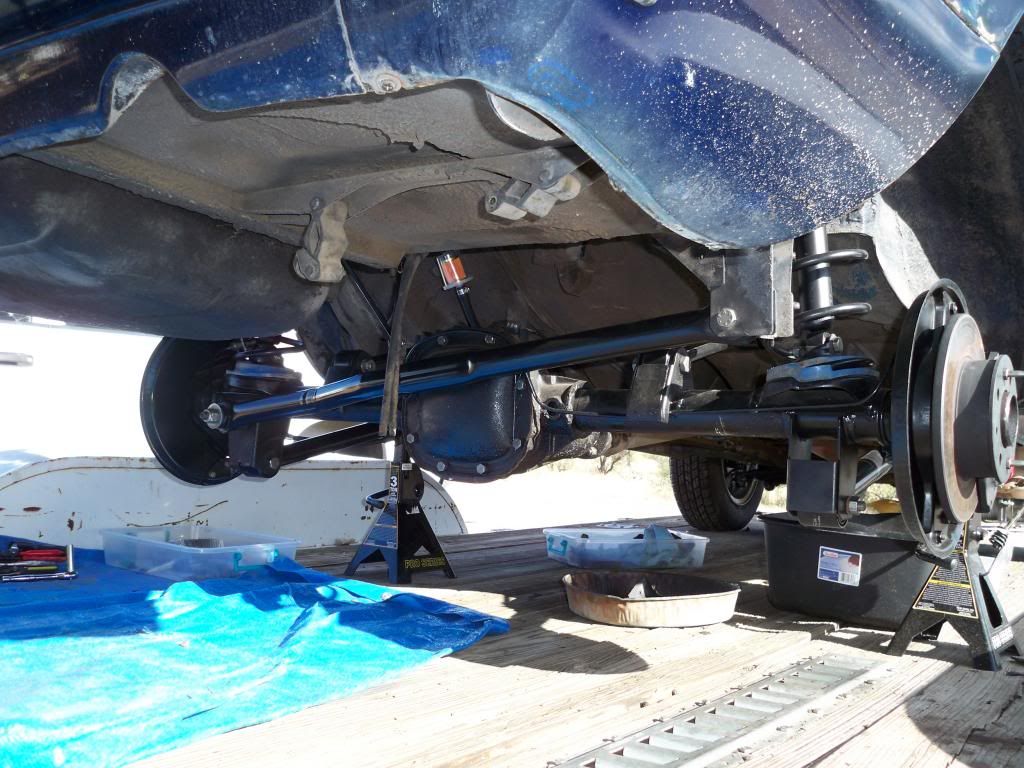
I will remove the entire rear end assembly off this car and replace it with the rebuilt one from my spare ( I had already done the rebuild before I found the new one.)
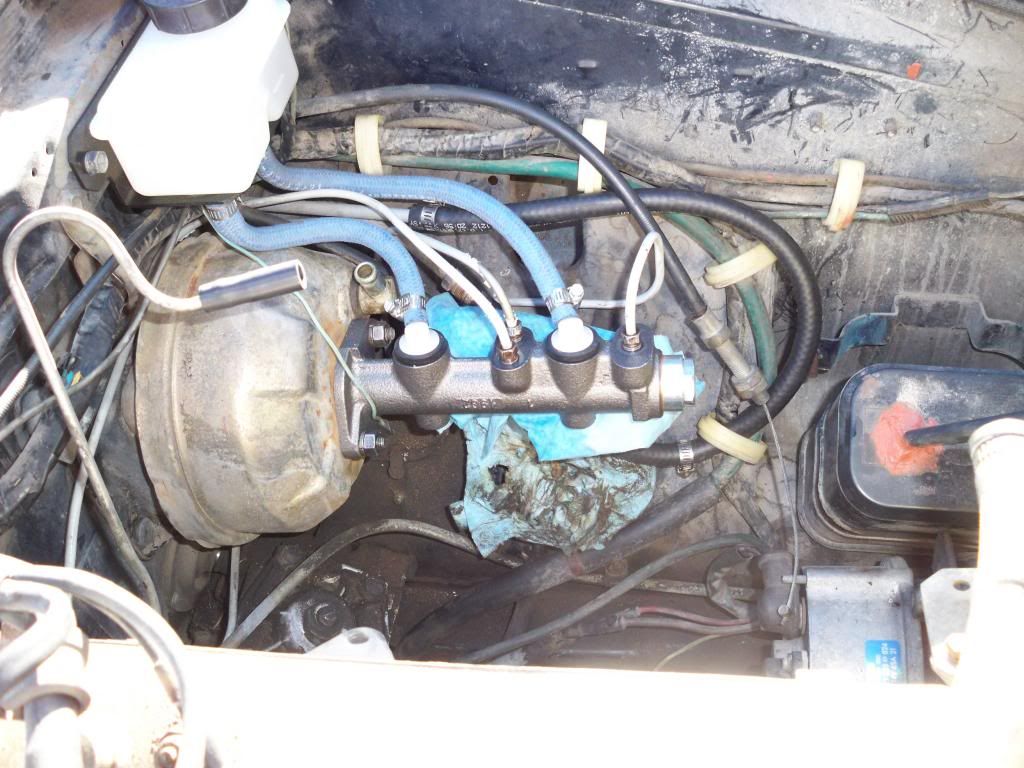
I have already purchased a new master cylinder, hoses and reservoir. So I will add them and flush out all the lines.
Will keep everyone posted on the progress.
Gene
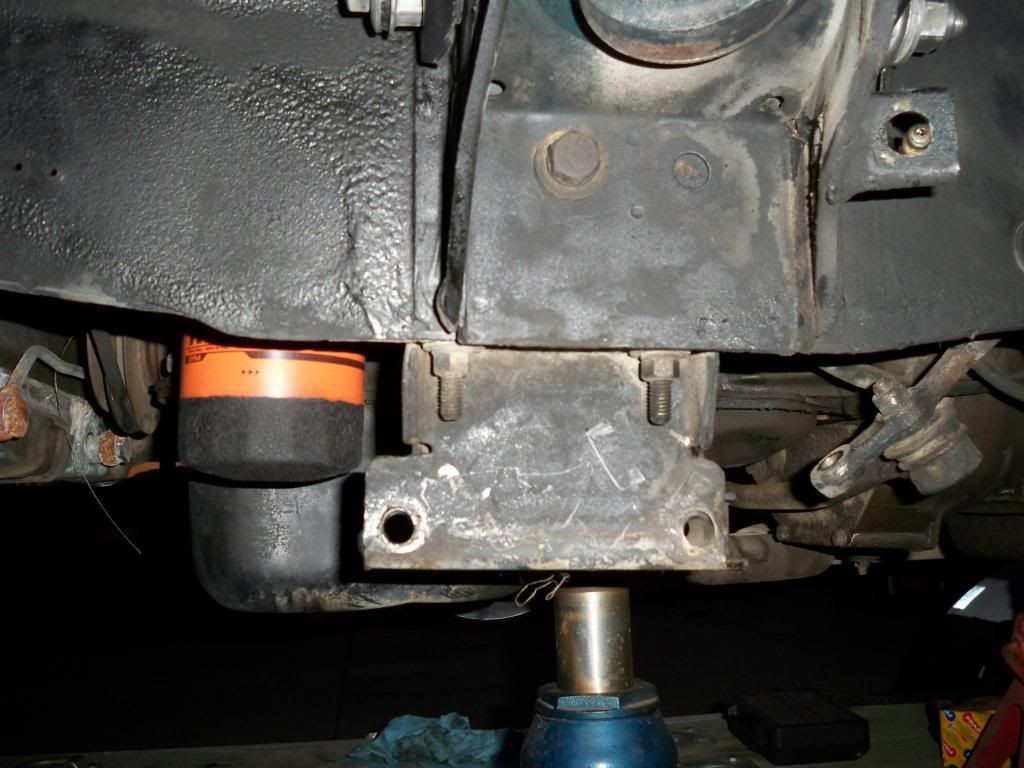
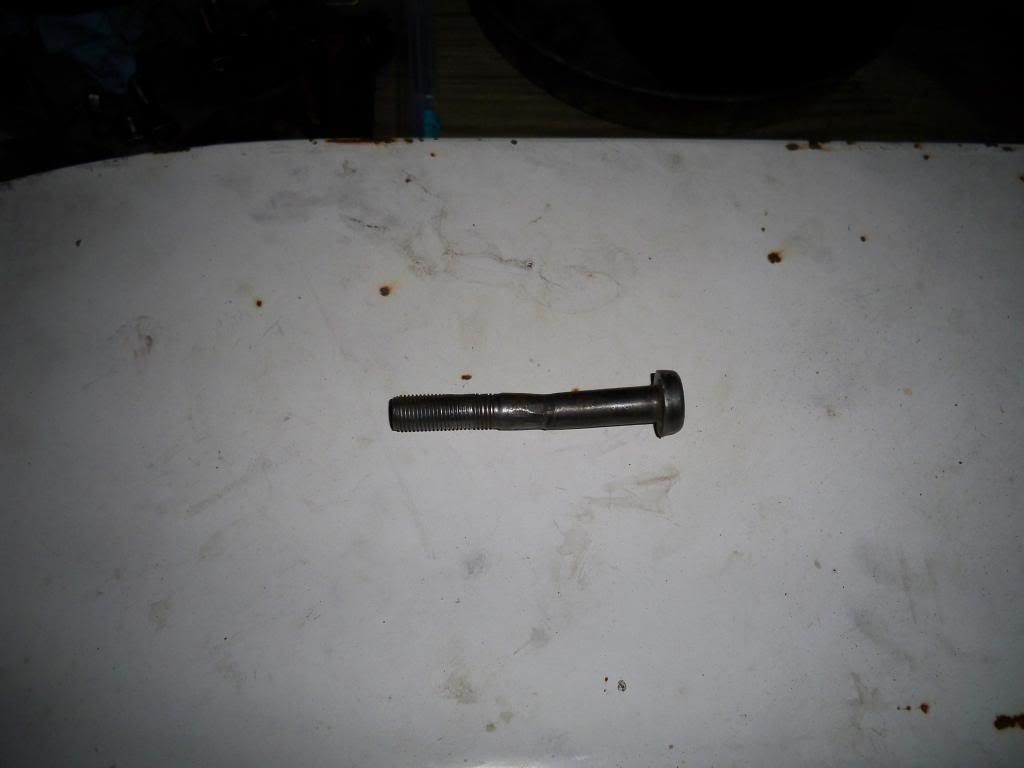
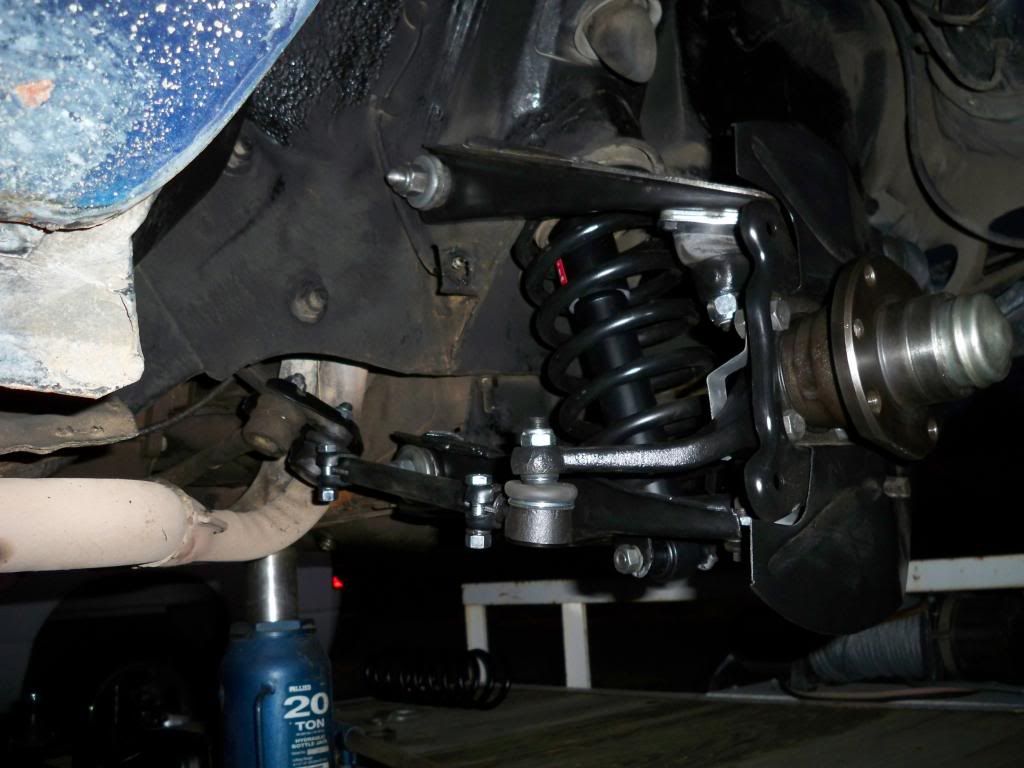
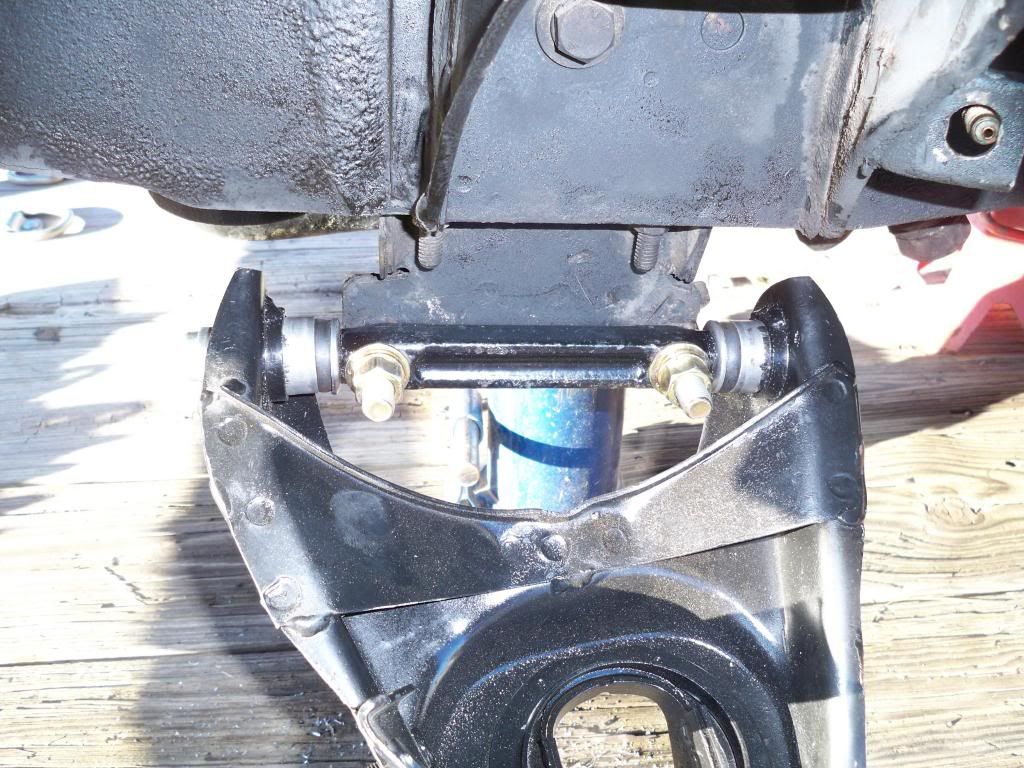
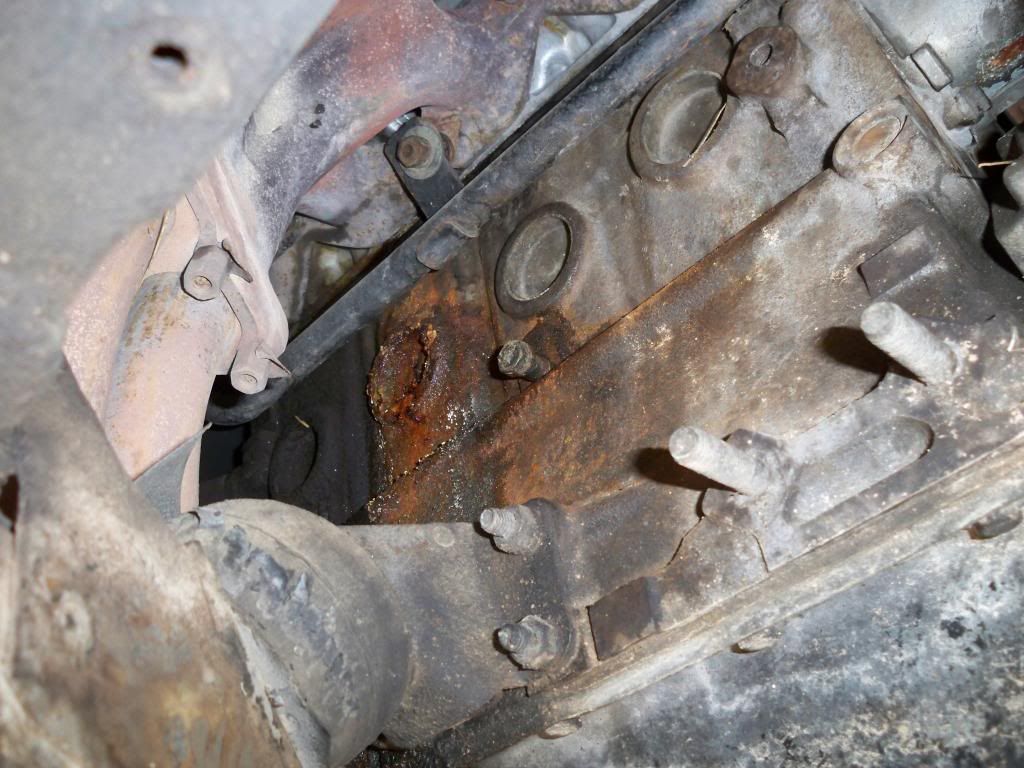
Another problem I found!

Re: 1980 124 Rebuild
Posted: Sat Oct 26, 2013 6:04 pm
by Meistro
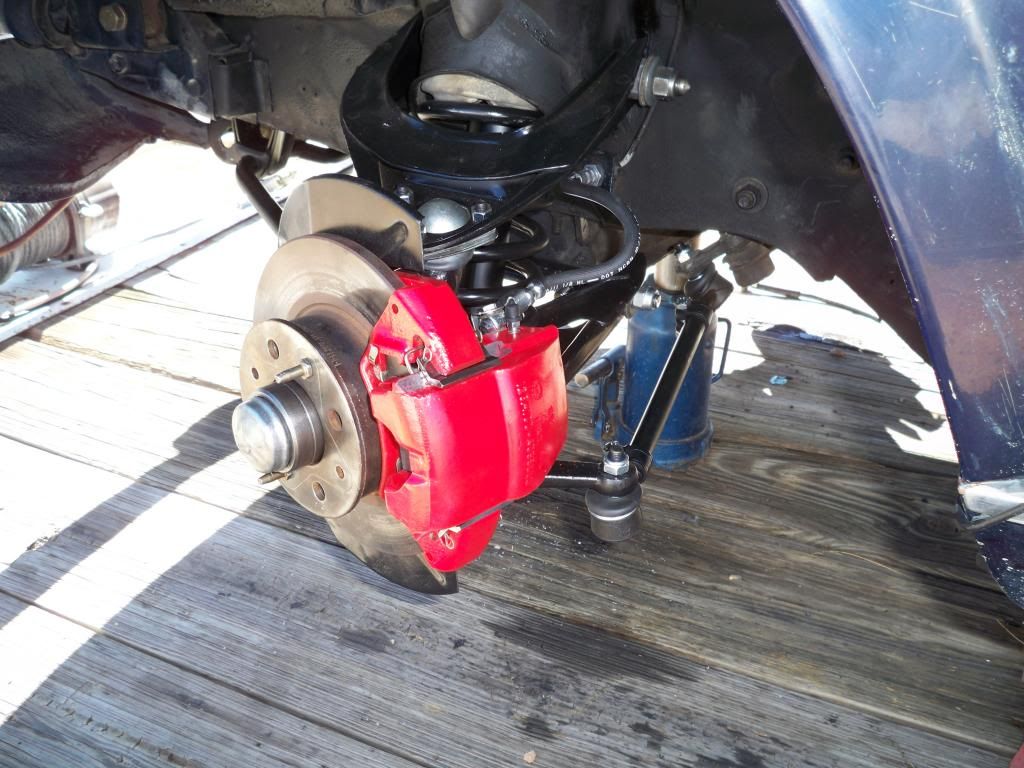
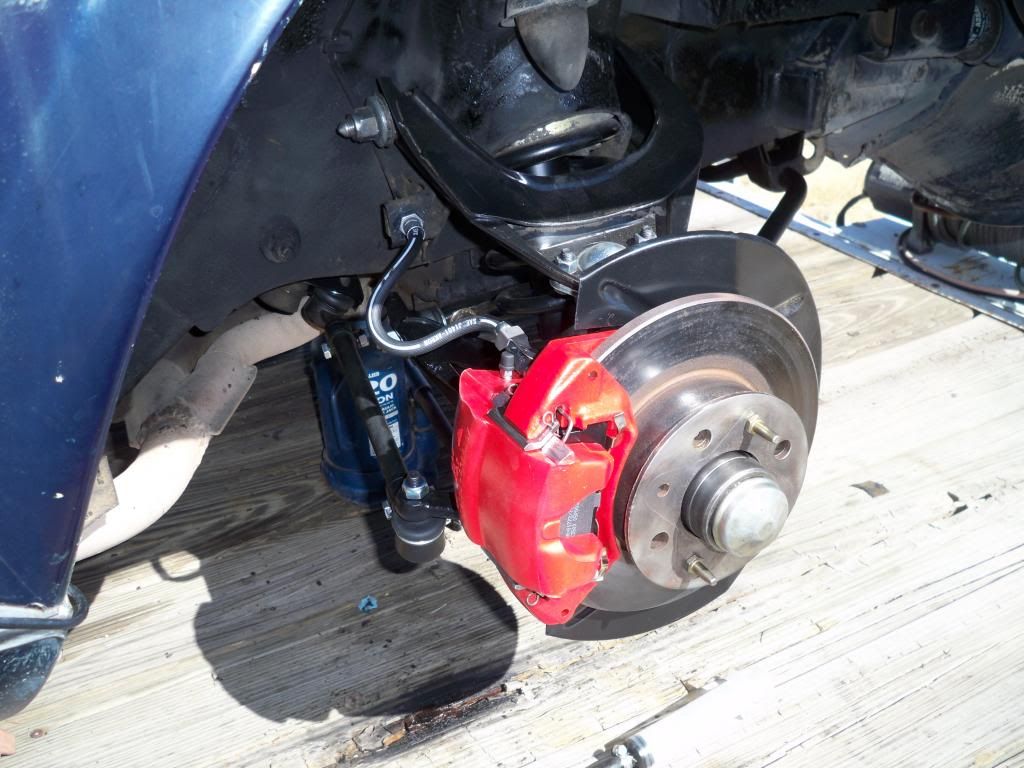
Finished the front end. Finally!

Now for the rear end and fuel system. Going to switch out the rear ends and while the rear is out I will remove the fuel tank to clean it out and replace all the lines so I will not have to go under the car again except to replace the muffler.

Well, that's the idea, we'll have to see what happens.
Gene
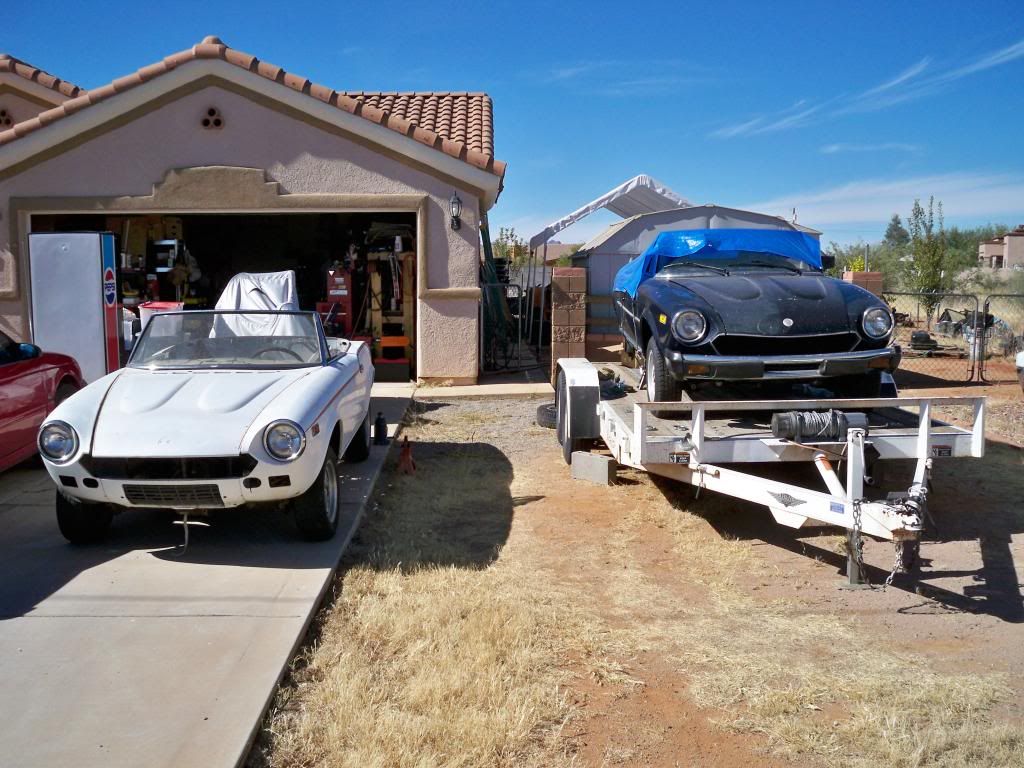
Re: 1980 124 Rebuild
Posted: Wed Nov 06, 2013 12:51 am
by Meistro
Well another update.

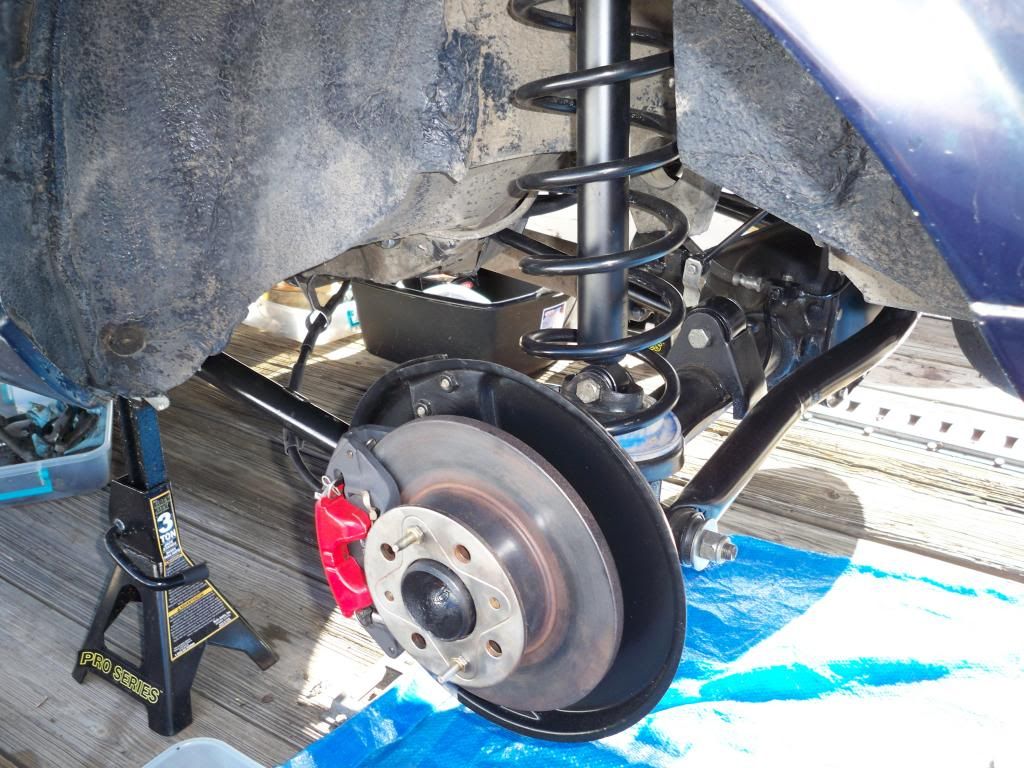
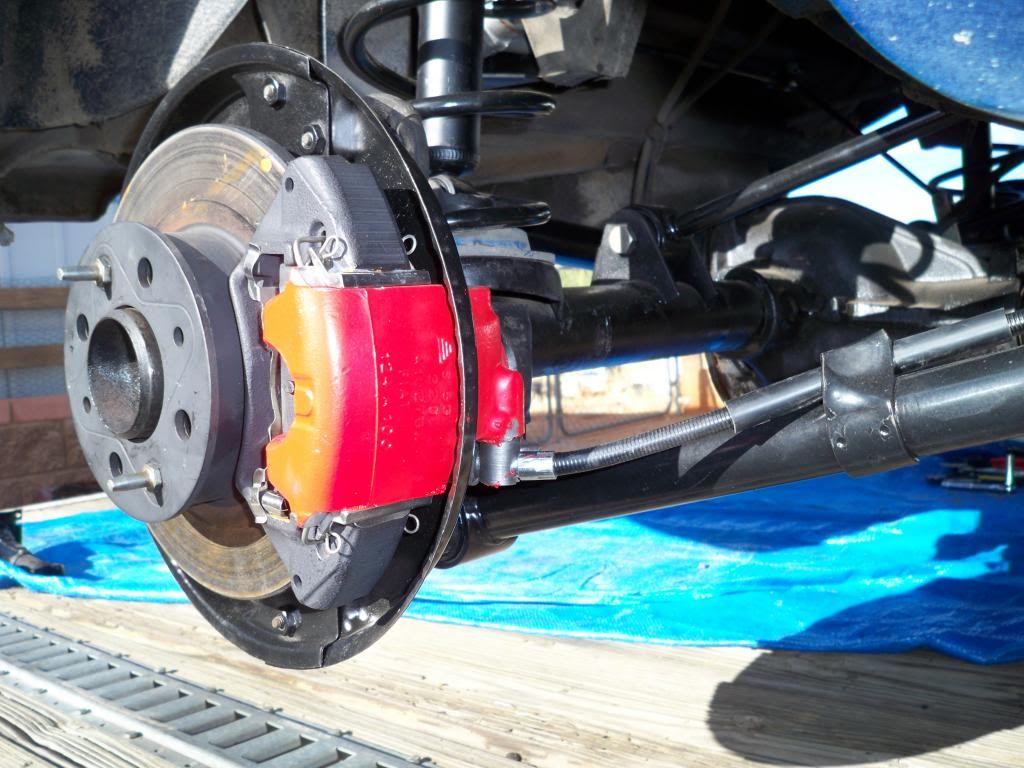
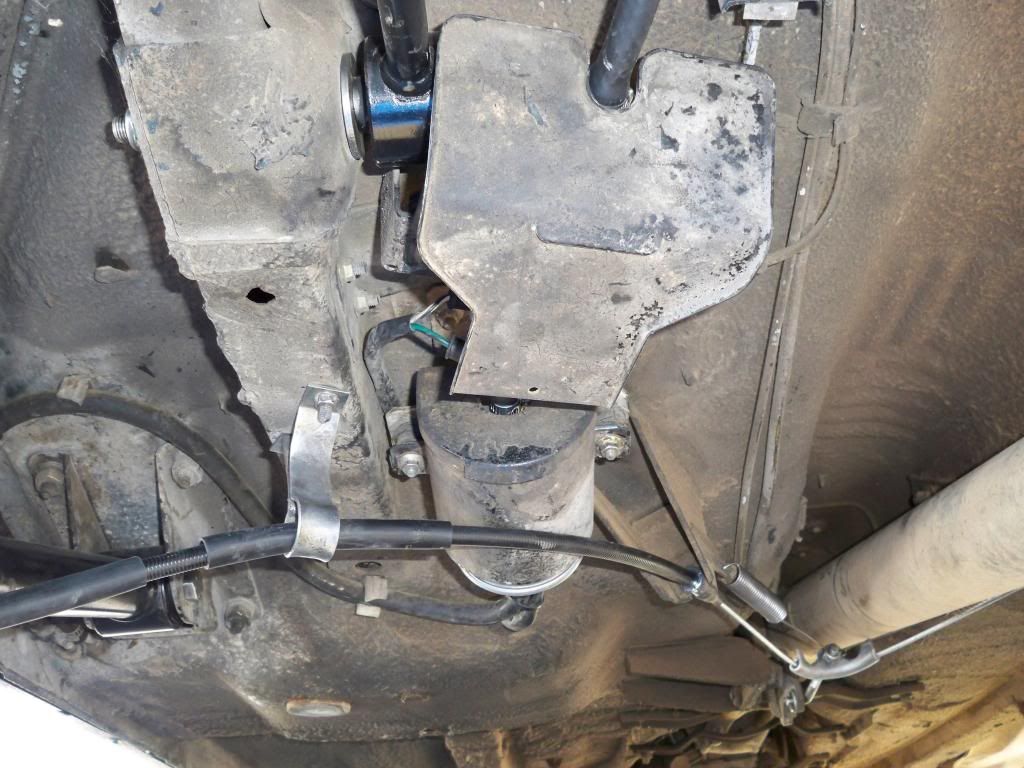
Finished up the brakes and installing the rear end. Bleeding all brakes is done. Just need to replace the master and reservoir with the new parts I bought. Hopefully the booser is in good shape.
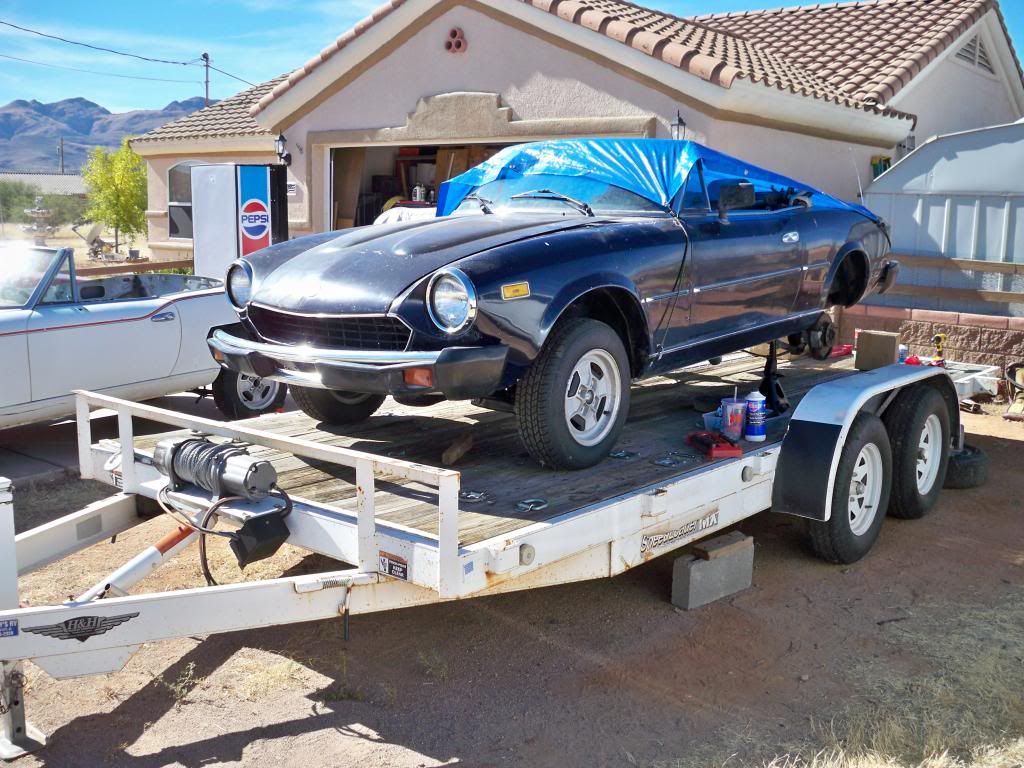
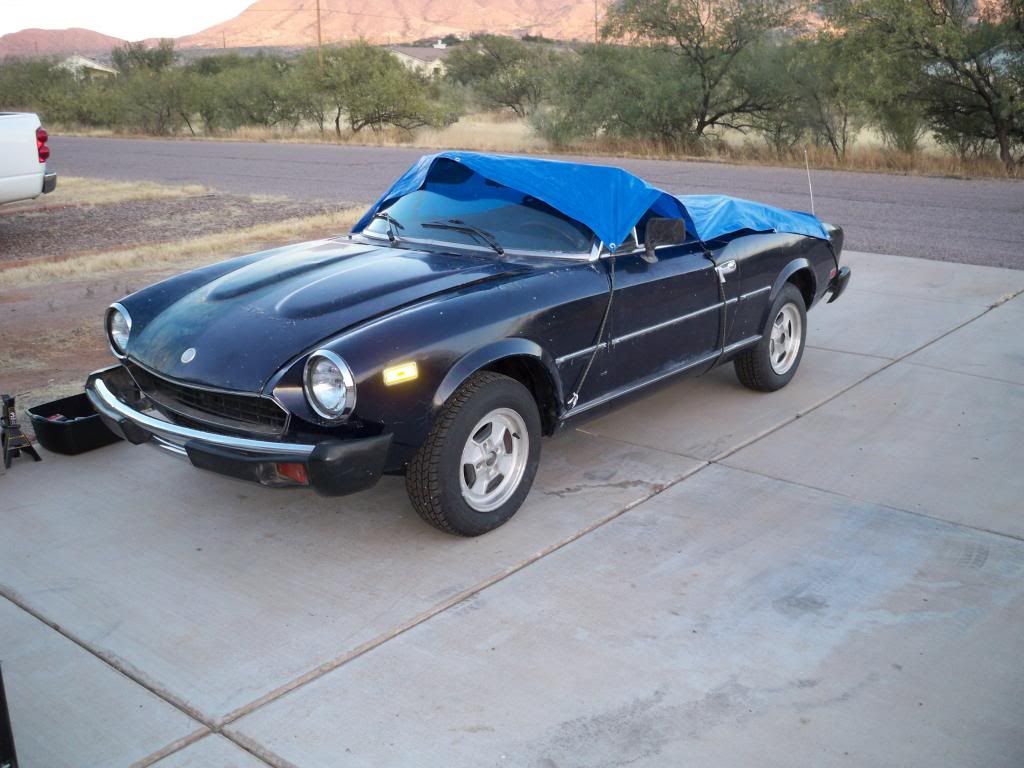
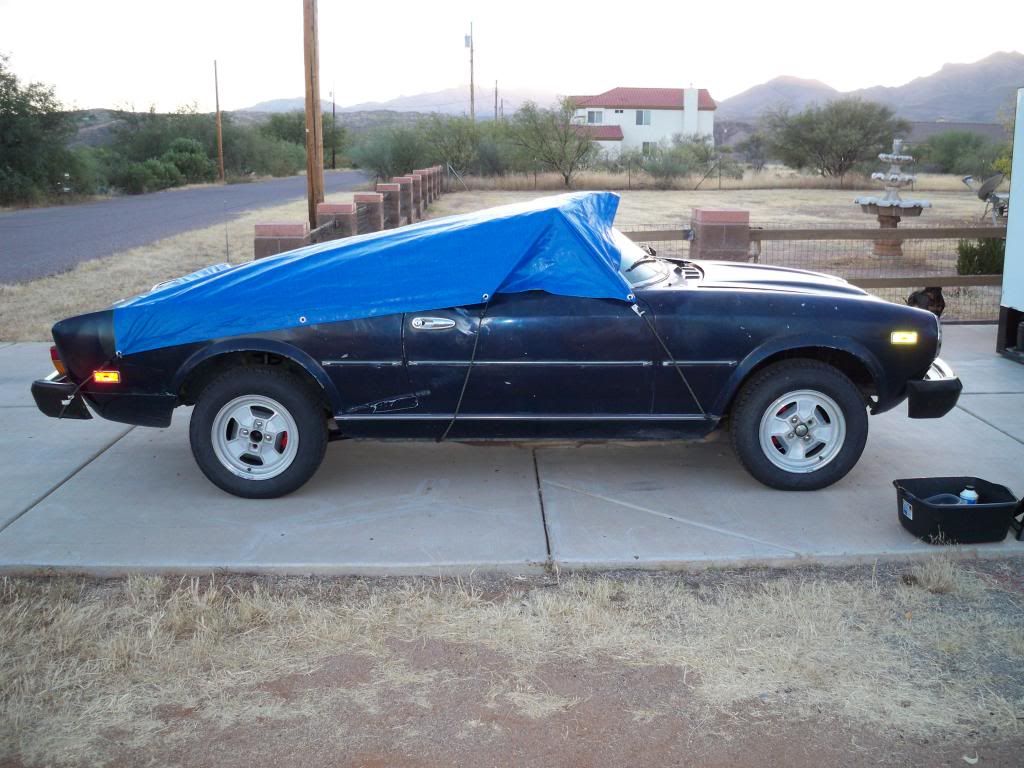
Also, got the car off the trailer. Brakes do work along with the emergency brake works too! YEA!!

Replaced the fuel pump and fuel filter, also placed a filter before the pump, as the tank has some rust in it and other stuff. I also have a new fuel level gauge.
Got the engine to turn over, but will not start. So my next project is to get the engine to run before I start taking things off the motor to replace the freeze plugs.
Here are a few pictures:
Gene
Re: 1980 124 Rebuild
Posted: Wed Nov 06, 2013 12:20 pm
by narfire
Looks good.
Although I hope you had the rear of the car supported by the axle when bleeding the rear brakes

Re: 1980 124 Rebuild
Posted: Wed Nov 06, 2013 7:56 pm
by Meistro
narfire wrote:Looks good.
Although I hope you had the rear of the car supported by the axle when bleeding the rear brakes

I had the brake controller disconnected. Thx.

Have a problem getting spark. Read all the info here about no spark.
Question: I tested the coil - and + posts and got 0.00 on the ohm meter. Does this make the coil bad. The secondary ohm reading is 9.5 (Within stock parameters I believe).
Does anyone have an idea if the coil is good or bad?

Thanks for your help.
Gene
Re: 1980 124 Rebuild
Posted: Wed Nov 06, 2013 8:53 pm
by vandor
Are you sure the ohm-meter is in the right range? Yes, I imagine that if there is no resistance that would indicate a bad coil.
The specs are:
Primary resistance (between + and - terminals) 0.75-0.81 ohms
Secondary resistance (between distributor lead and one of the low voltage terminals) 10000-11000 ohms.
Re: 1980 124 Rebuild
Posted: Mon Nov 11, 2013 11:11 am
by Meistro
Update:
Replaced the coil, one from another project I was doing, and I now have good spark.

Still could not get the engine to start, sprayed some starting fluid into the intake and reconnected the crossover tube and the engine started with no problem.

I'm happy with that!
I need to figure out the injection system electrical system, if that makes sense. But, before I do that I am going to replace the freeze plugs.

Re: 1980 124 Rebuild
Posted: Sat Jan 04, 2014 5:37 pm
by Meistro
Hello All!
Its been awhile, finally got to work on the Fiat. Been raining, been sick, been working, been at holiday stuff, OK enough excuses!

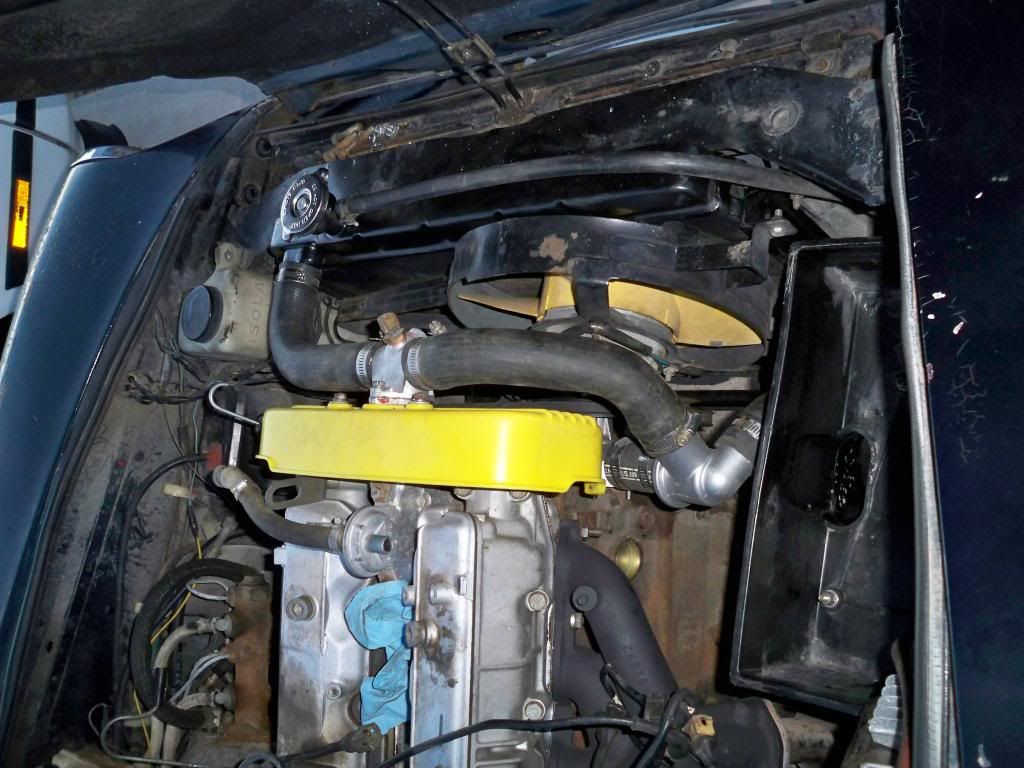
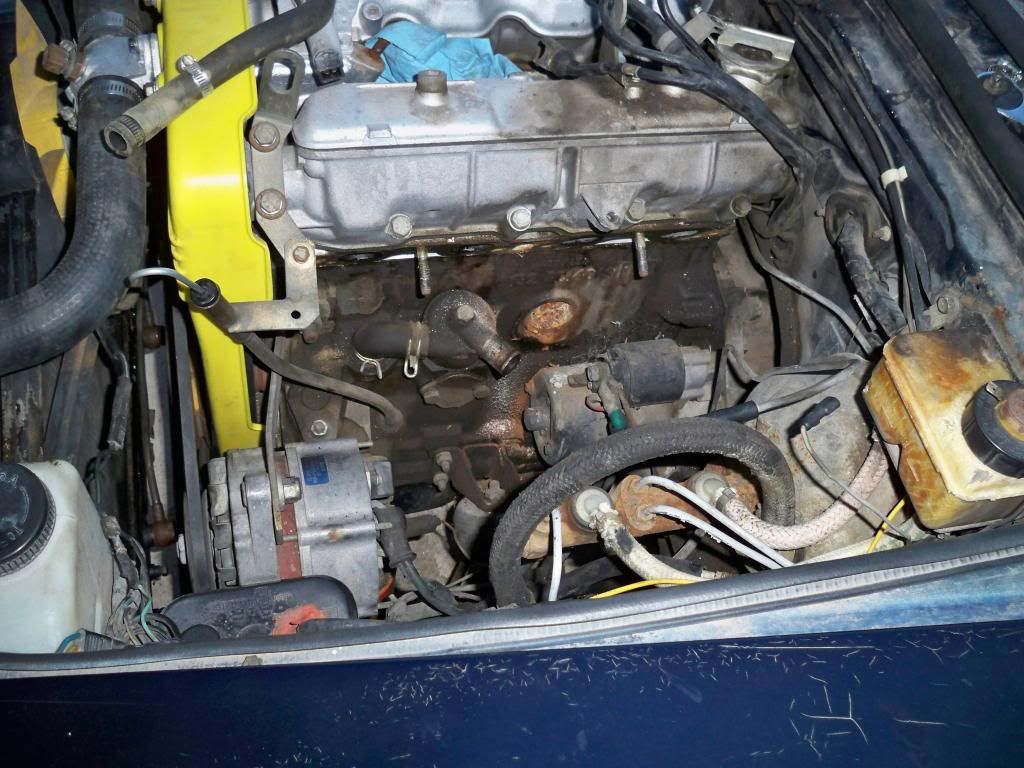
Finished the front and right side of engine. Had the radiator checked while it was out. They said it was good.
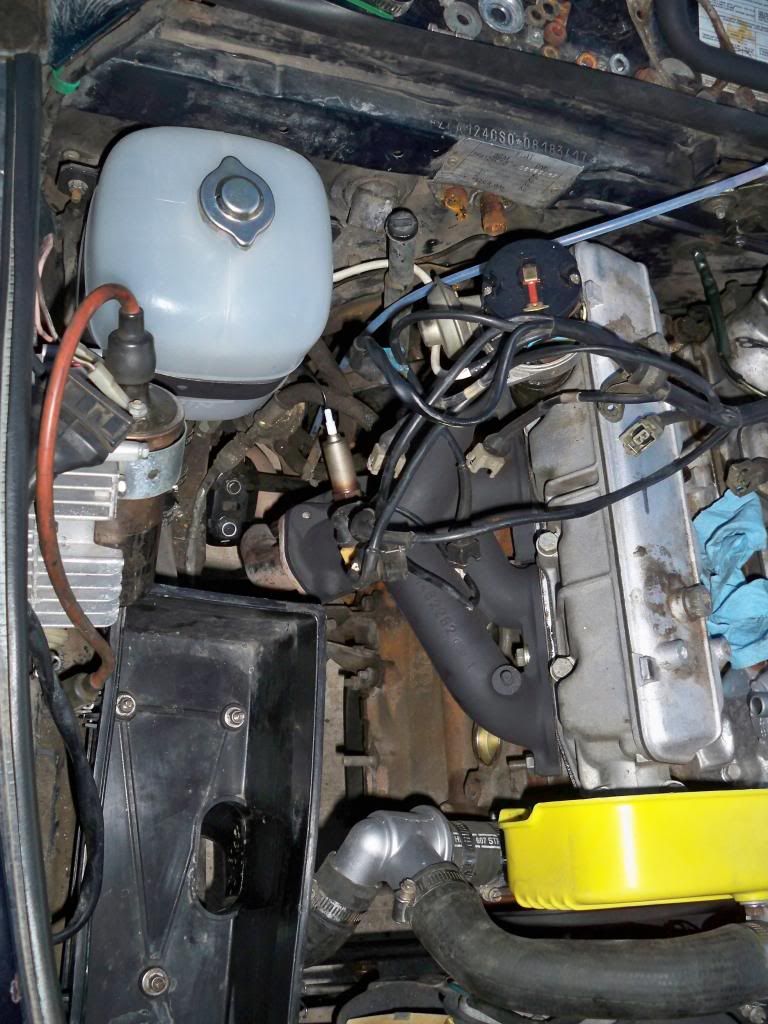
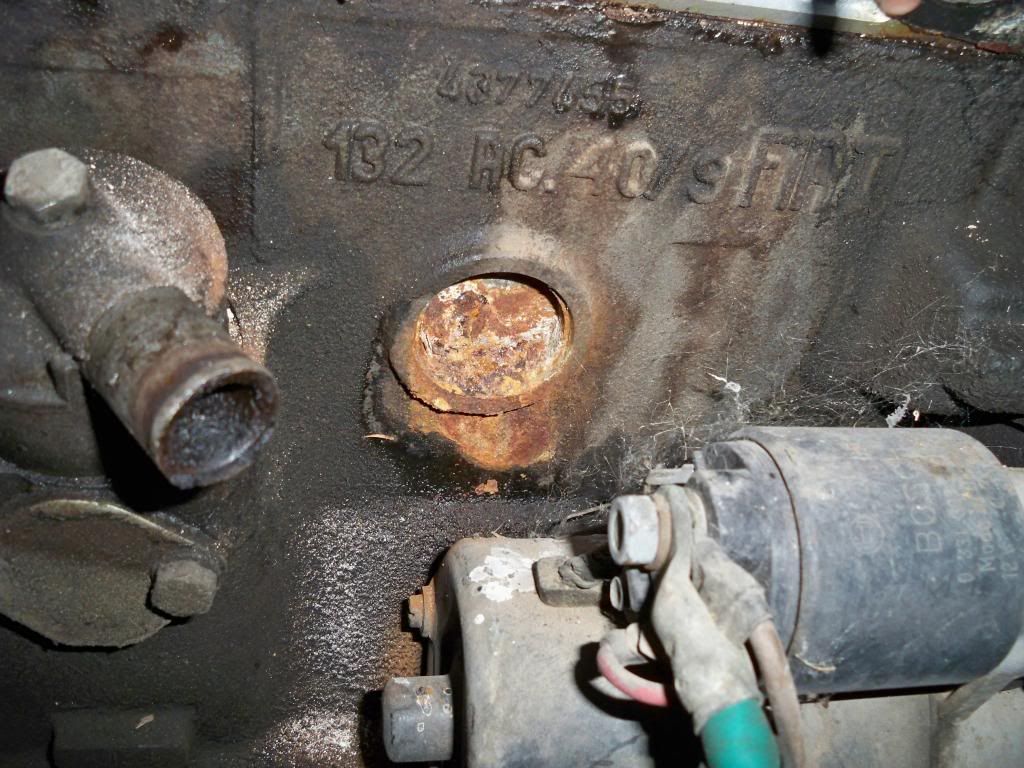
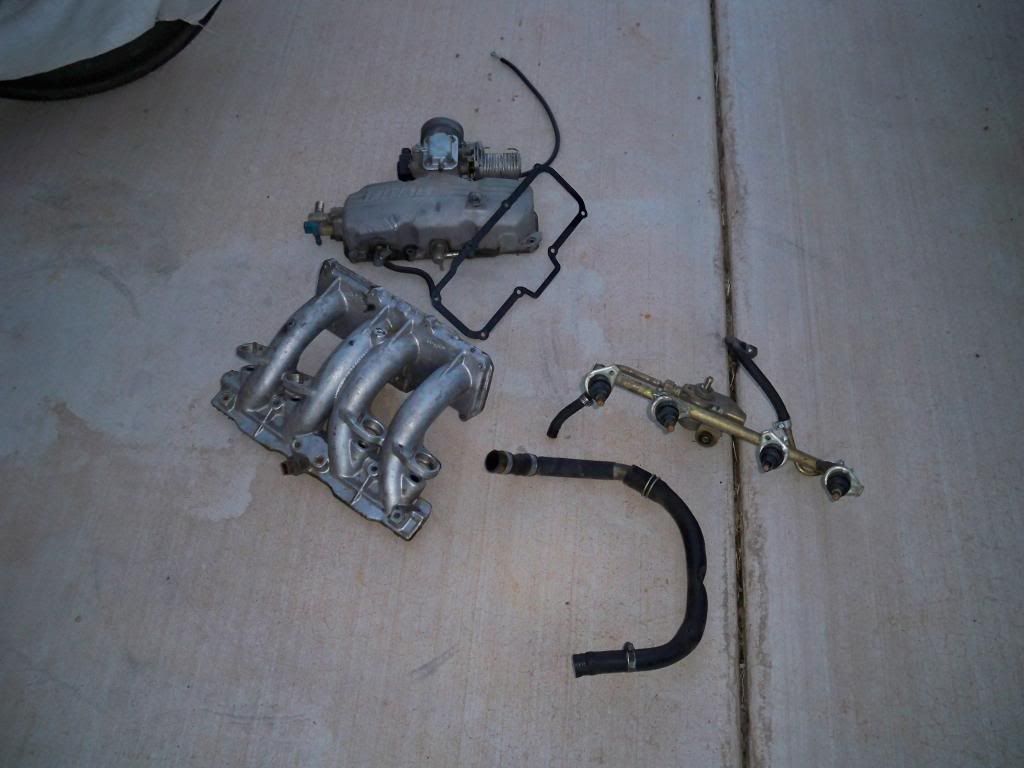
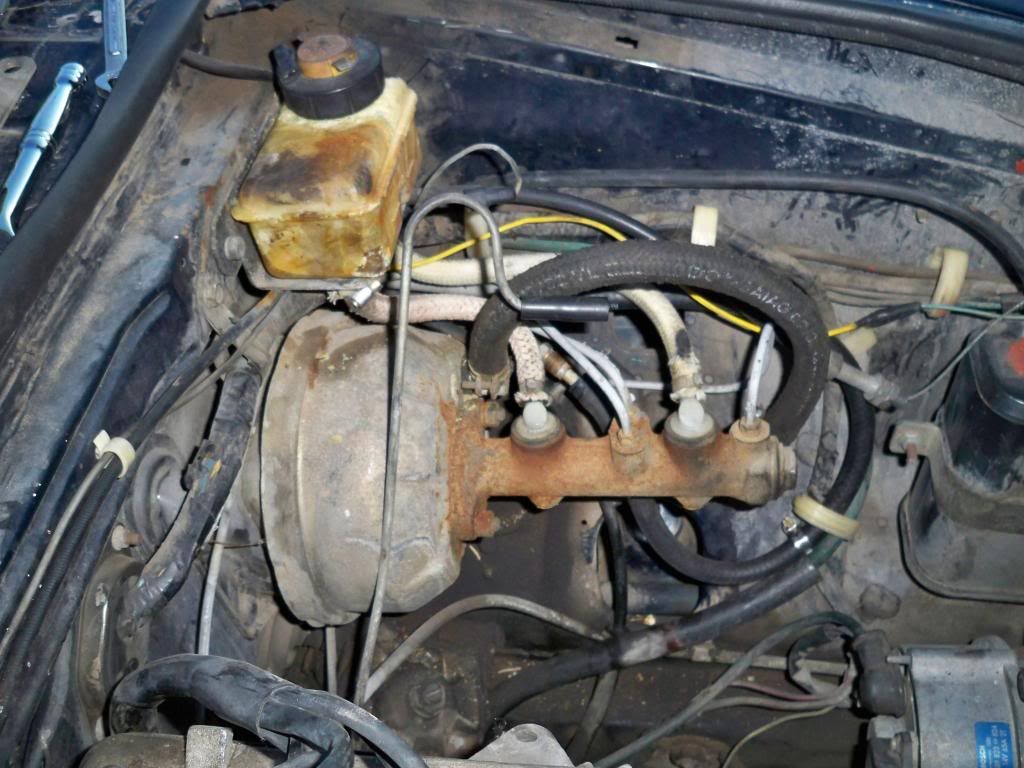
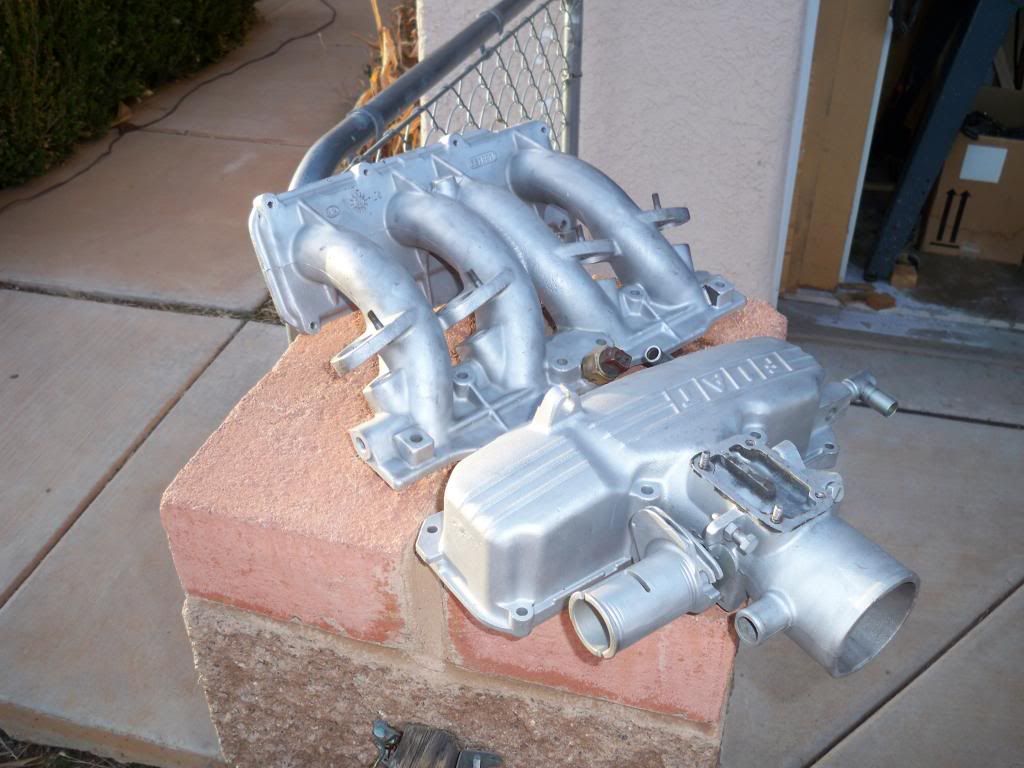
Pulled the intake and injection stuff off, what a PITA. But, it all came out good and not broken. I'm surprised and happy. Did find out where the other freeze plug went. Glad I pulled the intake, because I would not have gotten far with the way it looks.

Am going to replace the injector rubber O rings with new ones when they come in, and of course I'm replacing that bad freeze plug.
Is there a way to check the injectors on the bench?? I'd like to see if they actually work before I put them back.

I am going to replace the master cylinder and reservoir with the new stuff I bought a few months ago.
I am going to check out my heater core also, as the two metal hoses are rotted and cannot be used. Hopefully, I can get them from my doner car, as those little things are expensive!!
Once these things are done I'll be able to try to start this thing up!
Re: 1980 124 Rebuild
Posted: Sat Jan 04, 2014 5:44 pm
by MrJD
Bench-test injectors:I have seen people take 4 old soda bottles and tape them onto the injectors. Turn the engine over a few times and then check the volume of the bottles.
Re: 1980 124 Rebuild
Posted: Mon Jan 06, 2014 8:18 pm
by Sambo42
I love the suspension parts - are they brand new or did you refurbish? (and if so did you paint or powder coat? They look great)
Keep up the good work!
Re: 1980 124 Rebuild
Posted: Tue Jan 07, 2014 4:51 pm
by braca23
Your work on suspension and brake parts is very nice and tidy. Keep on rolling!
Re: 1980 124 Rebuild
Posted: Wed Jan 08, 2014 3:14 am
by Meistro
Been working on the Fiat the last two days as it has been nice and sunny here.
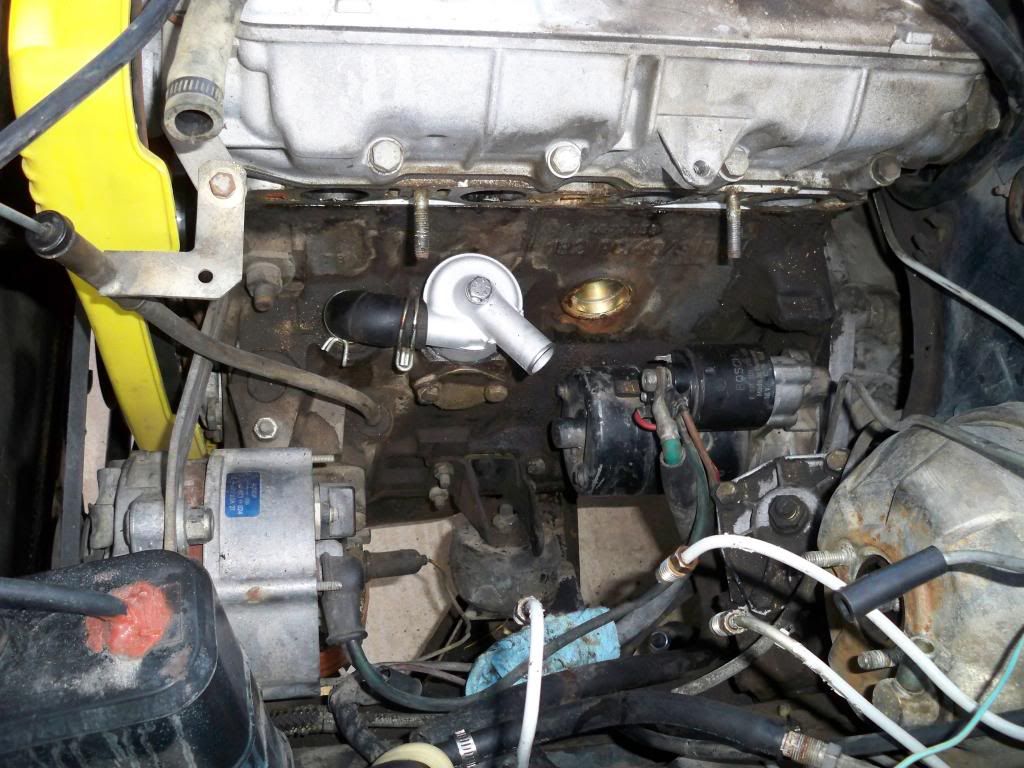
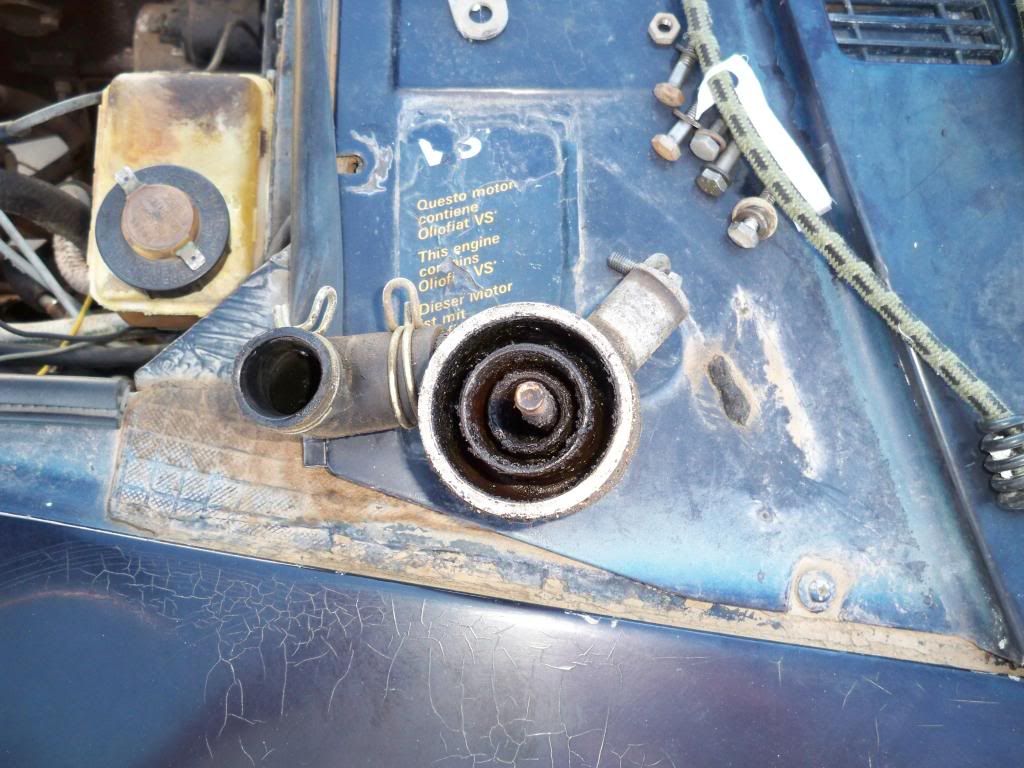
Fixed the freeze plug and cleaned the starter (solenoid was very loose), cleaned the oil vapor separator, and intake manifold.
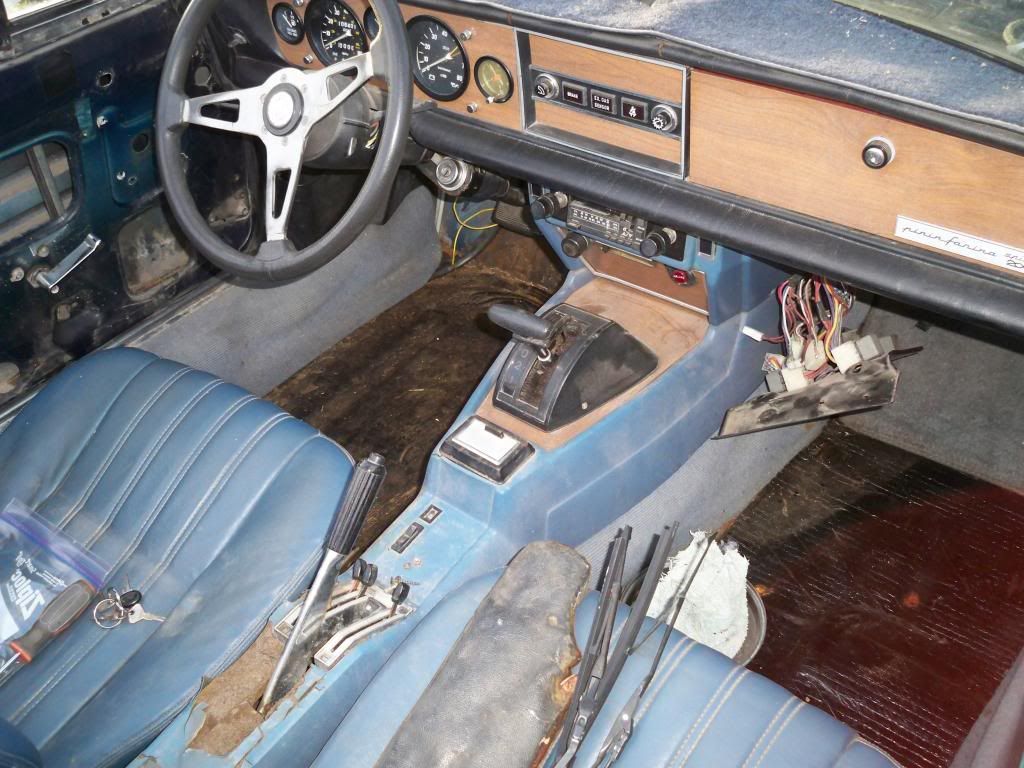
I also, cleaned the interior of all loose dirt and got ready to remove the heater coils, as the two tubes into the engine compartment are rotted. Will work on that today.
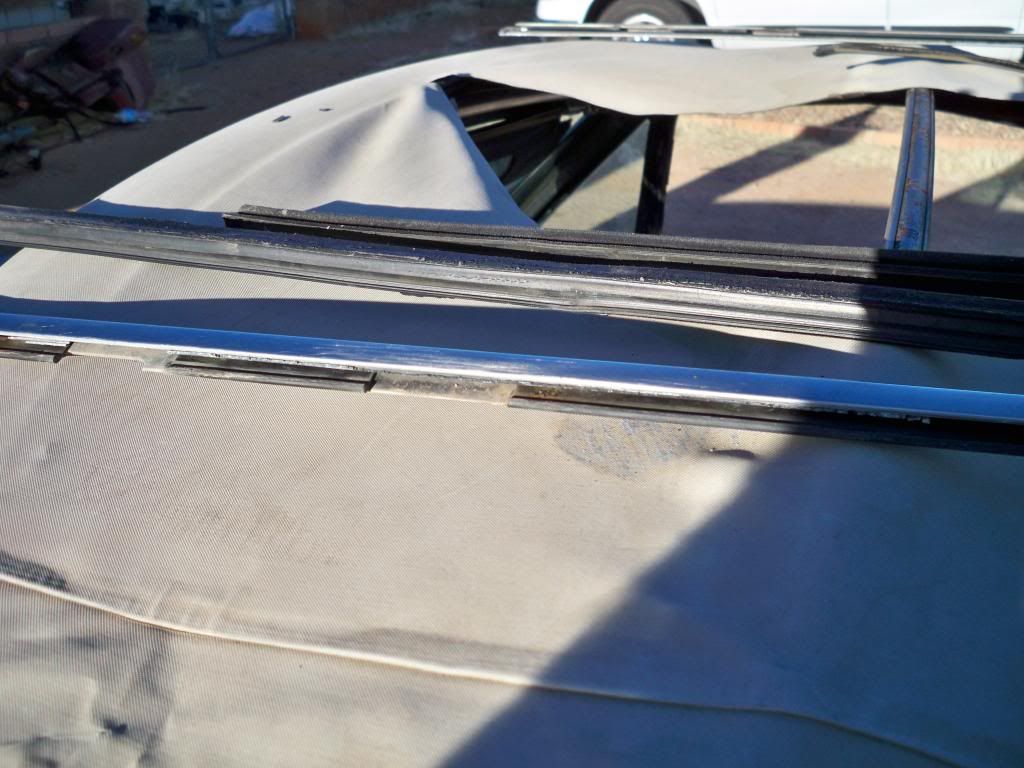
Also, cleaned the top somewhat and took some pictures of the top to get ready to replace the top. I ordered a new gasket for the front of the windshield. So when it comes in I'll be ready to figure that out. I already have the new top.
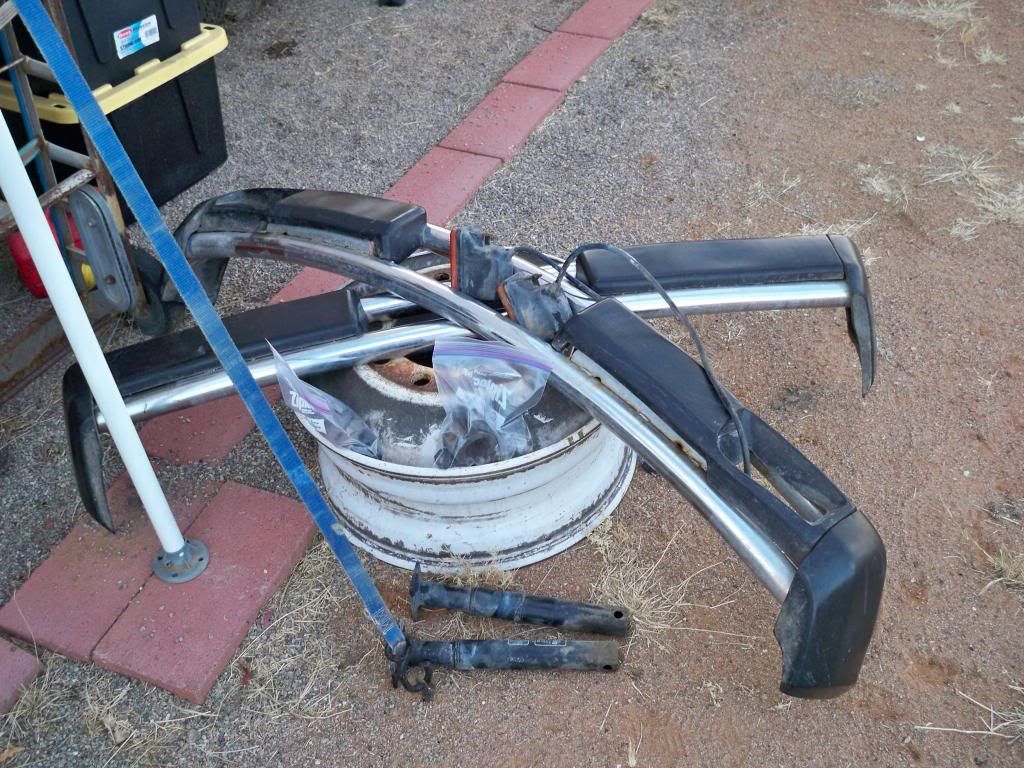
Removed the bumpers except for the rear bumper shocks on the rear, as I did not want to get into removing the fuel tank yet. Going to leave the bumper off, I think it looks better. Was looking at my other 124 in the back yard, I had removed all the stuff off the rear panel, and it looks pretty good. So I was thinking of doing the same with this one, and not putting the license plate lights back on. I will use some small lights that are the hold down bolts with LED in them to light up the plate. Bought them for my bike but didn't use them.
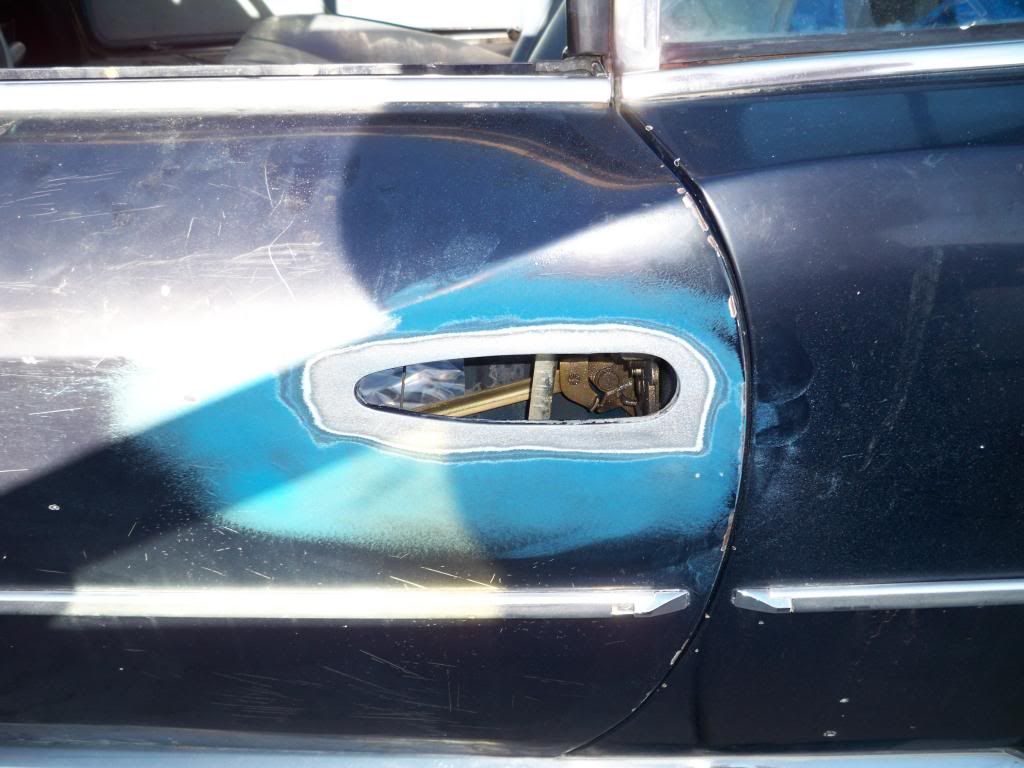
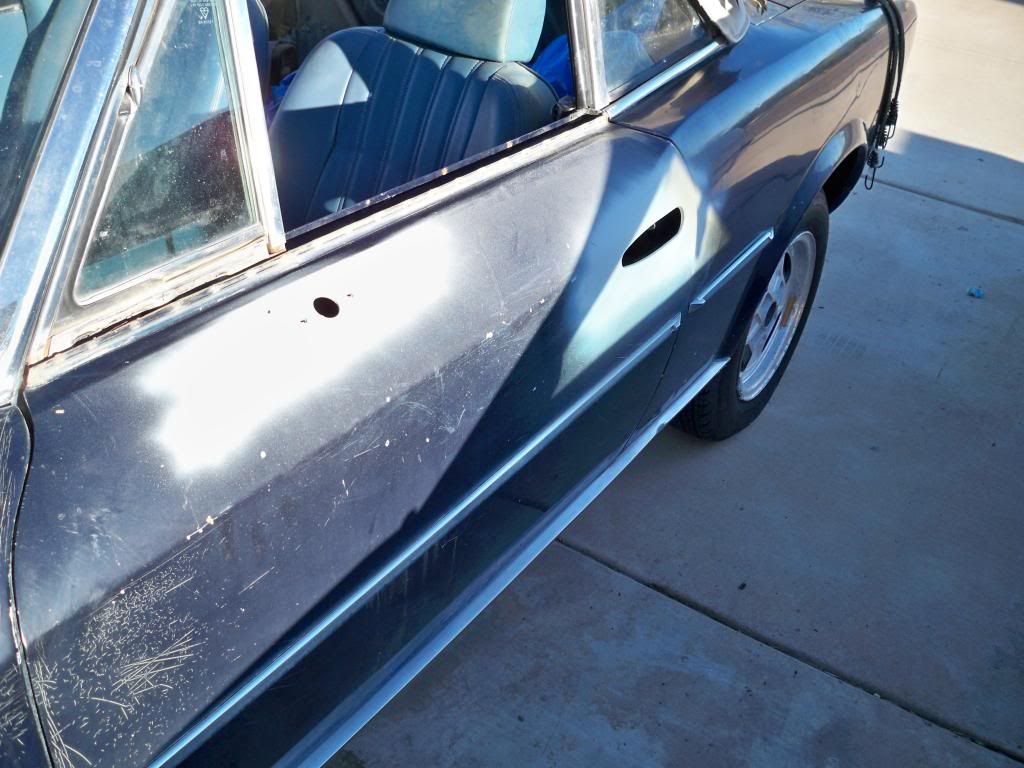
Took apart the drivers side door as the window regulator was broken. Am going to try to fix it today if I can figure it out.
As for the suspension, I painted most of it just with a rattle can. I did replace a lot of stuff. I went through everything to make sure it was good. Cleaning it up as I went. Replaced everything that I could. Also, welded up the upper and lower control arms where they looked a little weak.
Re: 1980 124 Rebuild
Posted: Wed Jan 08, 2014 9:37 am
by RRoller123
Good idea to check those engine mounts too. They are notorious for loosening, and causing odd vibrations.
Re: 1980 124 Rebuild
Posted: Wed Jan 08, 2014 7:32 pm
by Meistro


