Page 12 of 19
Re: 1980 spider Restoration phase 2
Posted: Mon Dec 11, 2017 11:32 pm
by DRUMMOND
Re: 1980 spider Restoration phase 2
Posted: Sat Dec 16, 2017 11:43 pm
by DRUMMOND
Re: 1980 spider Restoration phase 2
Posted: Sun Dec 17, 2017 8:11 am
by RRoller123
Fantastic work, you are an inspiration!
Re: 1980 spider Restoration phase 2
Posted: Tue Dec 26, 2017 10:07 pm
by DRUMMOND
Re: 1980 spider Restoration phase 2
Posted: Thu Dec 28, 2017 1:27 am
by ScotcH
the two tone seats are really sharp! Nice touch.
Re: 1980 spider Restoration phase 2
Posted: Mon Jan 15, 2018 3:37 pm
by dinghyguy
Hi Drummond,
first I want to say what an inspiration you are to so many people. Your work is awesome and so much of it is innovative as well.
But I have a couple of specific questions......
What gauge metal did you work with on the various body rust repairs? Was it galvanized?
What tools did you need over and above a welder, some vice grips or clamps, a disc grinder and vice? I have to do the rear fender lips and inner fenders and am sufficiently inspired by you to attempt it when I get the garage.
In fact, maybe a post listing and showing all the "specialty" tools you used and for what would be really interesting.
thanks again for the inspiration and I cant wait to see the video of the finished car out in the sunshine running!
cheers
dinghyguy
Re: 1980 spider Restoration phase 2
Posted: Mon Jan 22, 2018 10:35 pm
by DRUMMOND
Hi Scotch & DinghyGuy
Thanks for the nice comments. its great to have this site where people's efforts can be shared to keep the spiders alive!
Dinghyguy:
Sheet metal gauges were from 22 to 24 depending on what area was being repaired same goes for the zinc plated metal this was used in areas where you could not protect once welded into place. Lower sill boxed sections behind door etc. these I just sprayed chassis rust protector inside and hoped they were reached.
U shaped vice grips, regular Vice grips, sheet metal flat plate grips, Strong magnets (a Must Have), Angle/Disc grinder/Cutter, Small wheel cutter,
tin snips, regular Vice, 42" Metal Brake, Assorted Metal Files, Spot welder cutters, Air hole/Flange Punch, Hacksaw, Rubber mallet, Metal mallet and dies. you don't need all of these items but they do help get the job done better and faster.
I will work on a shop/photo list of the tools that I have, bearing in mind I tried to spend as little as possible on this renovation.
Re: 1980 spider Restoration phase 2
Posted: Thu Jan 25, 2018 11:16 am
by familyman
Did you have a shop do custom seat covers? Did they recover your dash and center console as well?
Re: 1980 spider Restoration phase 2
Posted: Thu Jan 25, 2018 4:57 pm
by davidbruce
First off. Very nice work Drummond. Project creep is a slippery slope. Cutting some corners can start to seem attractive. You obviously have stayed the course. Dinghyguy, I am compelled to mention that galvanized sheet metal should be avoided when doing bodywork. First and foremost the fumes from welding will make you sick ( google metal fume fever). And secondly galvanizing doesn't play well with many paints.
Re: 1980 spider Restoration phase 2
Posted: Thu Jan 25, 2018 9:47 pm
by DRUMMOND
Hi Familyman
They are not seat covers, its all genuine vinyl upholstery. Everything has been custom made by yours truly! See, you get to expand your knowledge base when you own a Fiat Spider

Hi Davidbruce
Thanks for the kind words! Yes cutting corners did look attractive at times, but Murphy was lurking around!
Re: 1980 spider Restoration phase 2
Posted: Thu Jan 25, 2018 9:58 pm
by Jimb
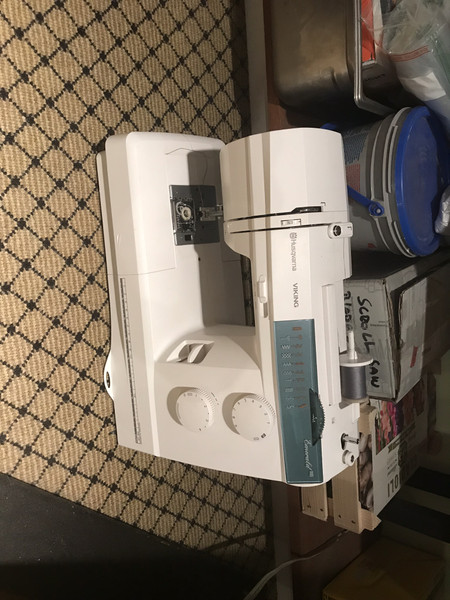
Drummond, You must be spending a lot on special equipment to be able to do the various tasks. It's one thing to take on challenging projects,...and I've never been one to shy away from expanding my horizons whenever possible... but not everyone has (for example) a commercial sewing machine sitting around...let alone an instructor keeping it "at the ready".
Jim
Re: 1980 spider Restoration phase 2
Posted: Fri Jan 26, 2018 11:48 pm
by DRUMMOND
Hi jimb
I wish I had an industrial sewing machine! but I had to do with this one, which was borrowed permanently from a relative

The job I did would not hold up to concours standard, but is ok for a fun car.
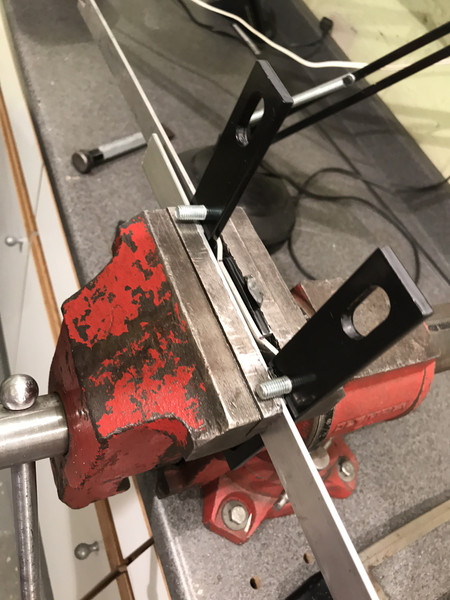
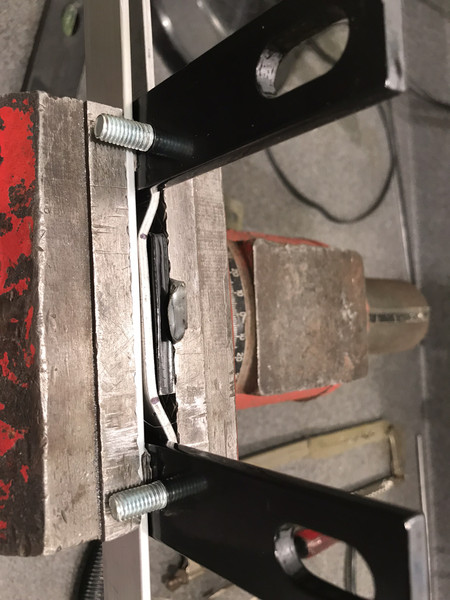
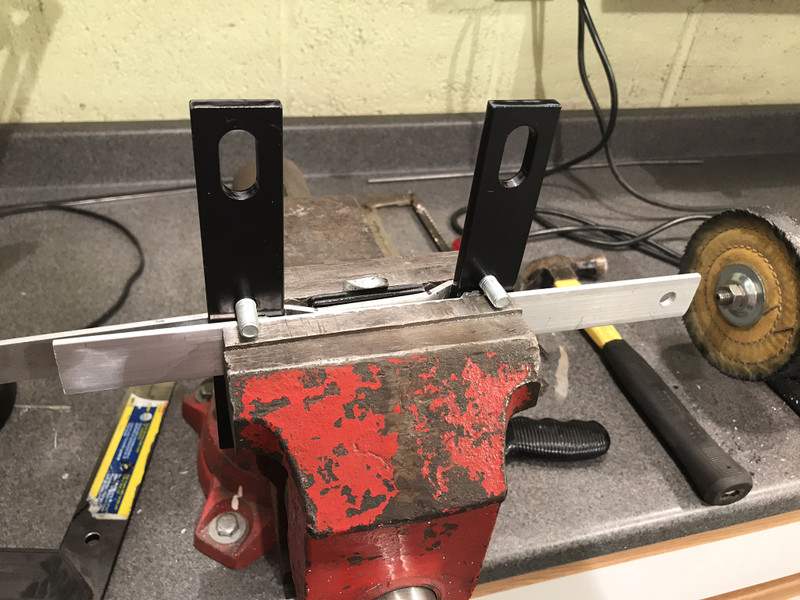
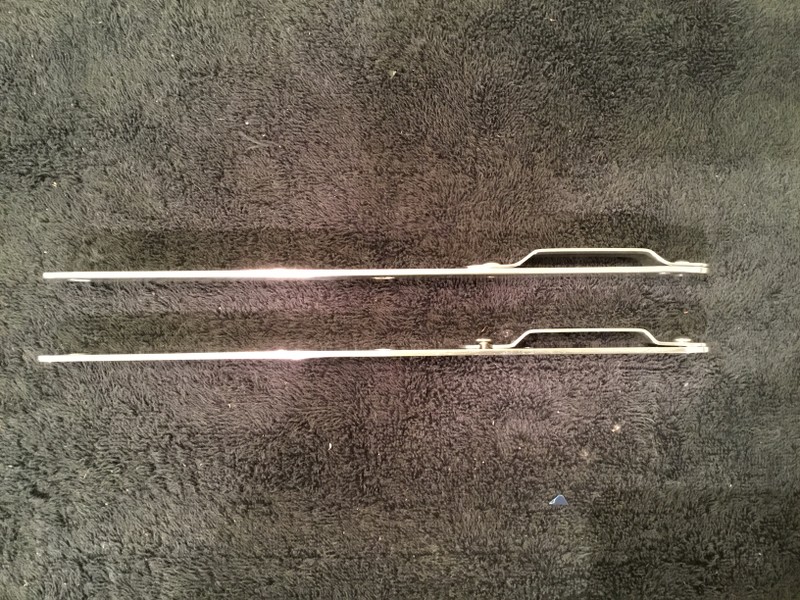
I have tried to spend as little money as possible in this restoration. Case in point I did not want to spend $40+ on a ugly seatbelt holder (my opinon) so i made my own version with some scrap metal and time.
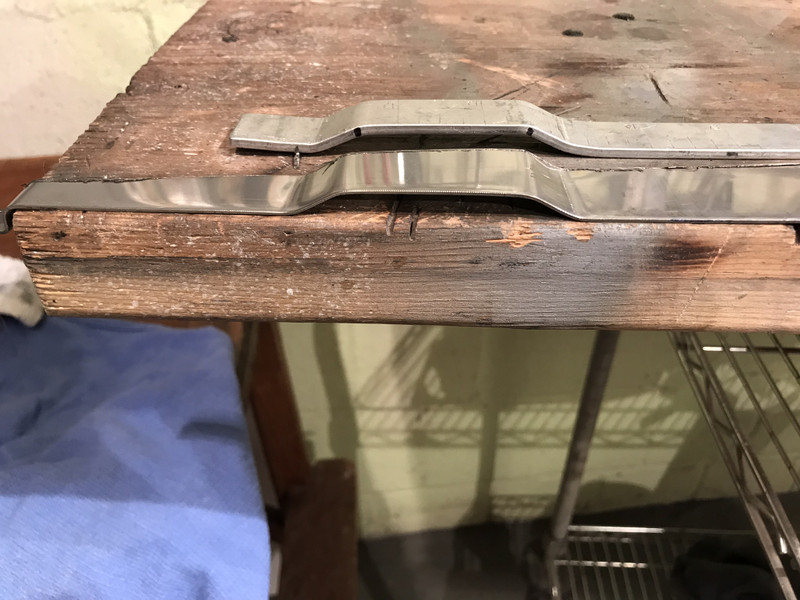
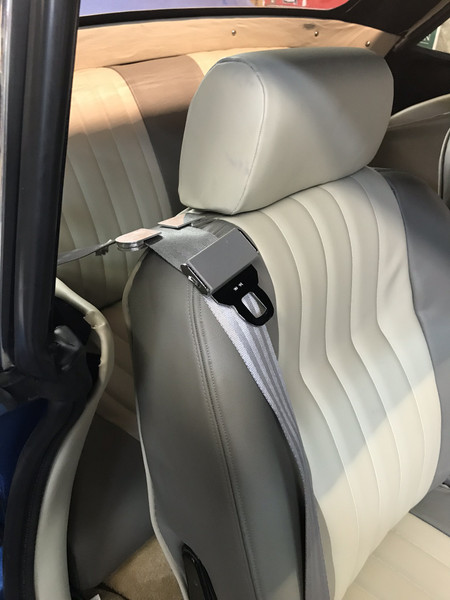
The largest single expense I have had so far is the Paint. For a future post I will post a expense list for the total renovation
Re: 1980 spider Restoration phase 2
Posted: Sat Jan 27, 2018 7:59 am
by RRoller123
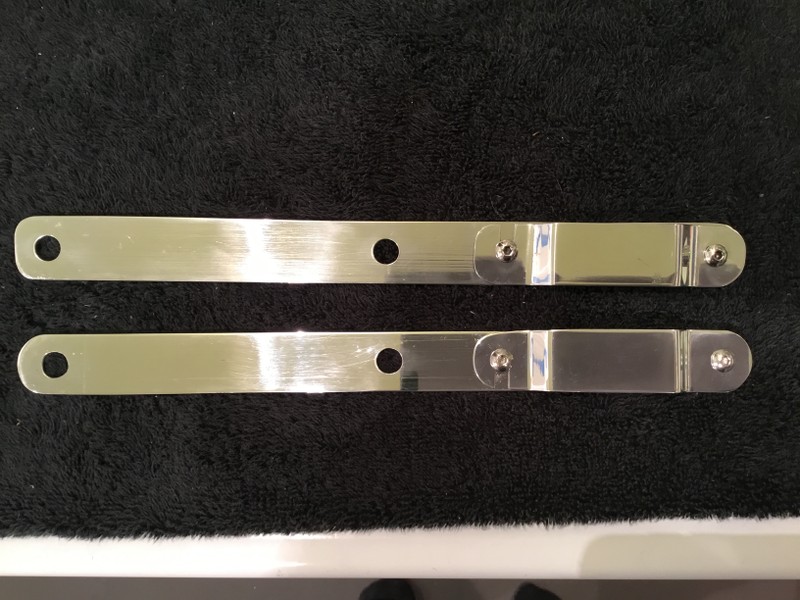
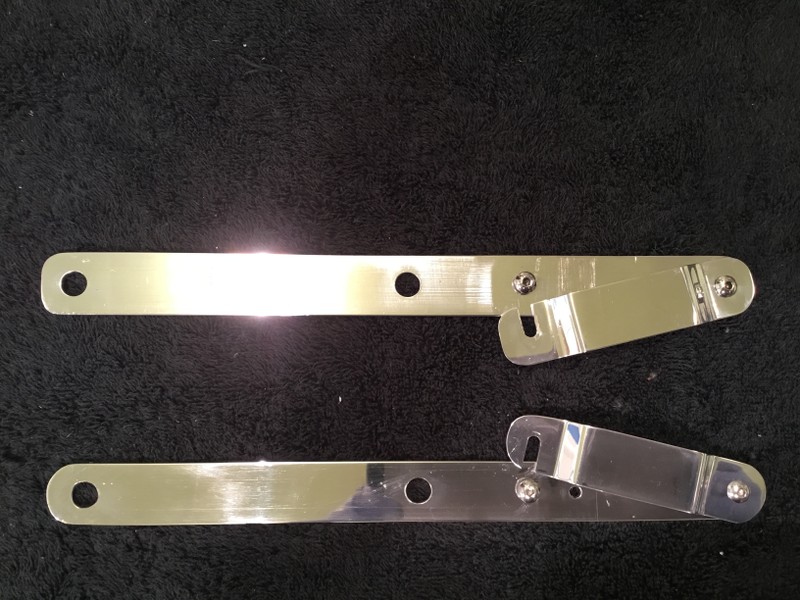
Really nice. On the seat belt holder, how did you attach the small pieces out at the end on top that retain the belt? Screwed in from below? Welded somehow?
Re: 1980 spider Restoration phase 2
Posted: Sat Jan 27, 2018 8:45 am
by Nanonevol
Concours Schmoncours this is a beauty!
Re: 1980 spider Restoration phase 2
Posted: Tue Feb 06, 2018 10:39 pm
by DRUMMOND
Hi RRoller
I placed a dab of epoxy on each piece, Just to hold them in place. I tried a few variations and finally settled on these ones
Thanks for your kind comments Nanonevol !


