Page 3 of 19
Re: 1980 spider Restoration phase 2
Posted: Tue Oct 04, 2016 11:17 pm
by DRUMMOND
Re: 1980 spider Restoration phase 2
Posted: Thu Oct 06, 2016 10:49 pm
by DRUMMOND
Re: 1980 spider Restoration phase 2
Posted: Fri Oct 07, 2016 8:23 am
by spider2081
WOW you are really going all out here. Great work.
There have been some posts where people have a hard time accessing the fuel filler hose upper clamp after the left side rear lower fender is permanently installed.
Re: 1980 spider Restoration phase 2
Posted: Fri Oct 07, 2016 11:32 pm
by DRUMMOND
Hi Spider 2081
If I remember correctly, I took the two tubes off in one piece. It was easier. If I didn't remember correctly i will find out

Thanks for that piece of advice
Re: 1980 spider Restoration phase 2
Posted: Mon Oct 10, 2016 11:14 pm
by DRUMMOND
Re: 1980 spider Restoration phase 2
Posted: Tue Oct 11, 2016 3:40 pm
by Frankd1
Great job!
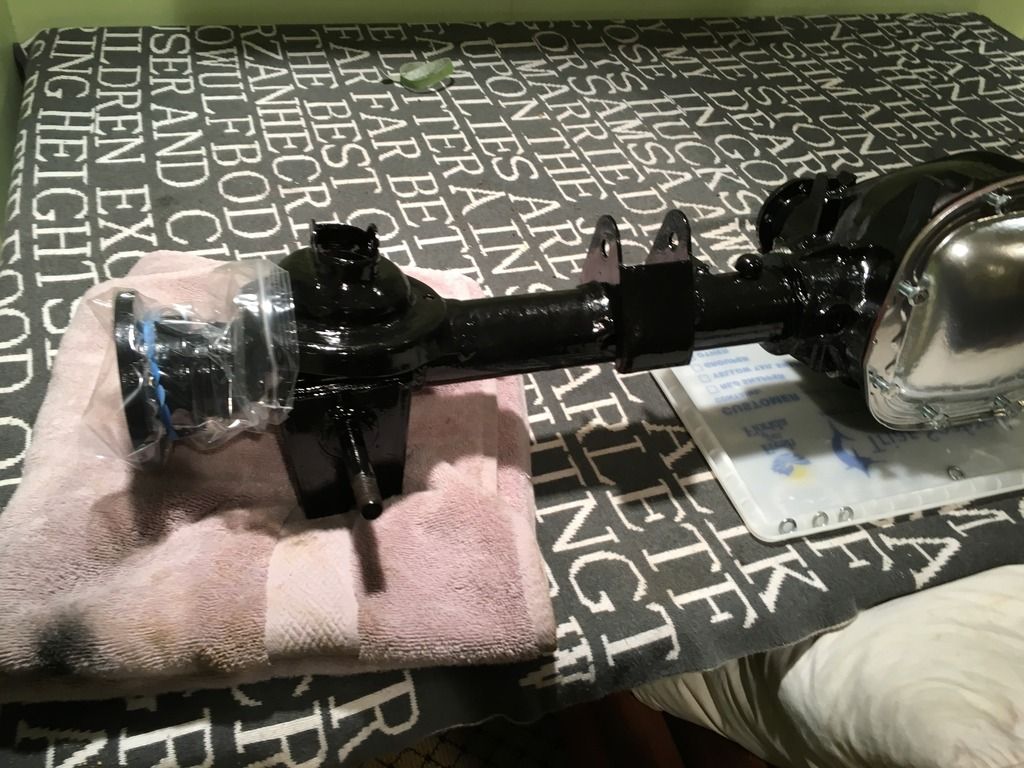
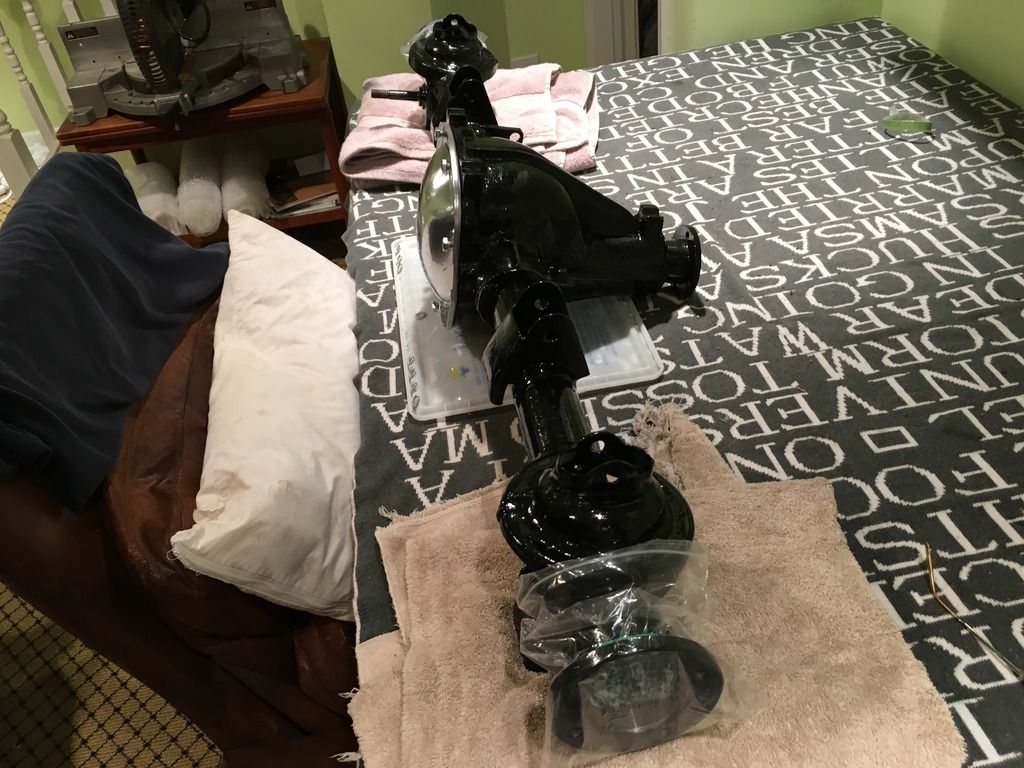
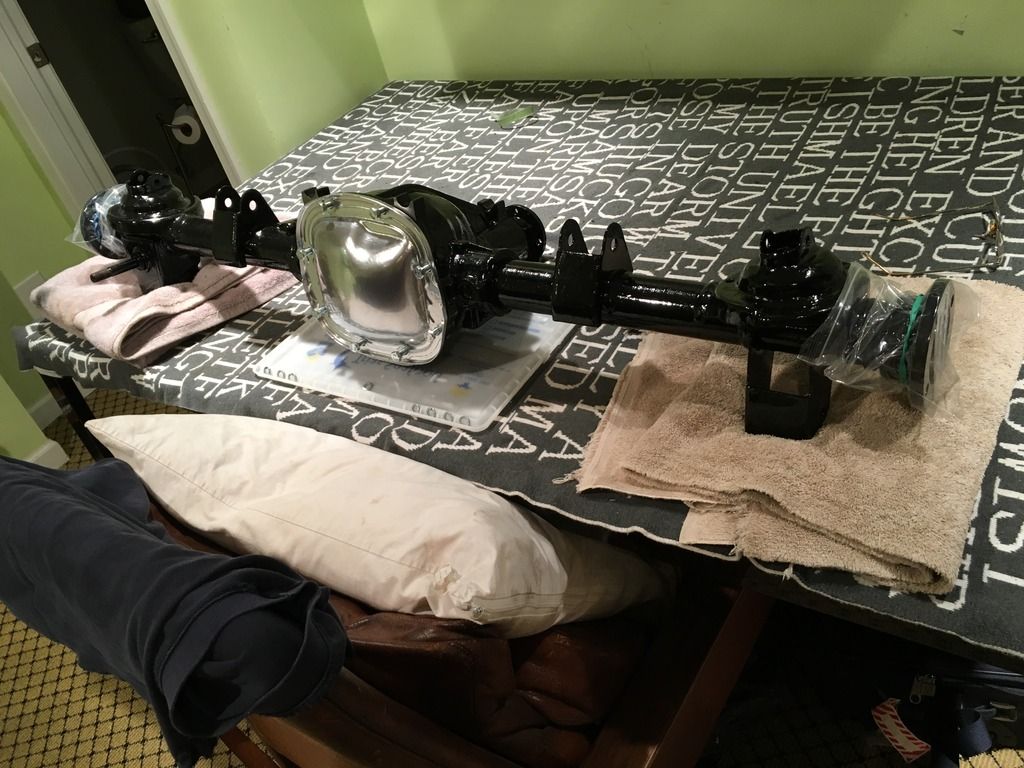
Was it soaking in vinegar for two weeks?
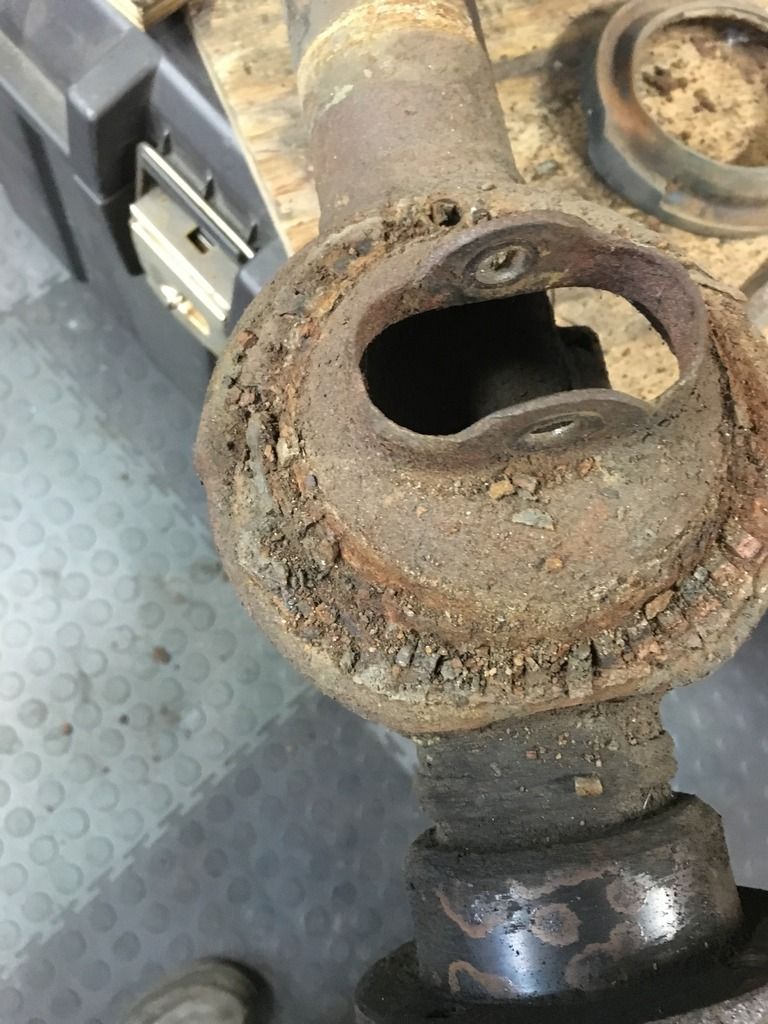
On the shock mount on the driver side of the rear end, it looked like there was a perforation....if it was how did you fix it? Weld it up?
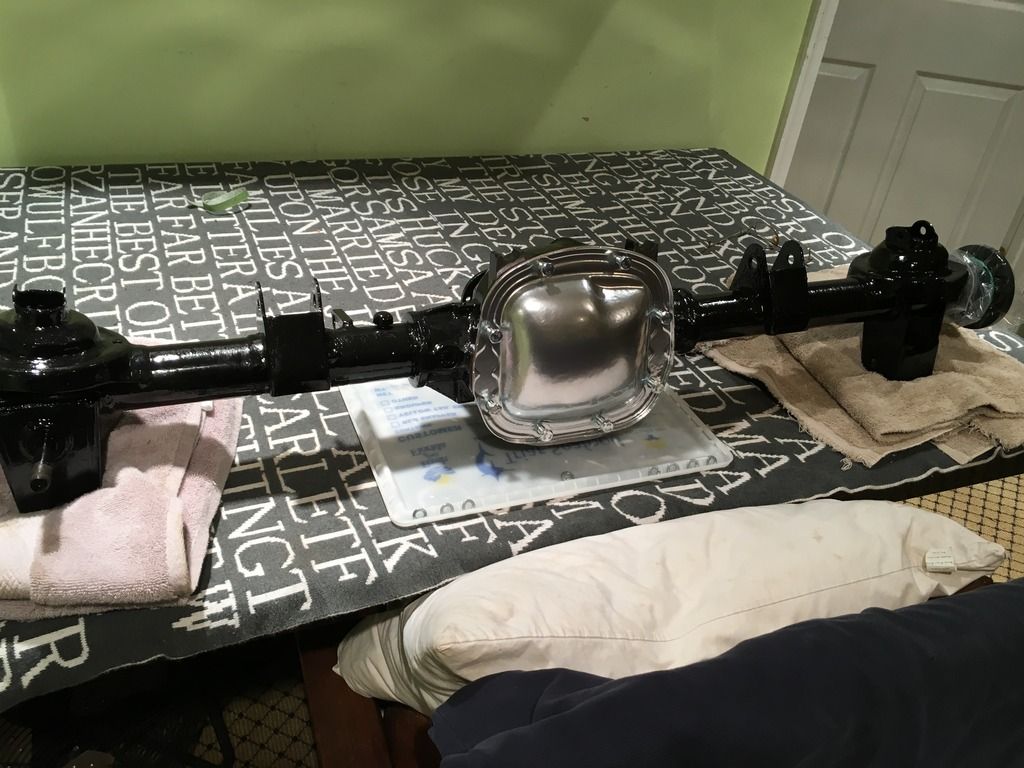
What did you paint the rear end with?
Looks great!
Re: 1980 spider Restoration phase 2
Posted: Wed Oct 12, 2016 12:08 am
by DRUMMOND
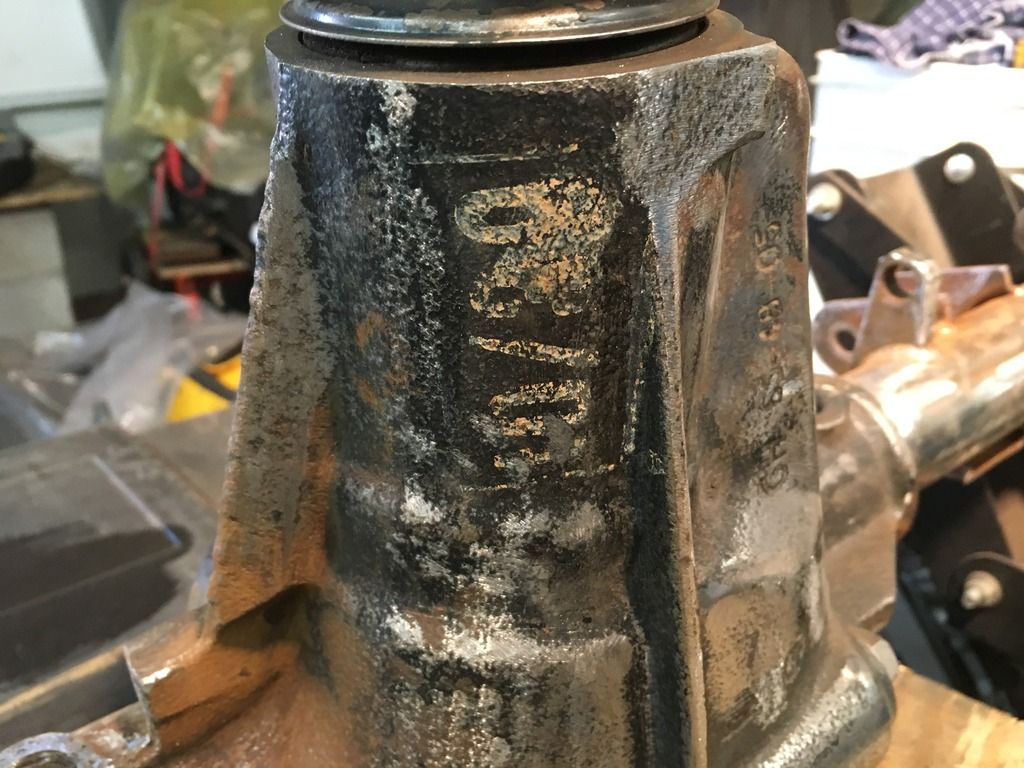
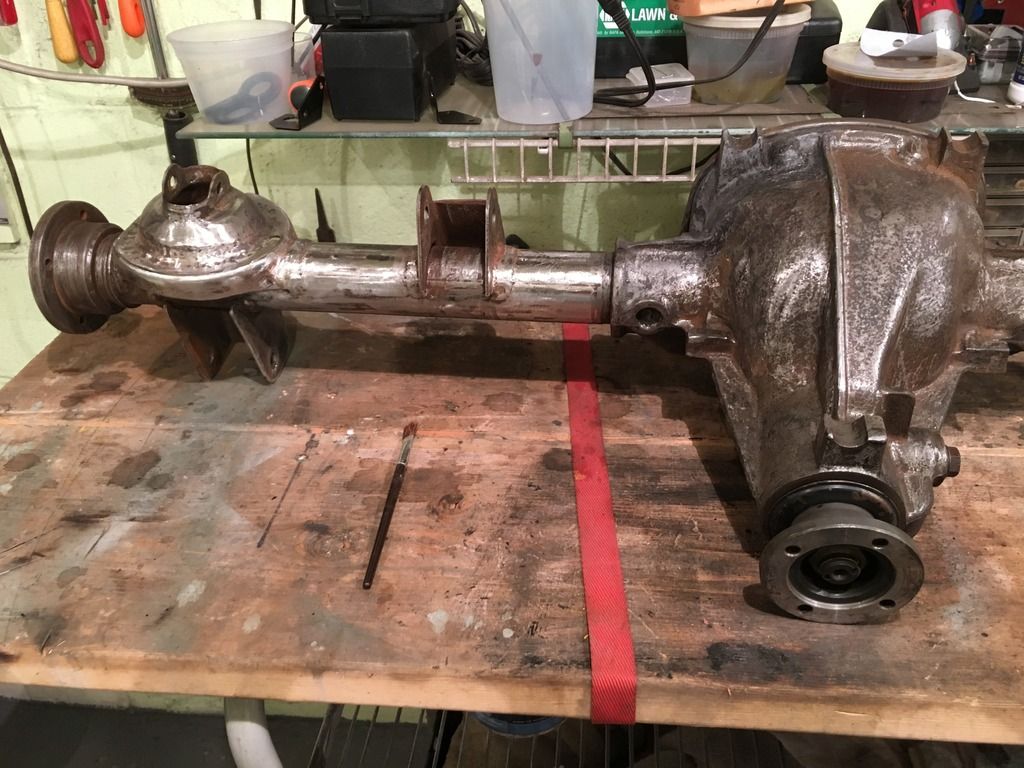
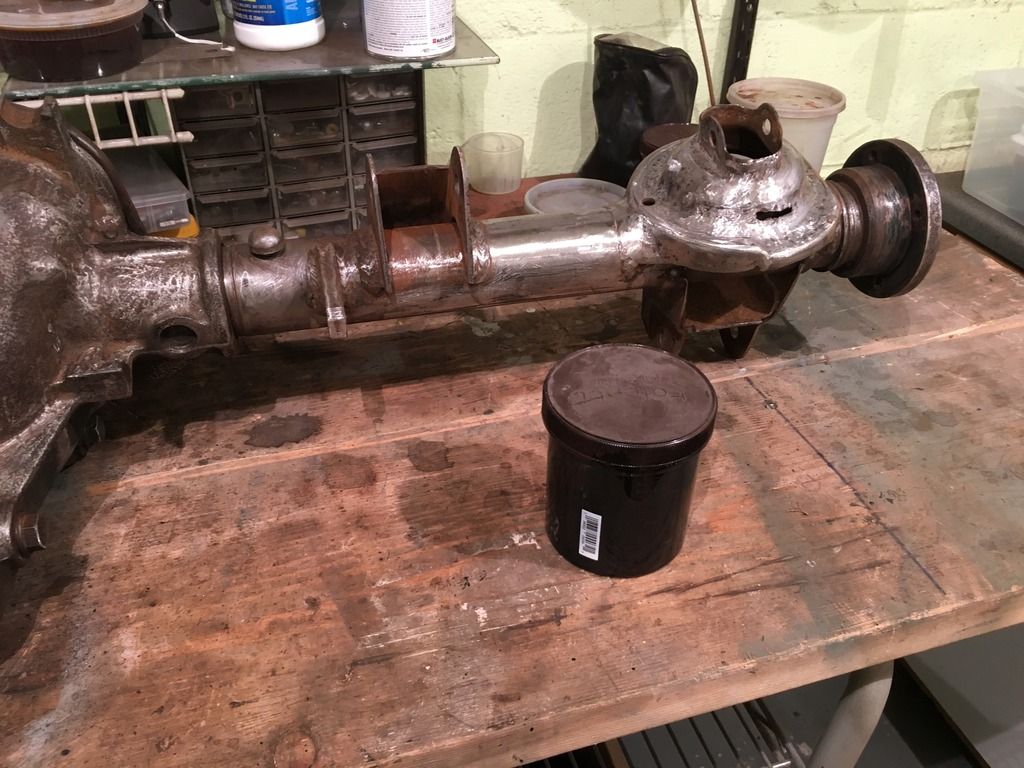
The shock seats look worse than what they were, there were small perforations that i fill welded. they are quite thick, just tricky to clean up the underside. Of course the spring seat is actually a ring bowl where water just collects when wet so I drilled two drain holes.
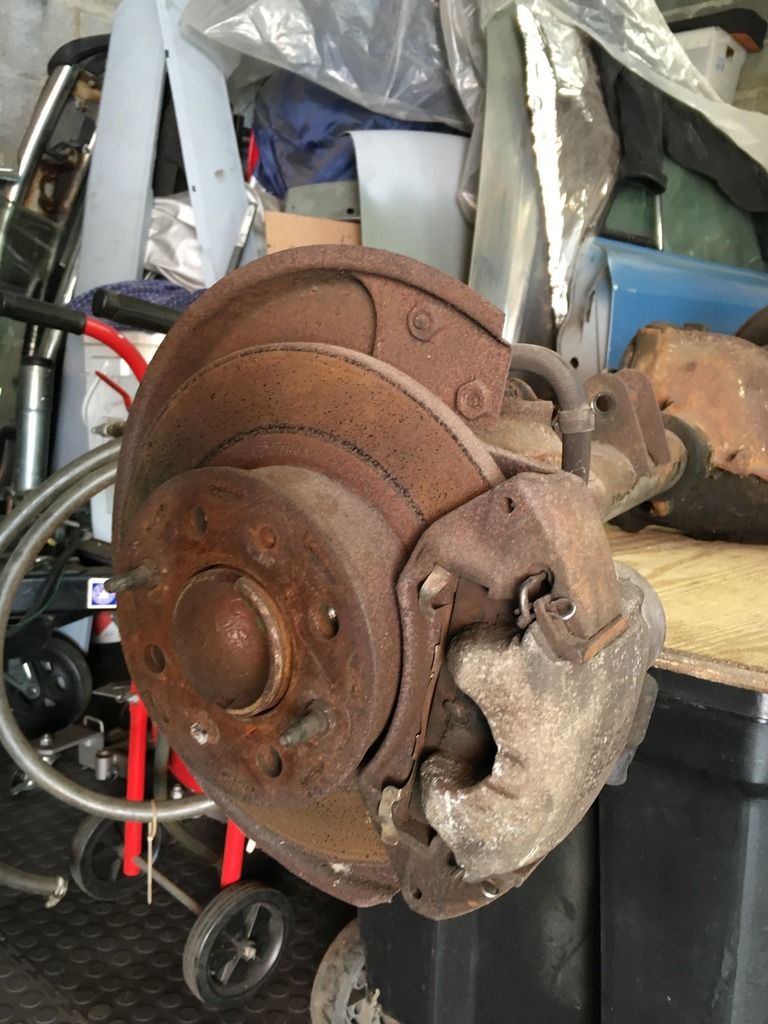
Five days for the vinegar bath (just the brake discs, backing plates and all the bolts) the rest was scraping the rust out of all the crevices on the axle and diff. I was determined to get it as new as possible and keep it that way.
Base paint POR-15 with black lacquer top coat. for the diff cover POR-15 and chrome paint
Re: 1980 spider Restoration phase 2
Posted: Sun Oct 16, 2016 11:18 pm
by DRUMMOND
Re: 1980 spider Restoration phase 2
Posted: Sun Oct 16, 2016 11:31 pm
by DRUMMOND
Re: 1980 spider Restoration phase 2
Posted: Mon Oct 17, 2016 7:25 am
by spiderdan
Hi DRUMMOND.
I was just enjoying your thread with my morning coffee.
Amazing work...you must be proud of what you have accomplished.
I went to your 1st thread, and if I may quote you...
"This one only needs new floor pans, repairing the rusted seats??, new top, New windscreen gasket, new console, new dash? So Far! First time I have come across a Fiat that is rusting from the inside out?"
Project creep?
Tx for posting.
Re: 1980 spider Restoration phase 2
Posted: Mon Oct 24, 2016 10:54 pm
by DRUMMOND
Hi DRUMMOND.
I was just enjoying your thread with my morning coffee.
Amazing work...you must be proud of what you have accomplished.
I went to your 1st thread, and if I may quote you...
"This one only needs new floor pans, repairing the rusted seats??, new top, New windscreen gasket, new console, new dash? So Far! First time I have come across a Fiat that is rusting from the inside out?"
Project creep?
Tx for posting.
Hi Spiderdan Thanks for reminding me of being VERY optimistic

I had forgotten how rust loves Italian cars. Especially Fiats !!
I used to own four 131's and 1 124 coupe! how could I forget? One day I came out to see that one of the 131's had collapsed at the left front suspension??? rusted through

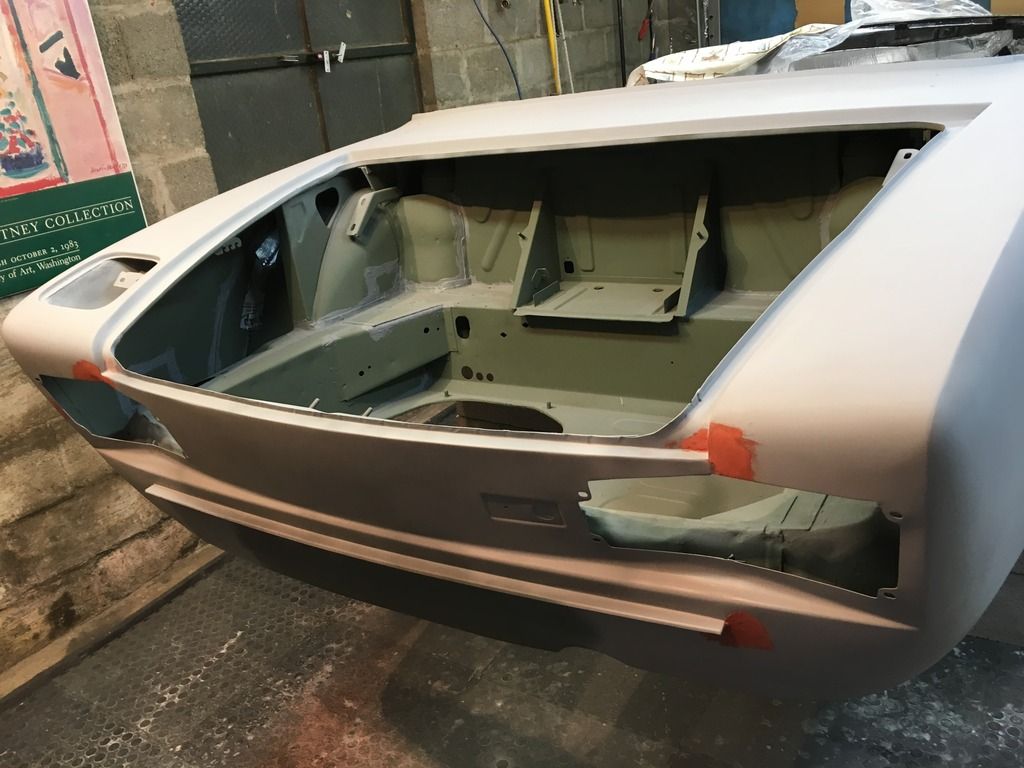
What got me worried though with this spider, was the electrical tape on the front and back brake hoses? The groaning of the steering, the drivers door would not close unless you lifted it up first, It felt like a jellyfish on the road, i had to wear wellingtons to get into the car, plus I would like to see if I can actually rust proof a Fiat!

OK, so I decided to go the whole new car feel and have some fun.
Project Creep indeed!!
Re: 1980 spider Restoration phase 2
Posted: Sun Oct 30, 2016 11:34 pm
by DRUMMOND
Re: 1980 spider Restoration phase 2
Posted: Mon Oct 31, 2016 8:20 am
by klweimer
DRUMMOND,
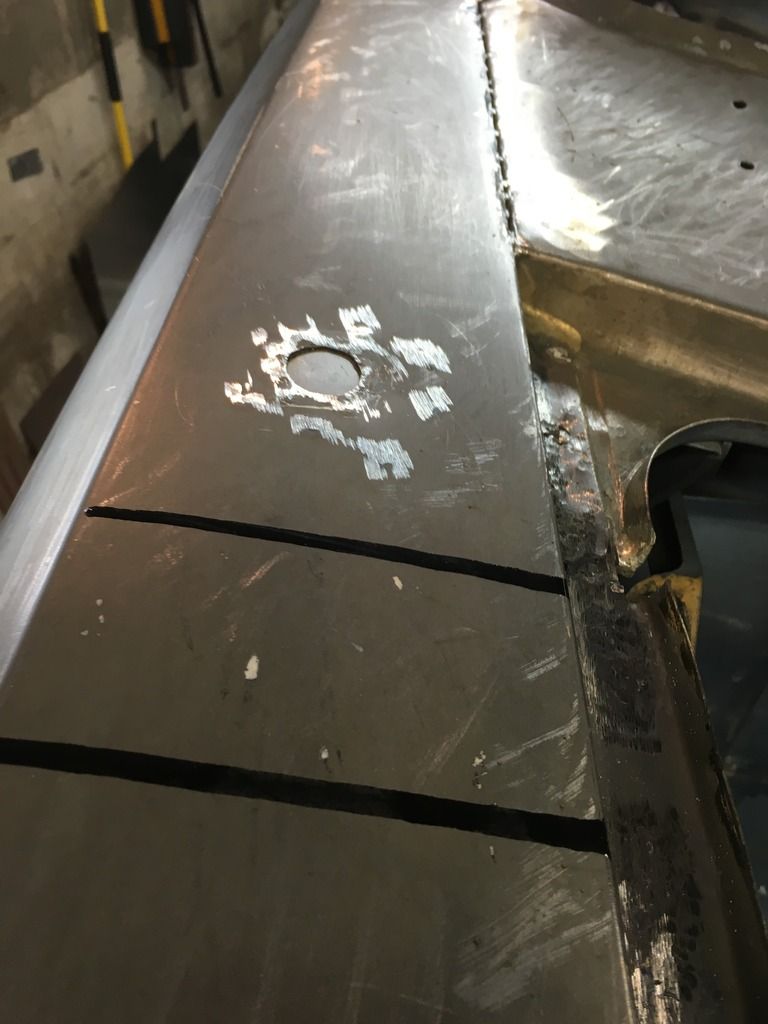
As always, great work. Questions - When you are cutting out rusted sheet metal, what do you use to make all the cuts so clean and straight? Followed by - What gauge steel are you using to fab all the patches? I assume bare steel? Some looks galvanized in the pictures.
Thanks,
Kirk
Re: 1980 spider Restoration phase 2
Posted: Mon Oct 31, 2016 11:07 am
by ScotcH
klweimer wrote:DRUMMOND,
As always, great work. Questions - When you are cutting out rusted sheet metal, what do you use to make all the cuts so clean and straight? Followed by - What gauge steel are you using to fab all the patches? I assume bare steel? Some looks galvanized in the pictures.
Thanks,
Kirk
yeah, it does look galvanized ... I thought welding galvanized was a no-no?
Just read up on it ... seems it's not pleasant (the fumes), but actually not dangerous long term.
Re: 1980 spider Restoration phase 2
Posted: Mon Oct 31, 2016 9:30 pm
by DRUMMOND
I use a metal cutting wheel on a sacrificial wooden base table with clamps, steel rule and marker to get straight cuts in the metal. I find the wheel is the best way with no distortion.
I use a variety of gauge thickness from 18 thru to 24 depending on the area and how hard it is to weld in place.
I also use non-coated steel and electroplated zinc steel (not the hot dipped galvanized which most have lead added) depending on whether I have access to protect the metal on both sides, or where extra protection in my mind is required.
The zinc electroplating is thin but gives 100% or so more corrosion protection than none, it also semi protects non-plated metal in the vicinity as an added bonus
Plenty of ventilation is required for all welding. I queried this topic to a professional welder who just looked at me funny, if you cant paint it why would you not use it? just take the zinc off the side you can paint (paint does not stick very well to zinc) and make sure you have plenty of ventilation.
