Page 5 of 19
Re: 1980 spider Restoration phase 2
Posted: Tue Nov 15, 2016 3:41 pm
by ScotcH
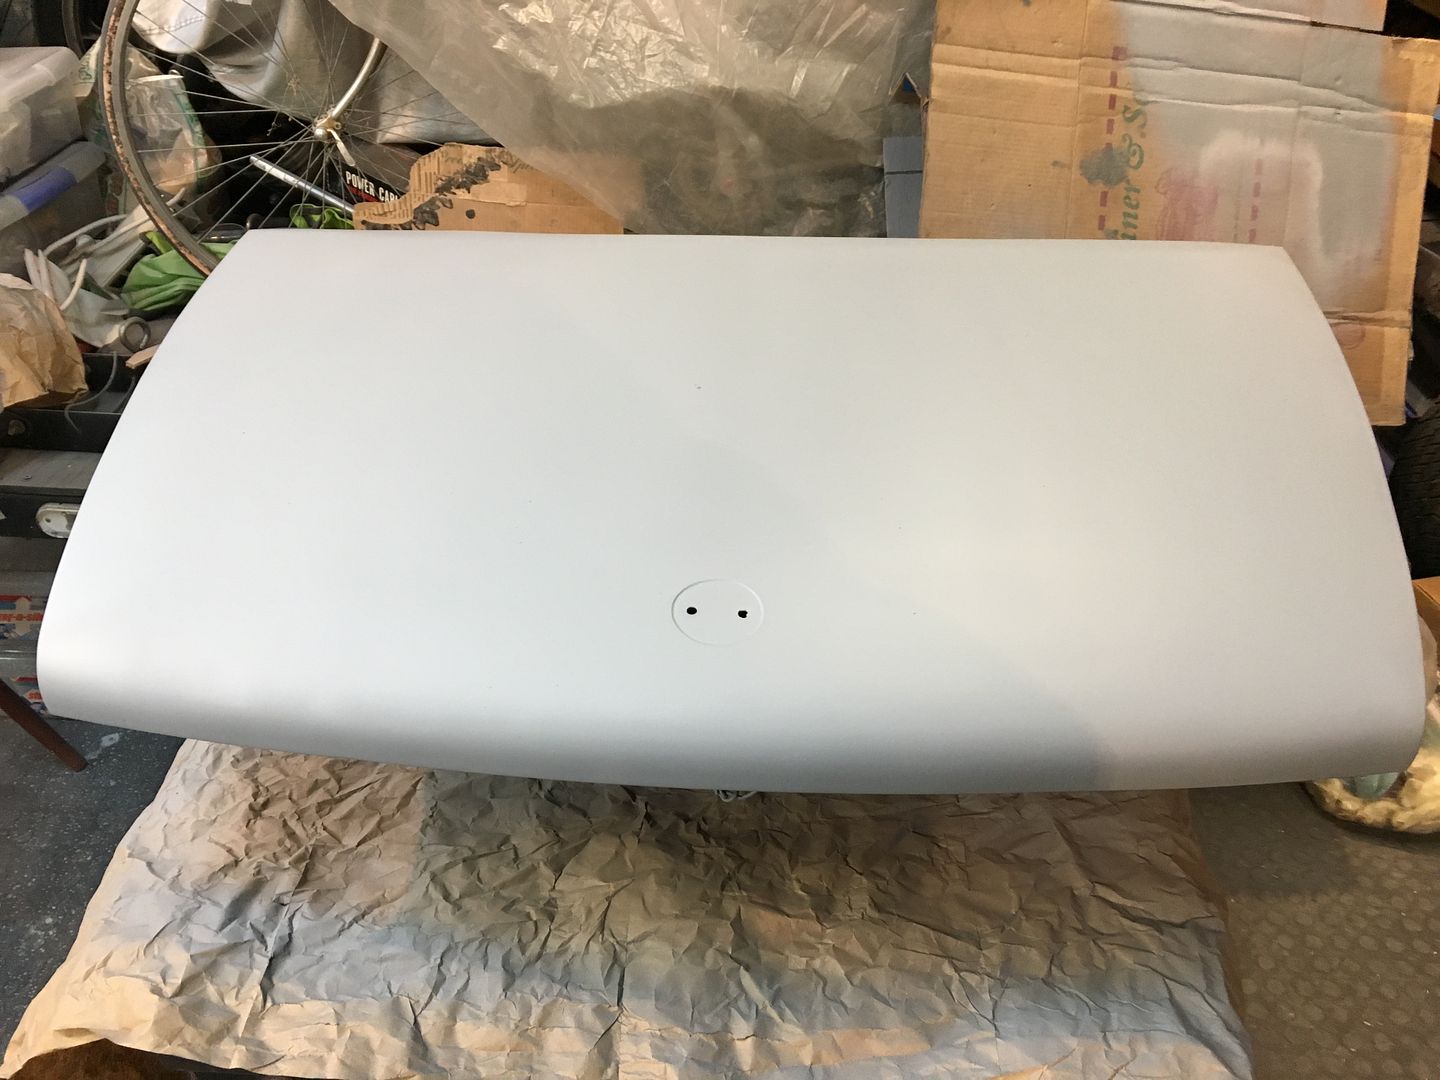
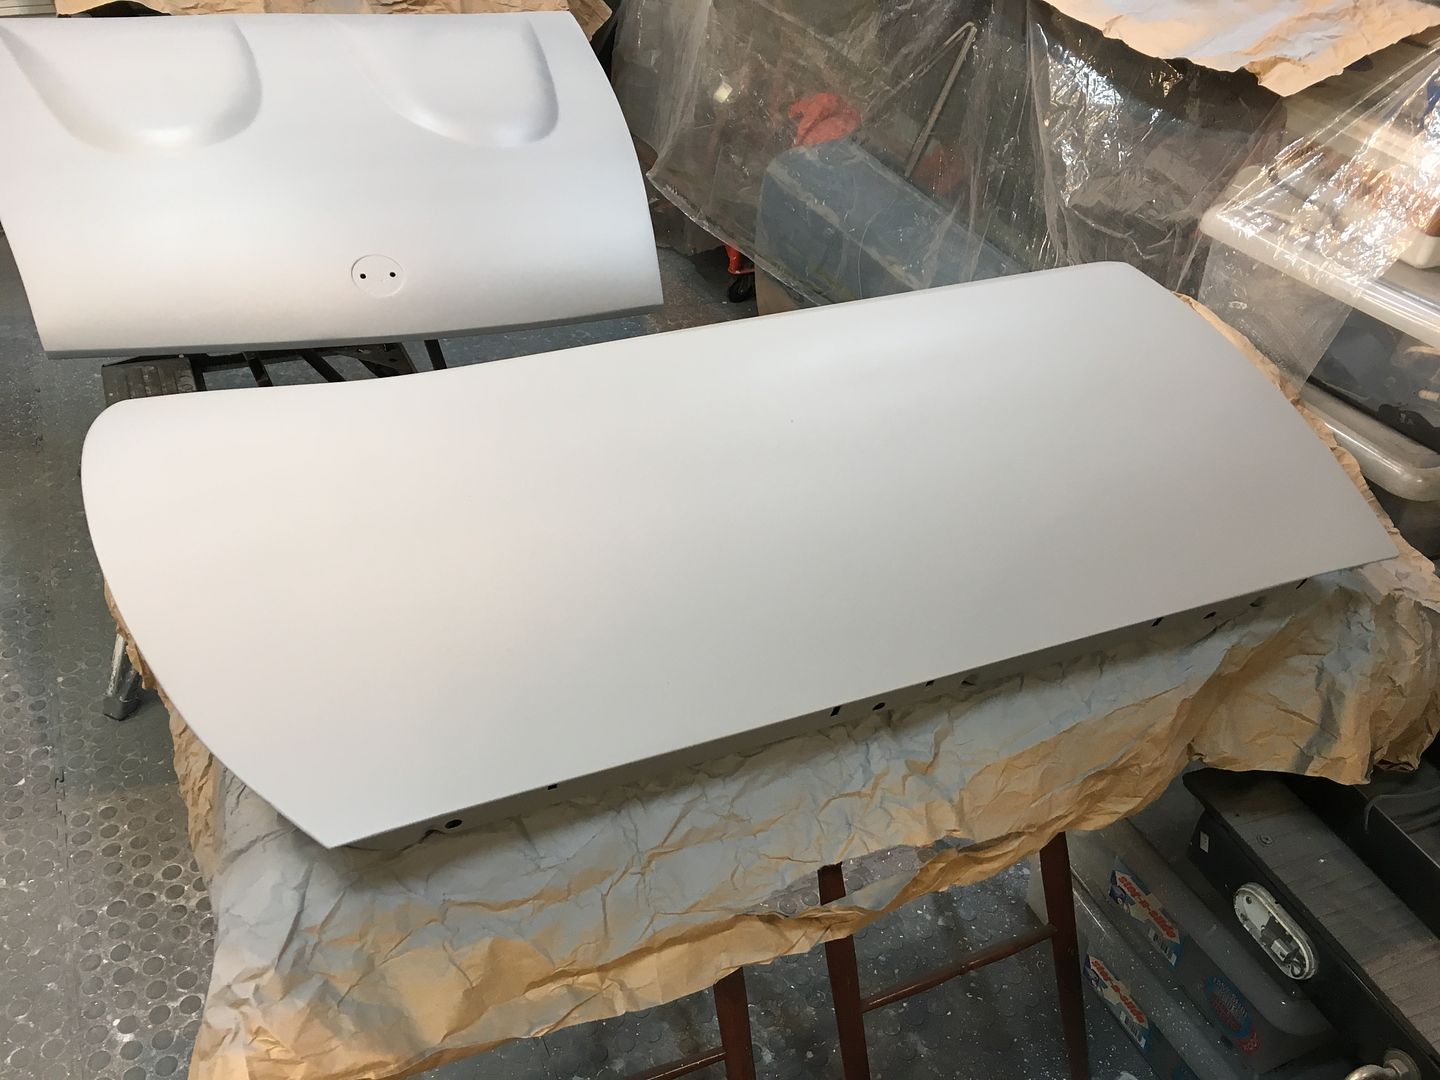
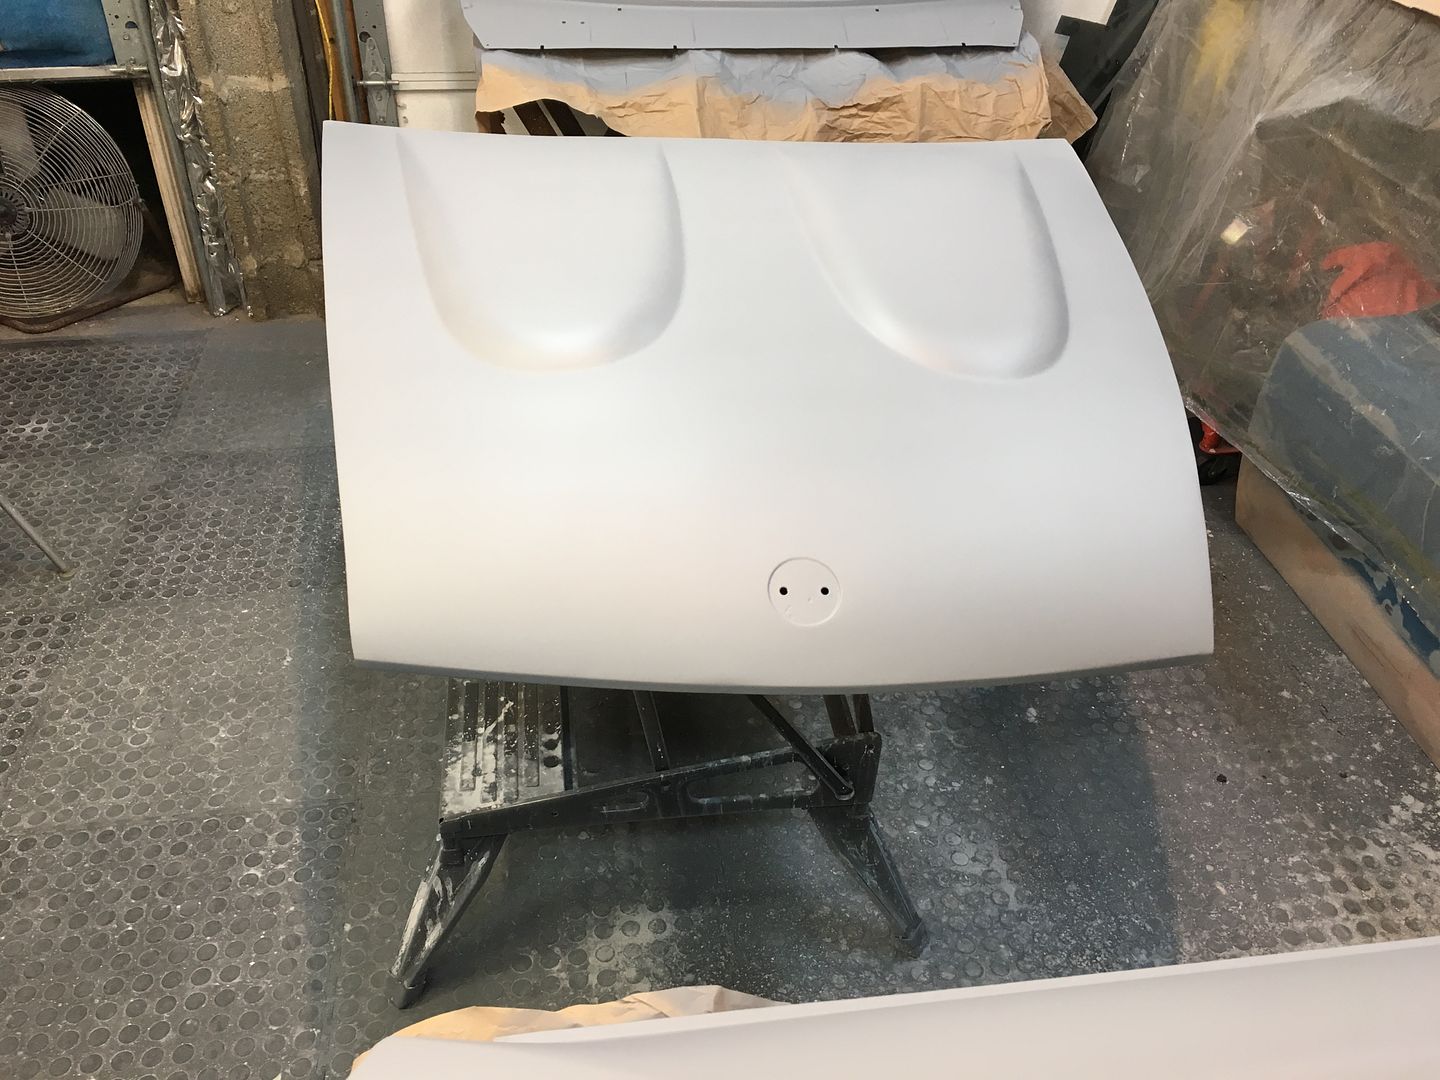
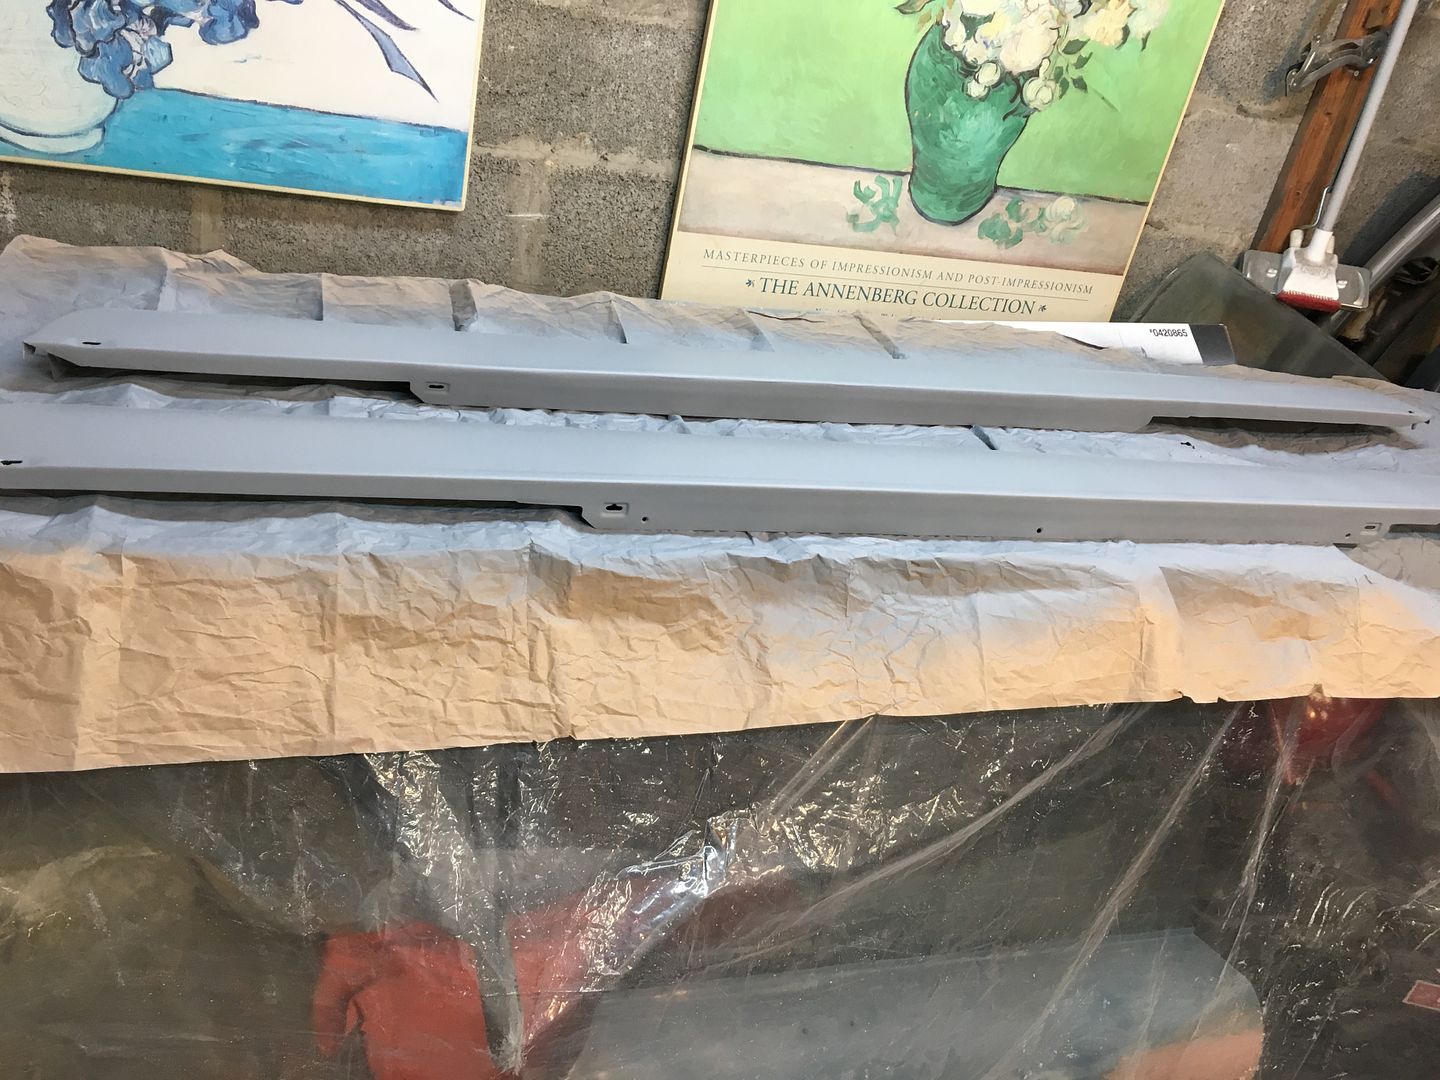
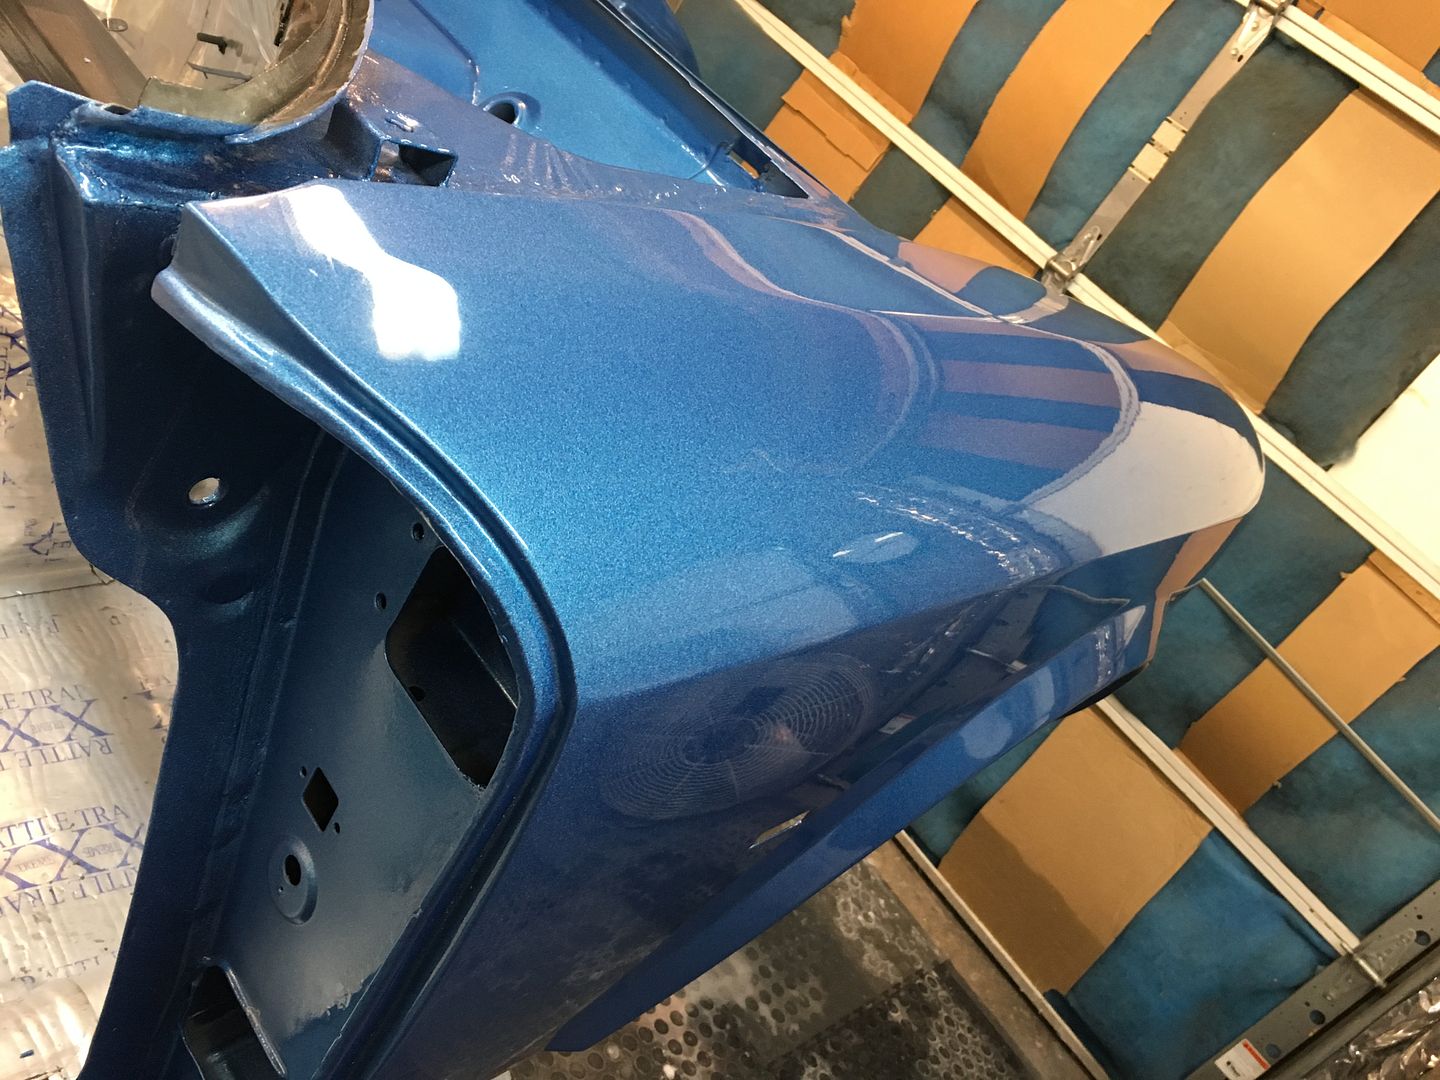
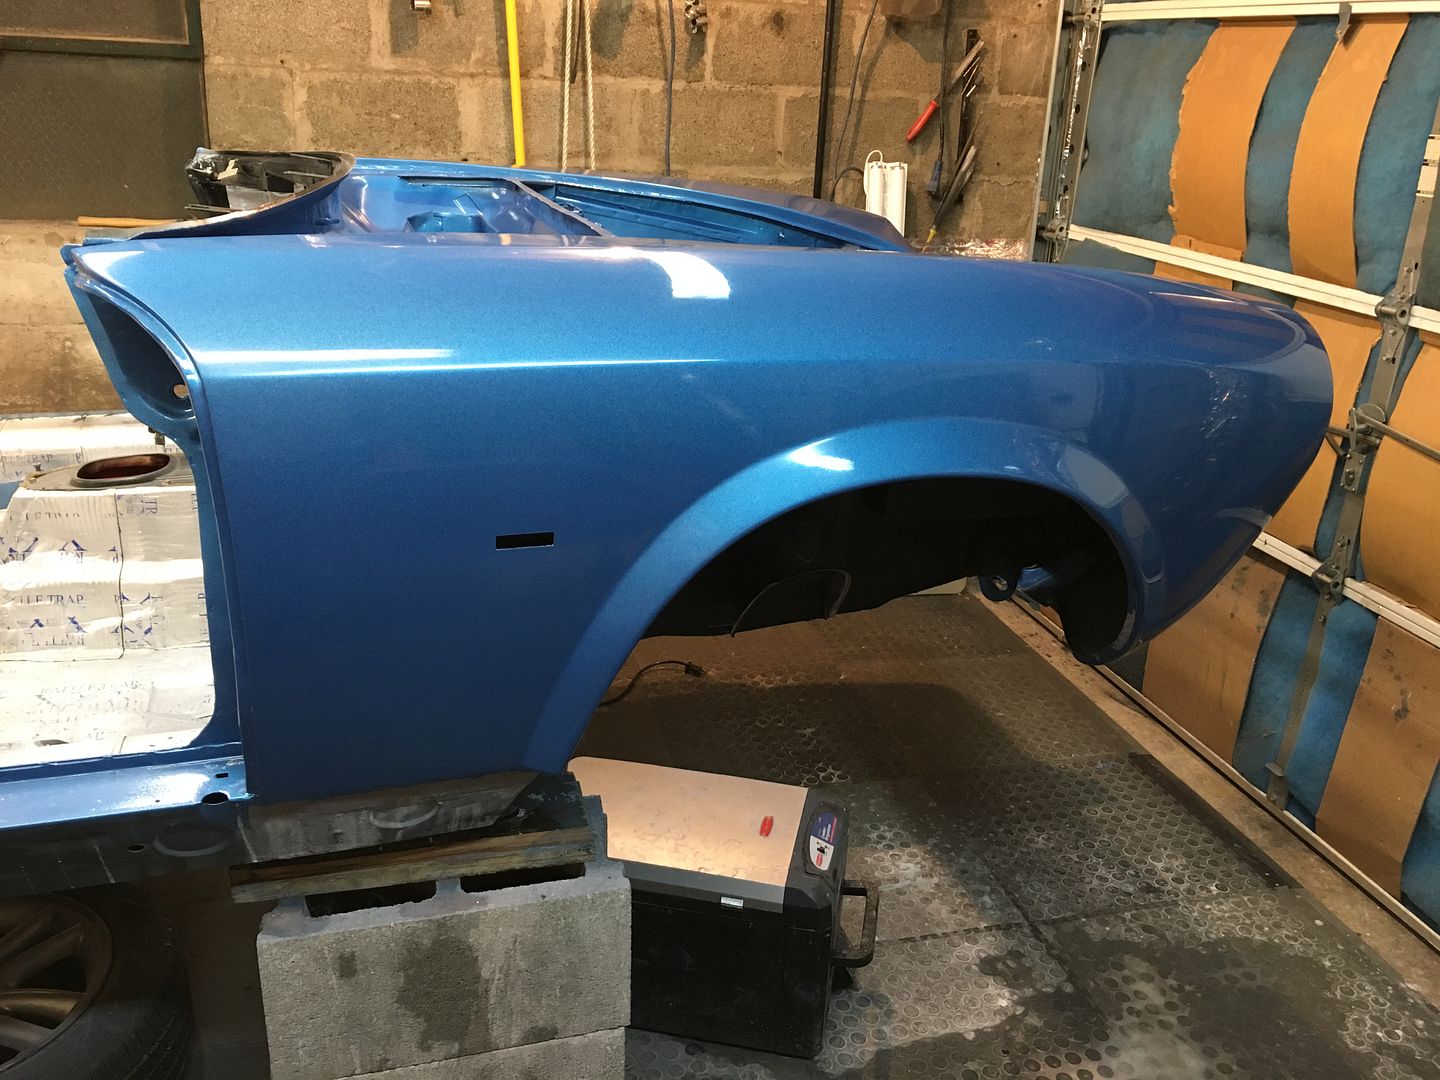
I'm sure the clear coat gloss look fantastic, but I gotta say, I LOVE the look of just the base coat! Kinda like the frozen colours from BMW. Would be neat to see a finished car like that

Re: 1980 spider Restoration phase 2
Posted: Tue Nov 15, 2016 10:05 pm
by DRUMMOND
Thank you for the kind words Spider2081!!
You know scotcH I had originally thought of doing the car in flat paint, but I did not think it would have matched the age of the car. When I put on the base coat and saw the finished result I said WOW that looks great! you can see all the beautiful sharp lines of the car in flat paint. The clear kinda absorbs some of the sharpness. but the gloss is amazing also, so I am kinda torn between the two.
Re: 1980 spider Restoration phase 2
Posted: Thu Nov 24, 2016 11:24 pm
by DRUMMOND
Re: 1980 spider Restoration phase 2
Posted: Fri Nov 25, 2016 8:18 am
by klweimer
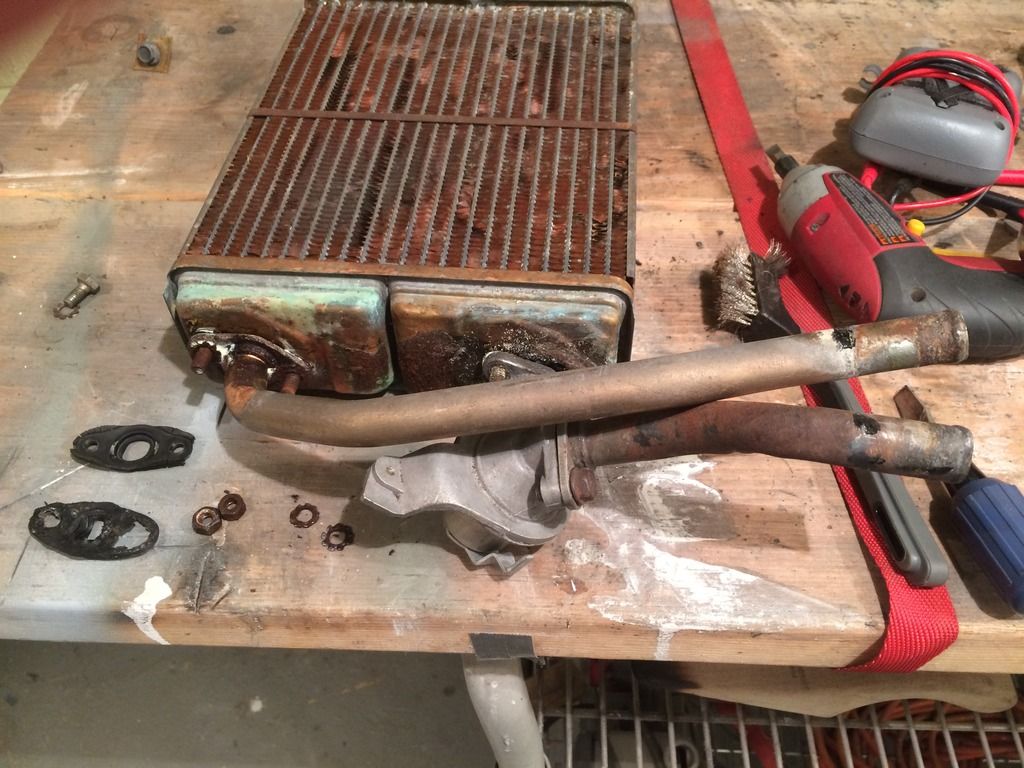
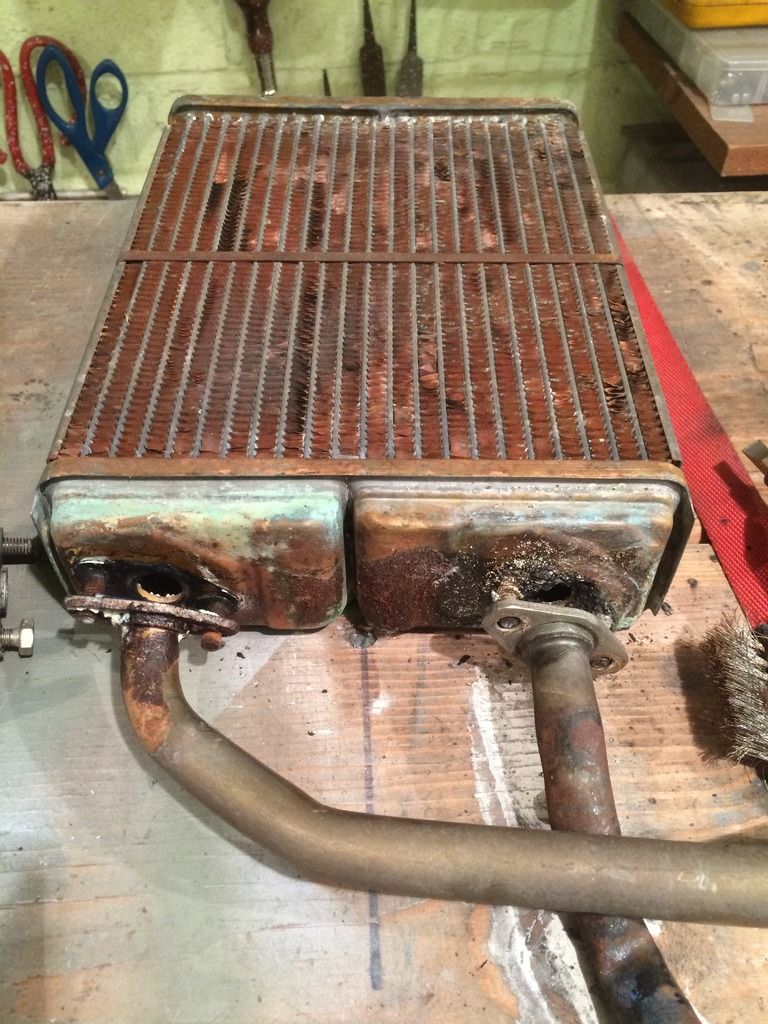
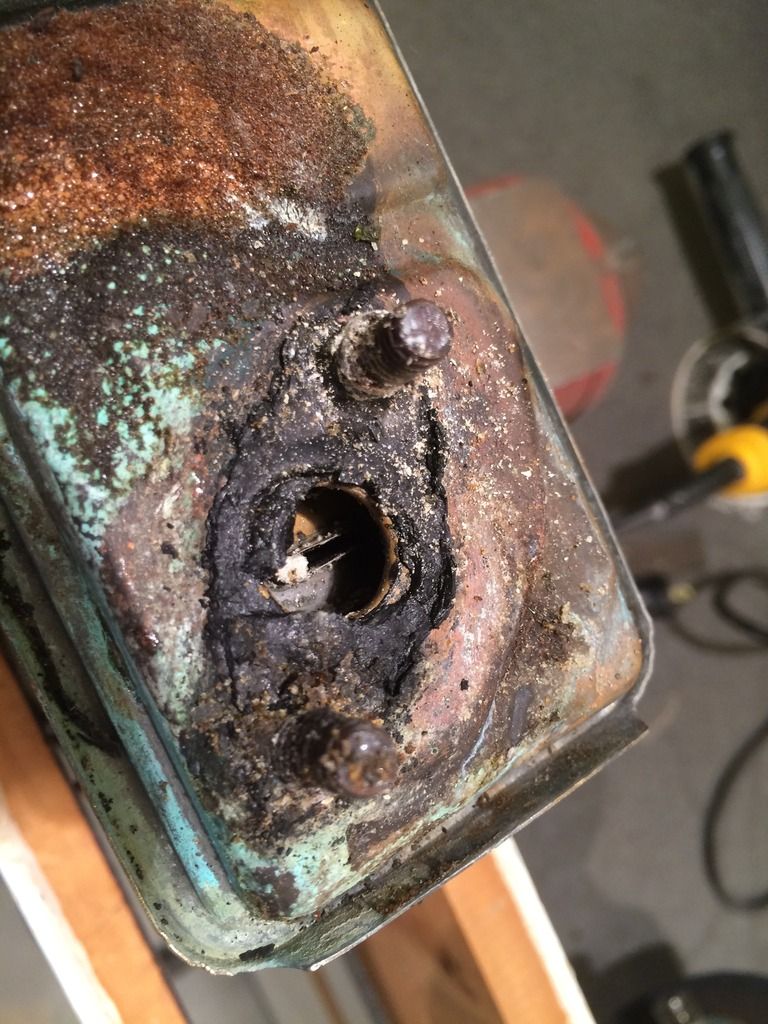
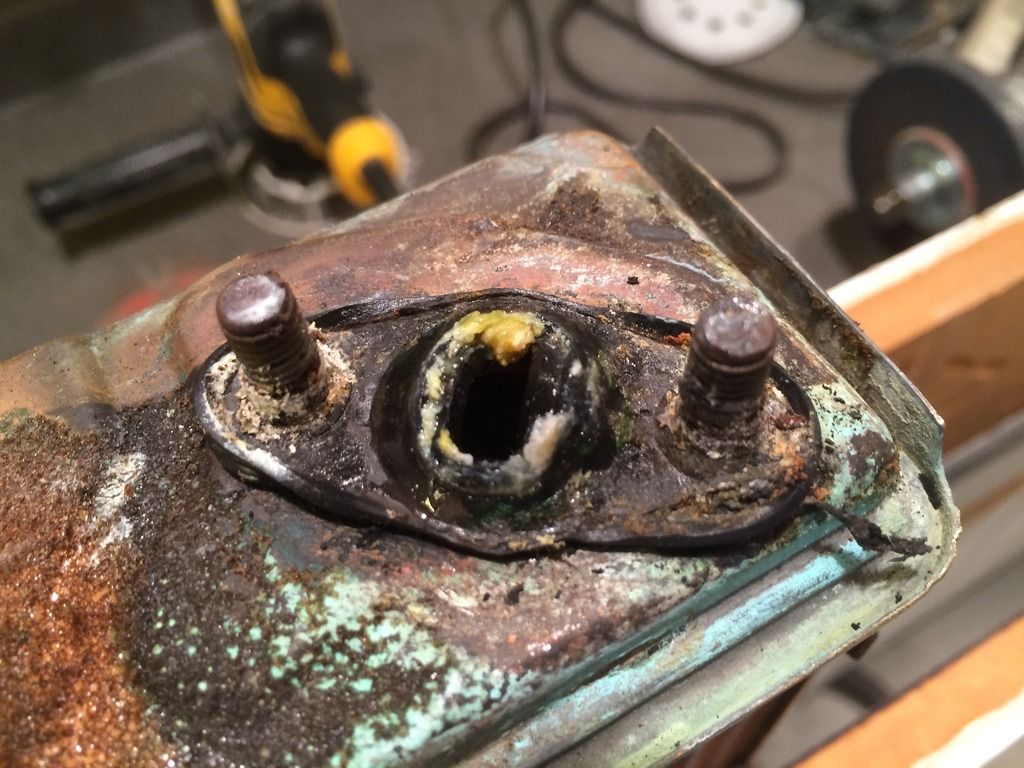
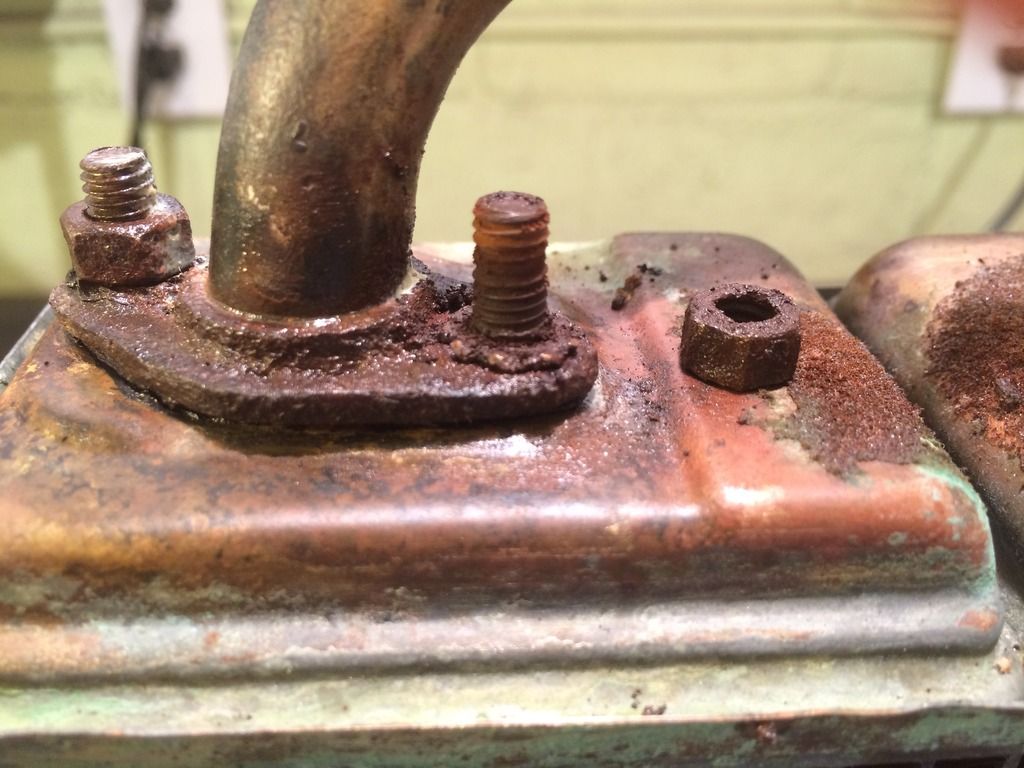
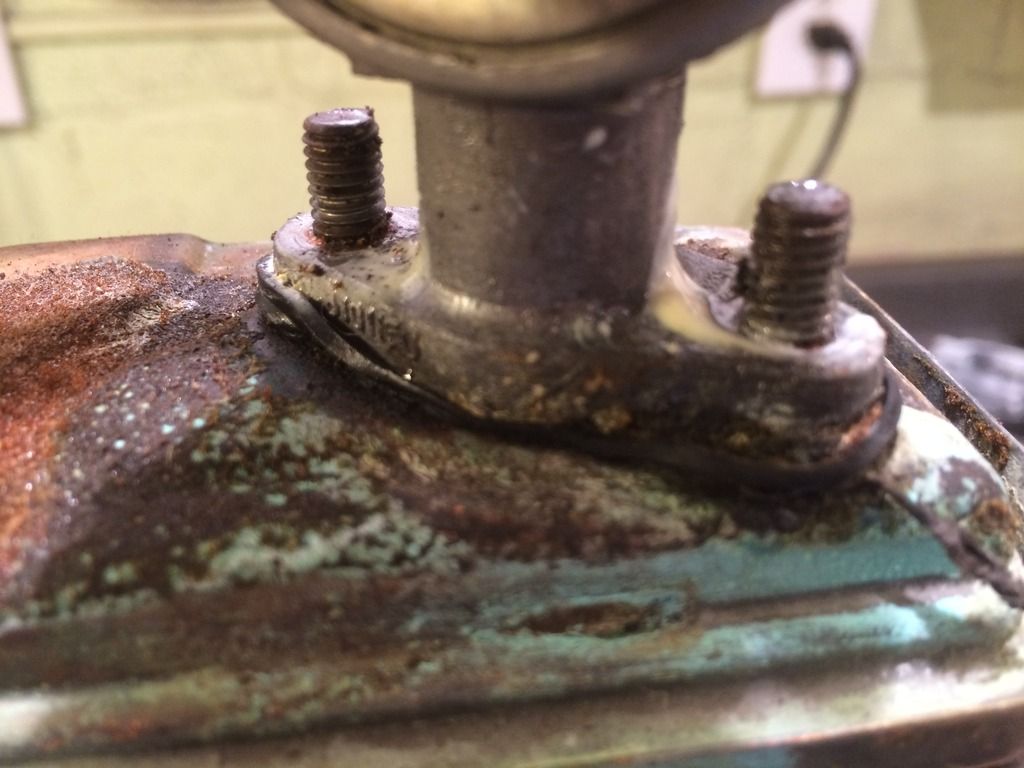
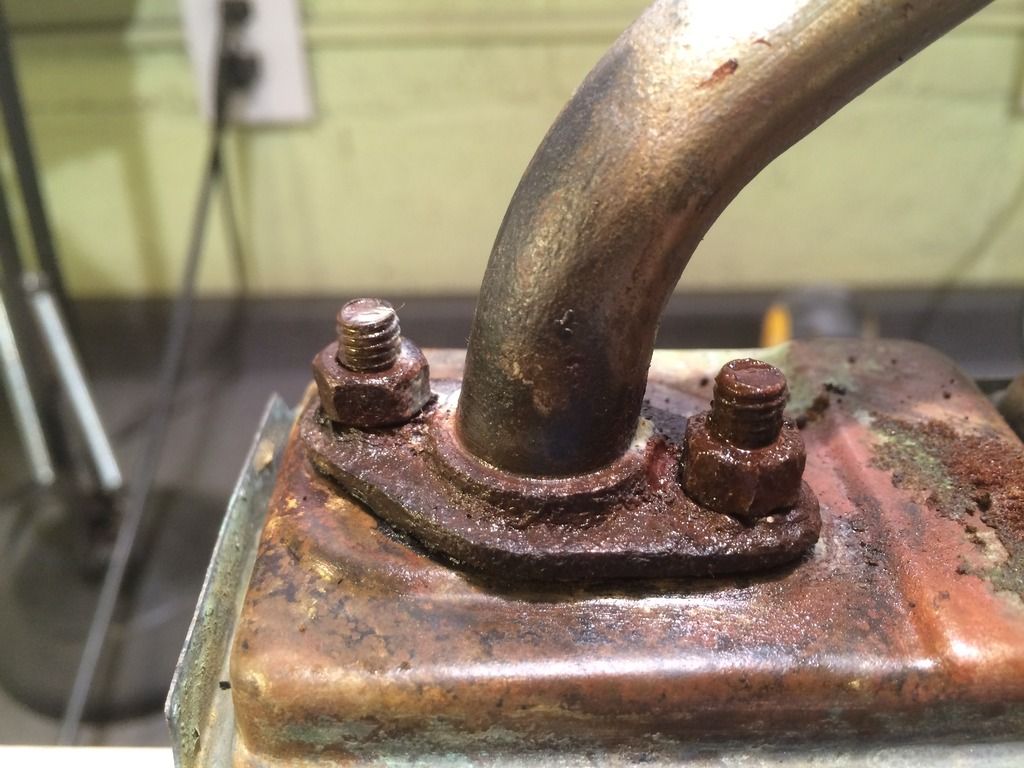
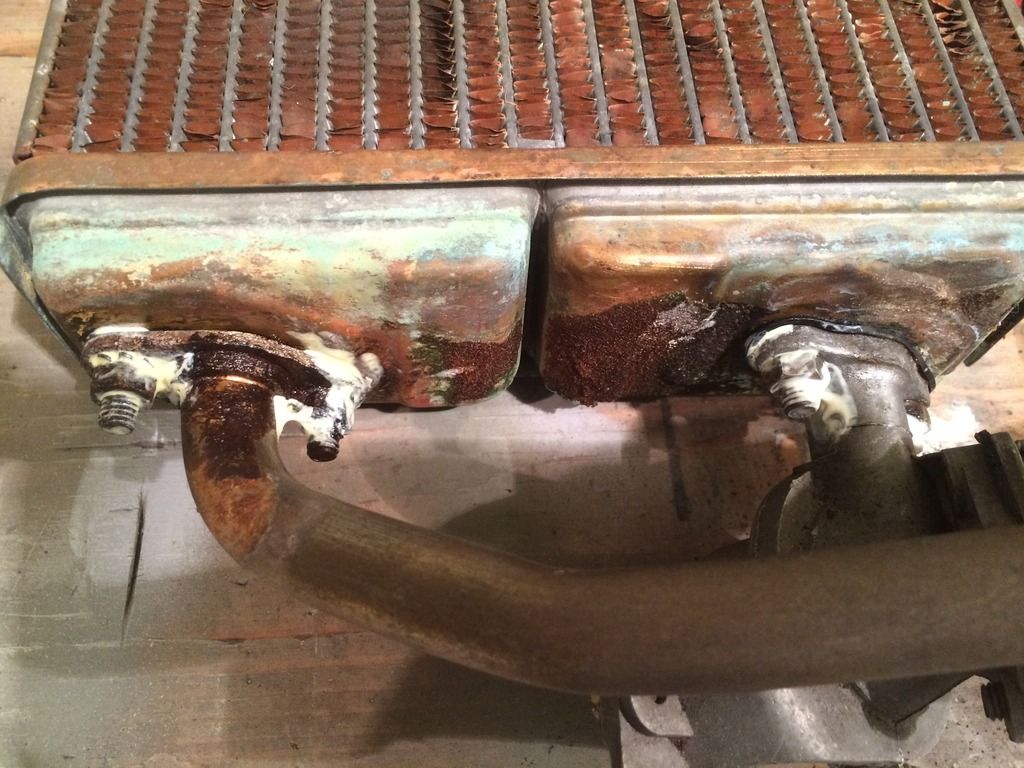
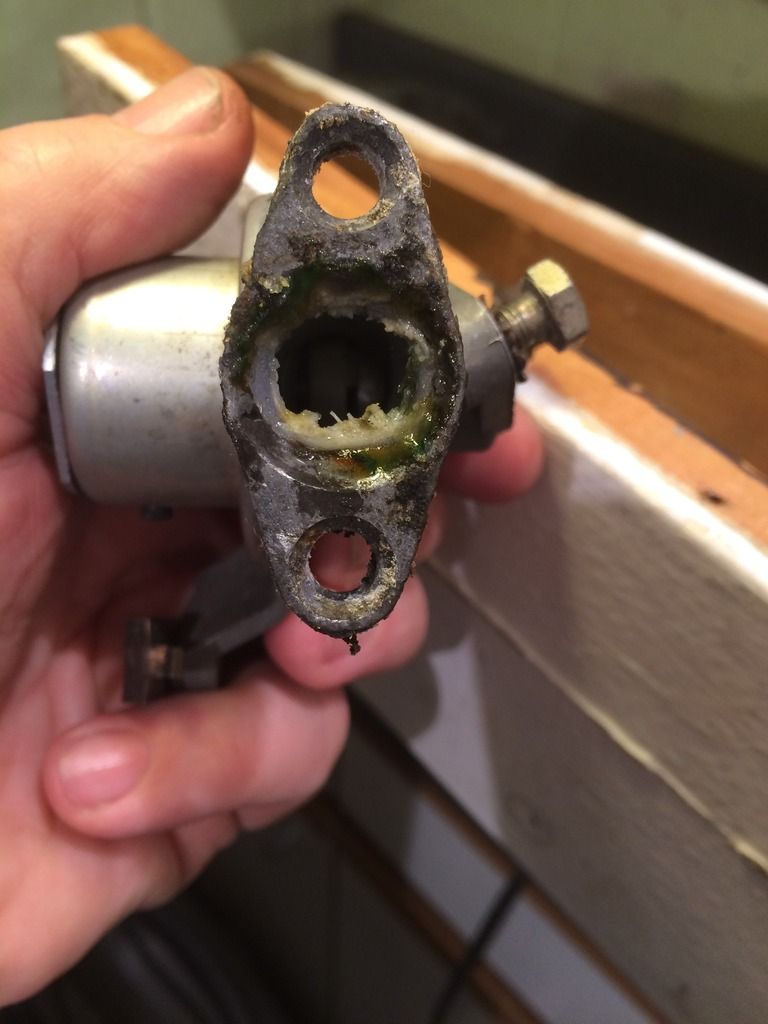
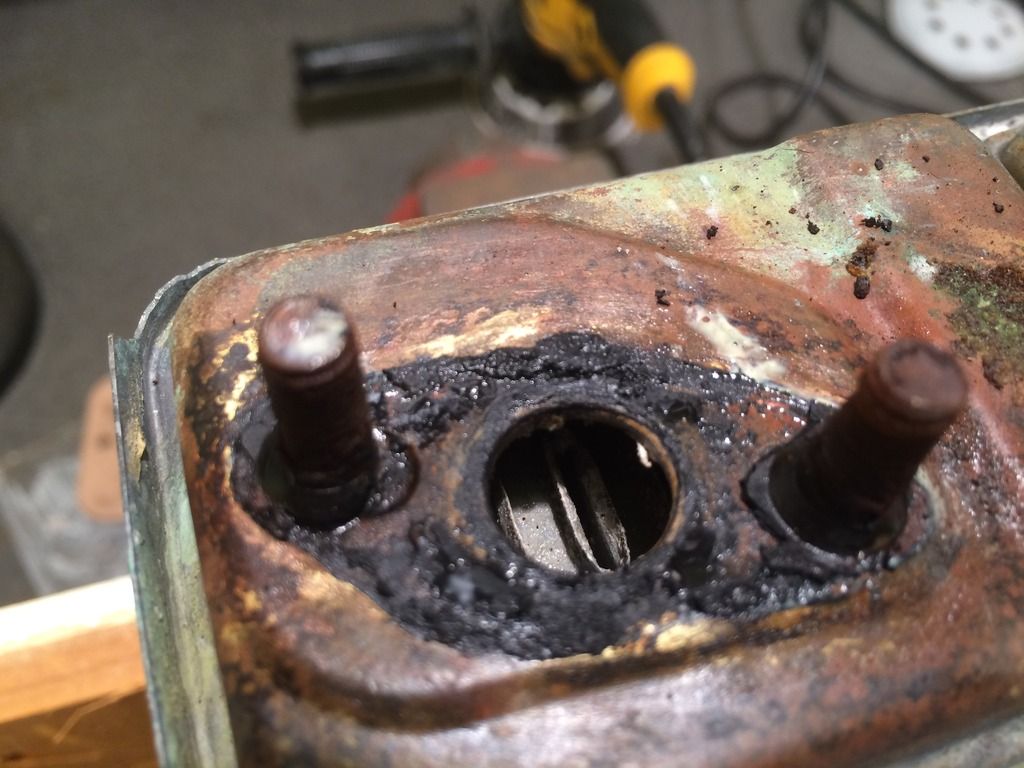
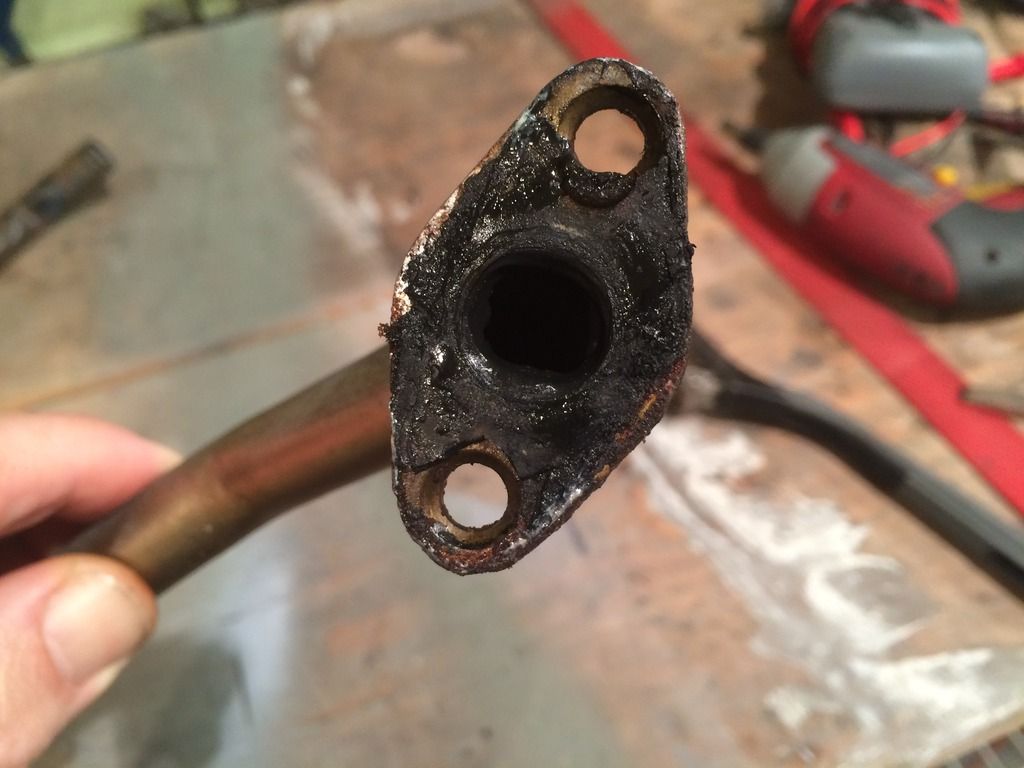
Drummond, did you check the core for leaks and/or clean out the interior? Nasty looking gunk on the outside. I put in a new core and had a heck of a time getting the old school rubber gaskets to seal well on the core. I finally got it all together and bubble tested it underwater before reinstalling.
Kirk
Re: 1980 spider Restoration phase 2
Posted: Sat Nov 26, 2016 8:58 pm
by DRUMMOND
Hi Klweimer
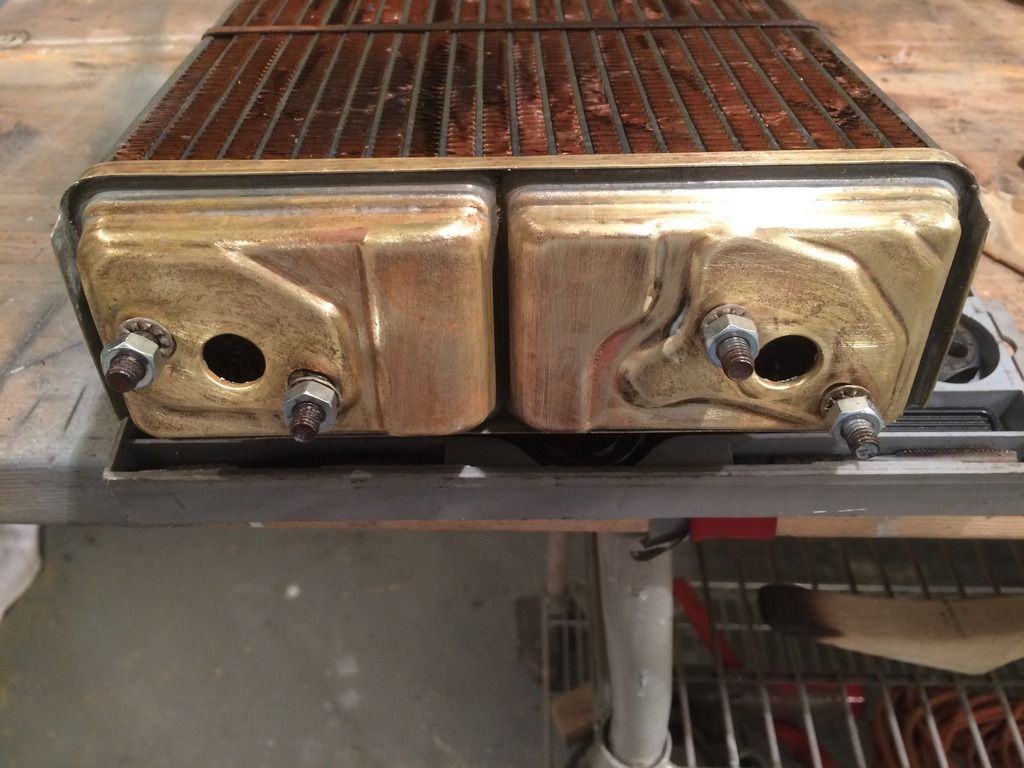
Surprisingly it was very clean inside, no junk other than what I disturbed taking the pipes and gaskets off. I did a light wash with Muratic acid and a wash with baking soda. all came out clean as a whistle. I have not pressure tested or installed it yet. this I will do before installation.
Re: 1980 spider Restoration phase 2
Posted: Sat Nov 26, 2016 9:22 pm
by DRUMMOND
Door window mechanism rehab, Related to slow window operation.
Drivers door window was a lot slower than the passengers side, when I took the parts apart to rehab them I found out why.
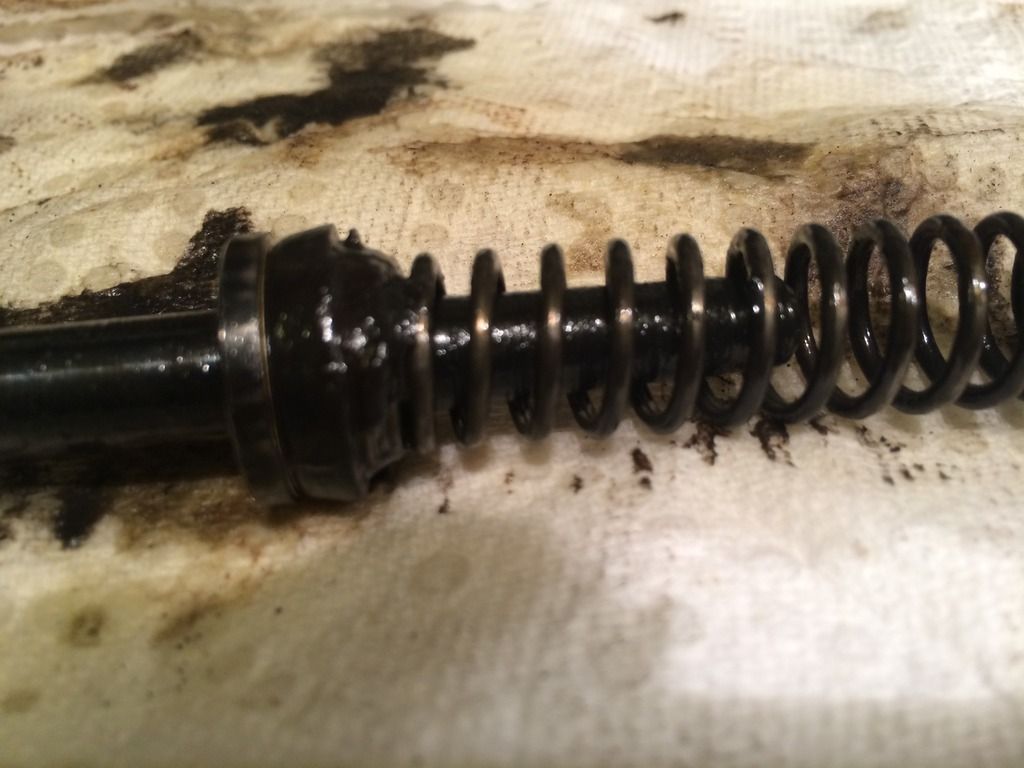
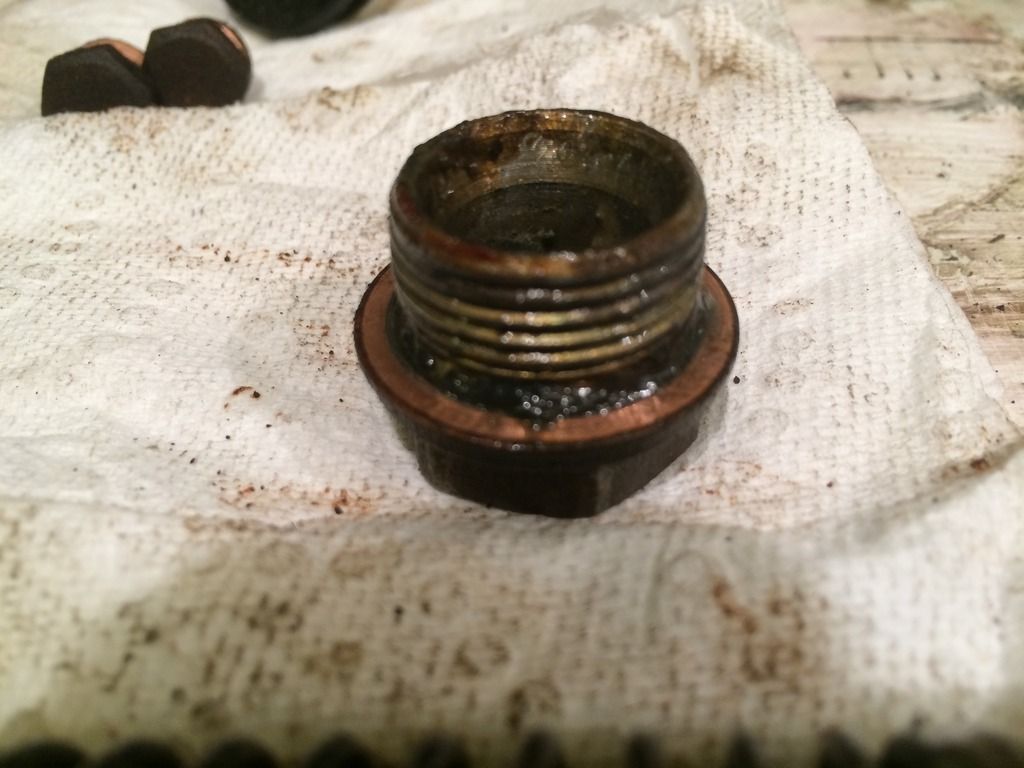
I am not sure why all these parts in the door were totally rusted But I figured either the door to window seal had perished or was missing for a few years or the window was always kept down? whatever it was made a mess of everything in the door. Photos follow
Rusted
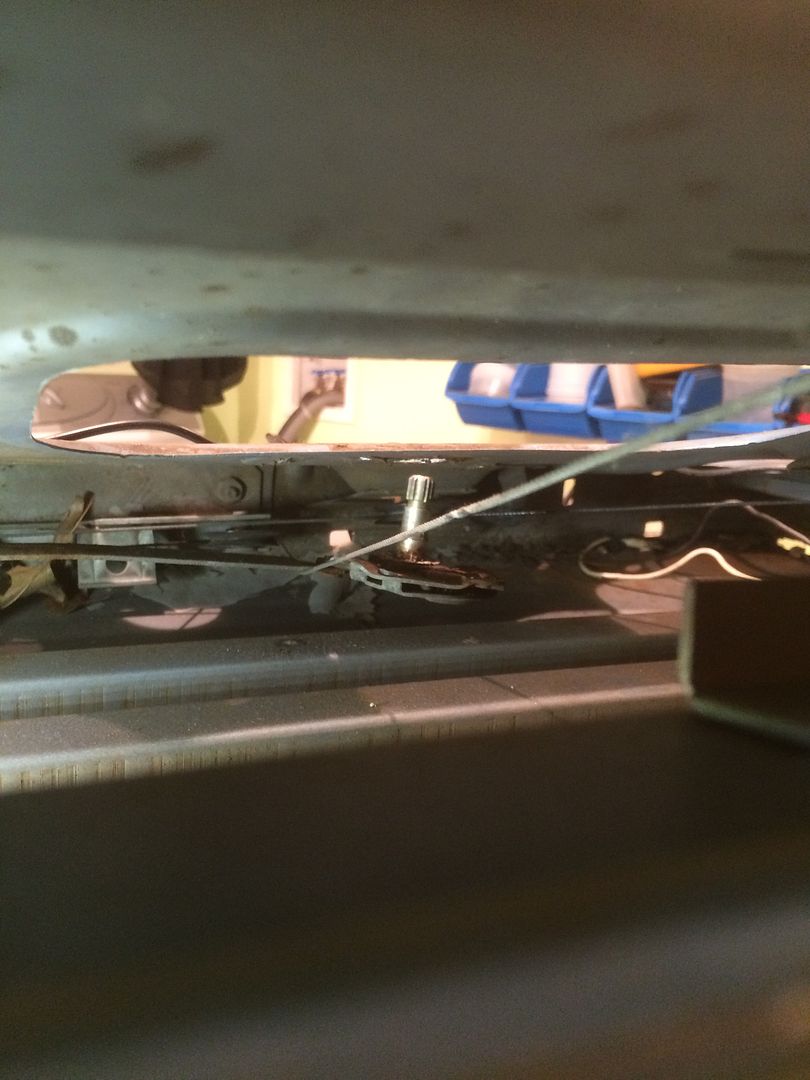
Rusted
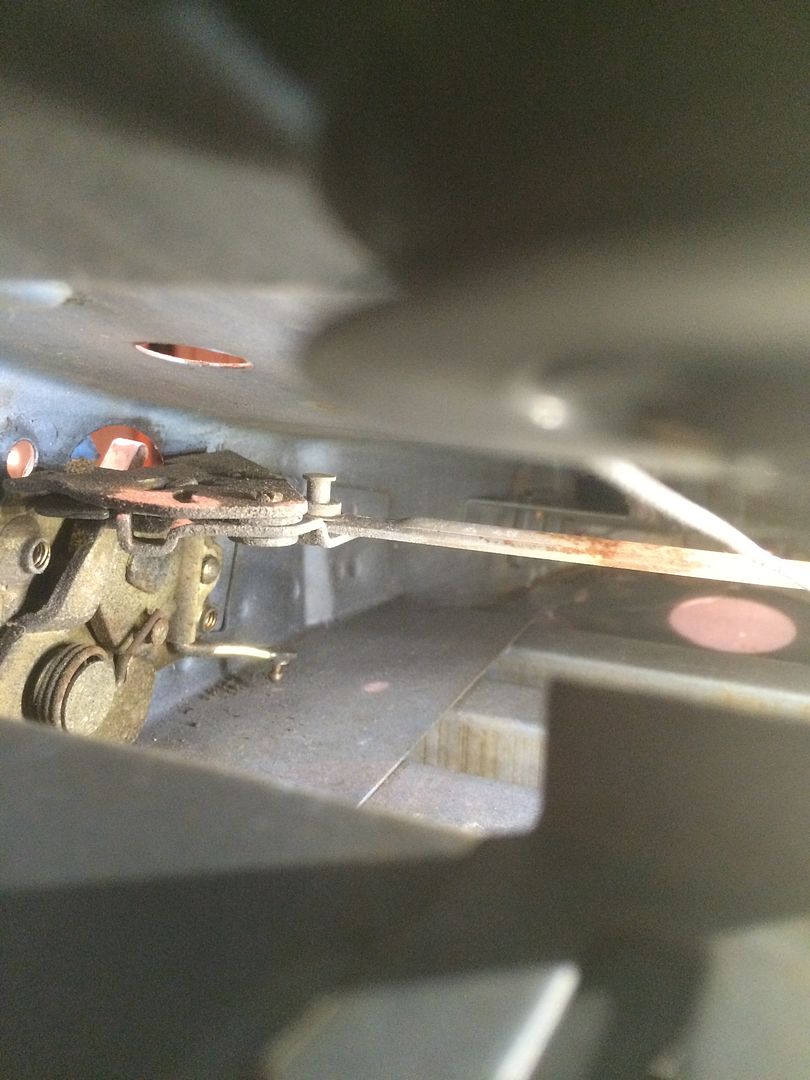
Surprisingly the motor and the cable were rust free?
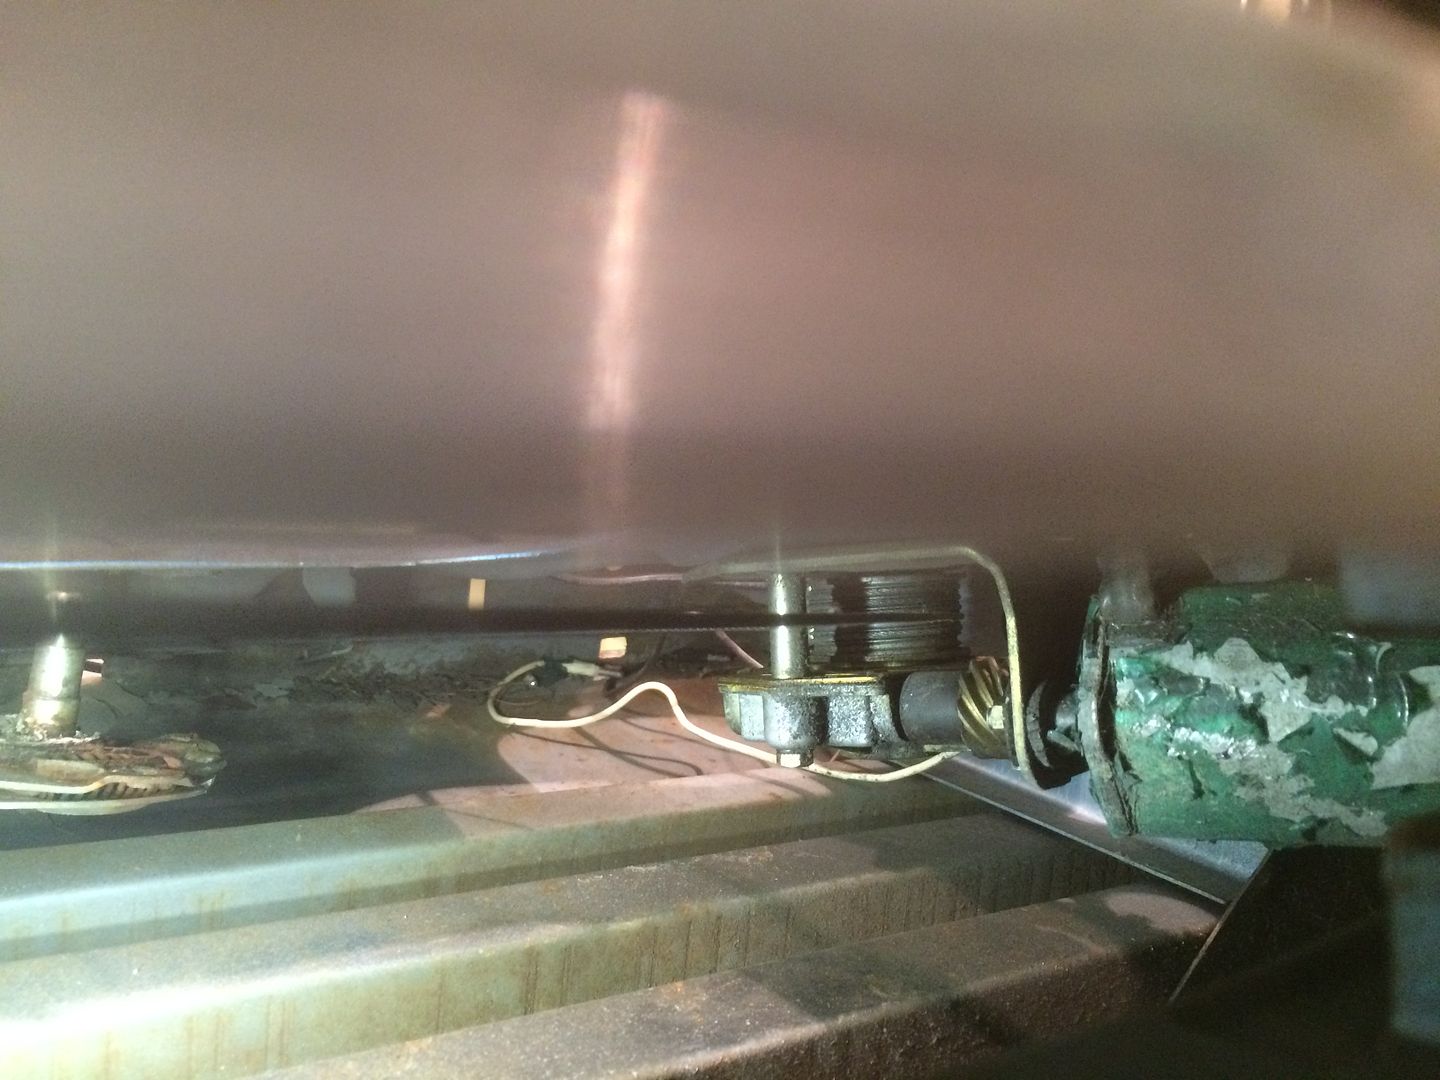
Rust
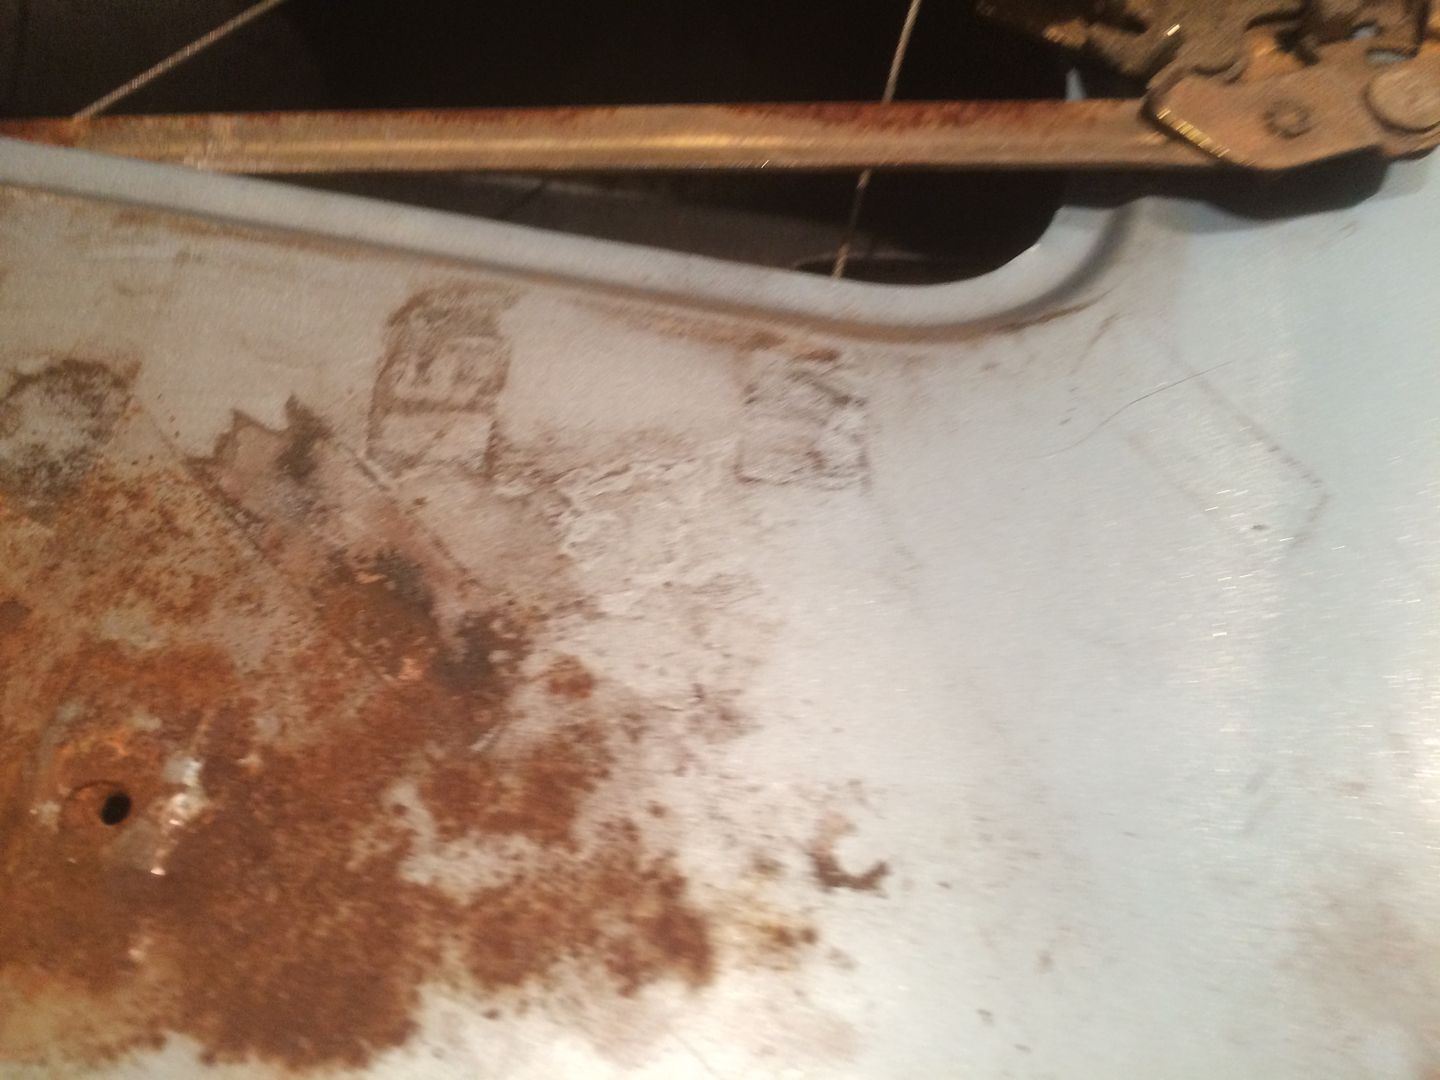
Rust e er
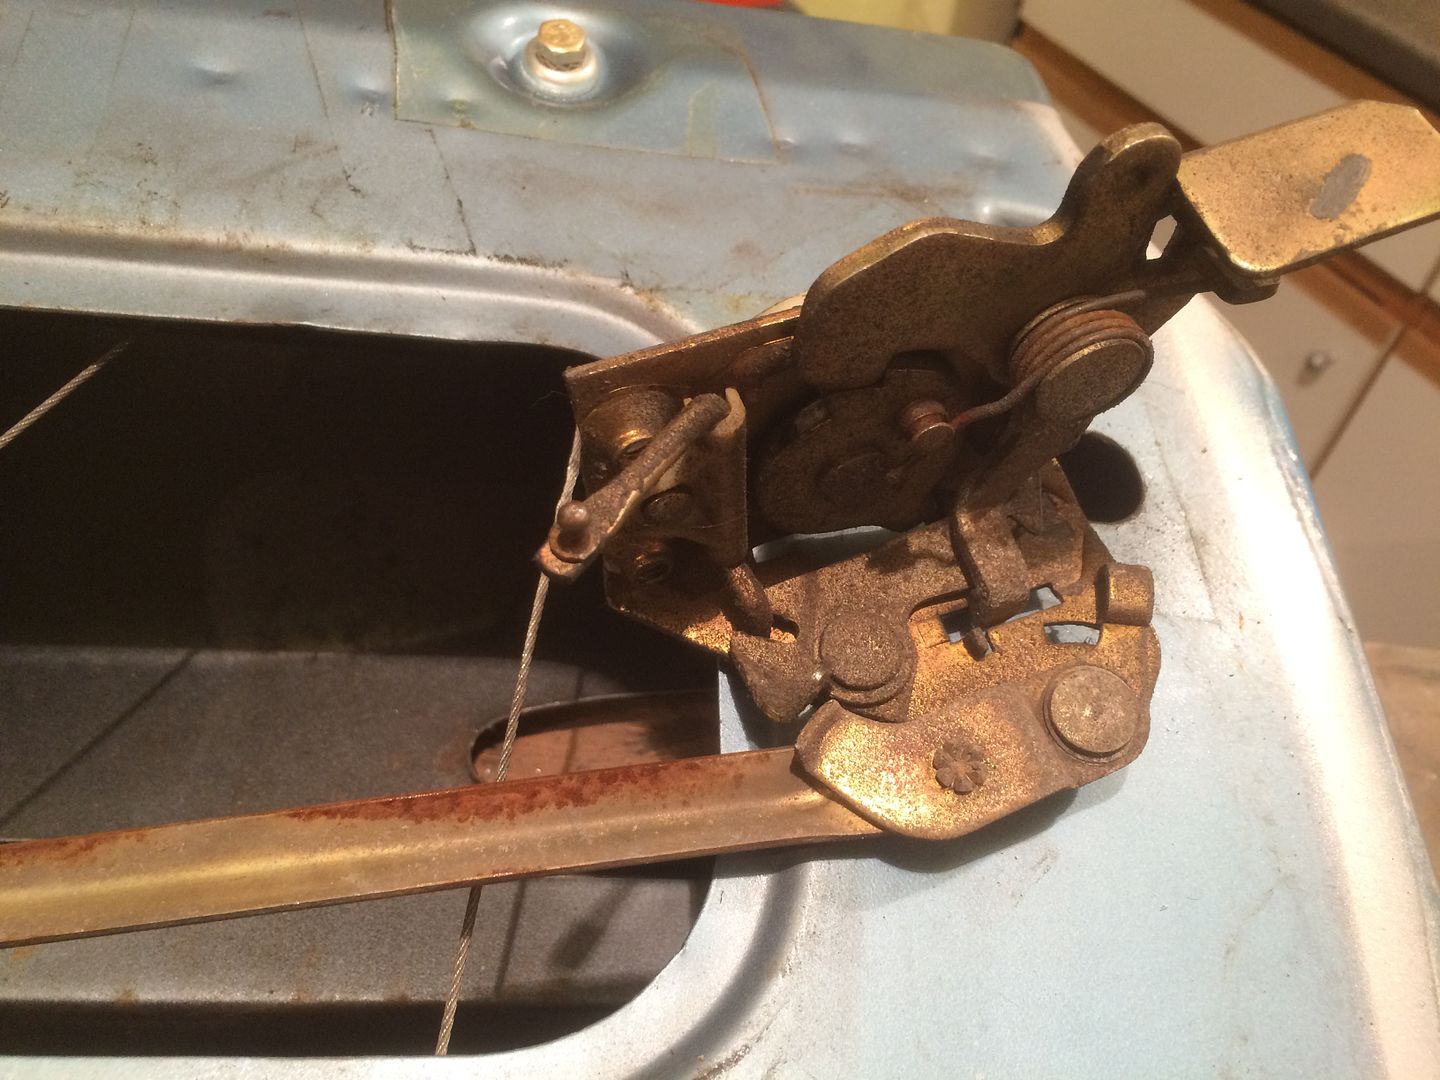
Rusting
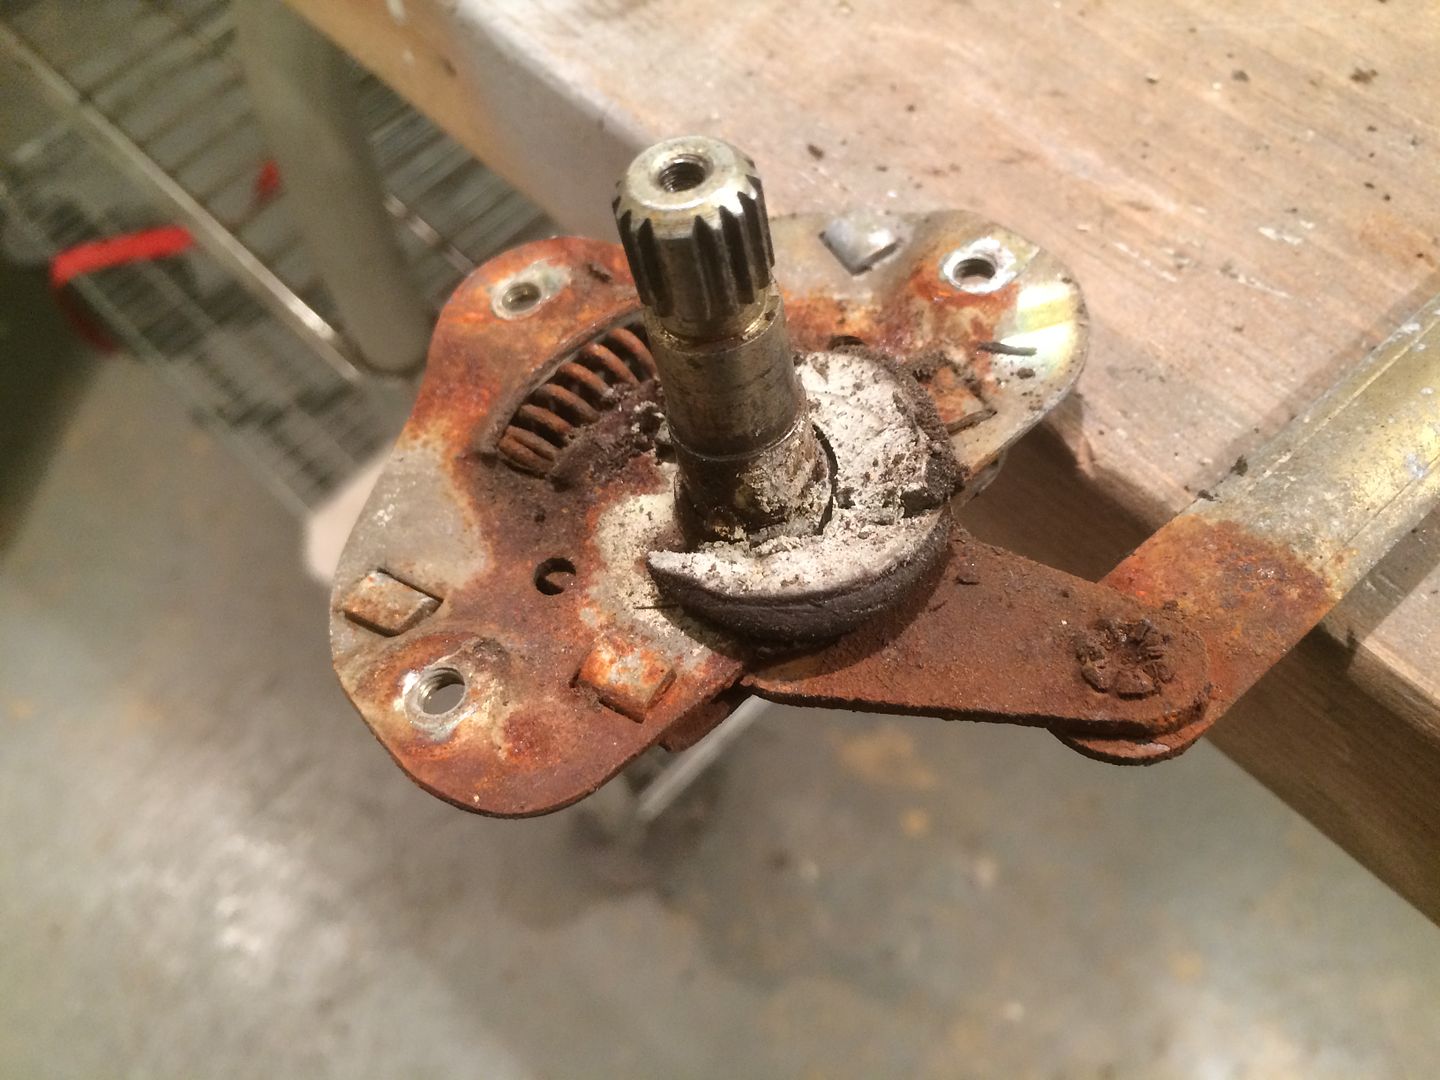
Do you think the motor got hot? from pushing against all that rust


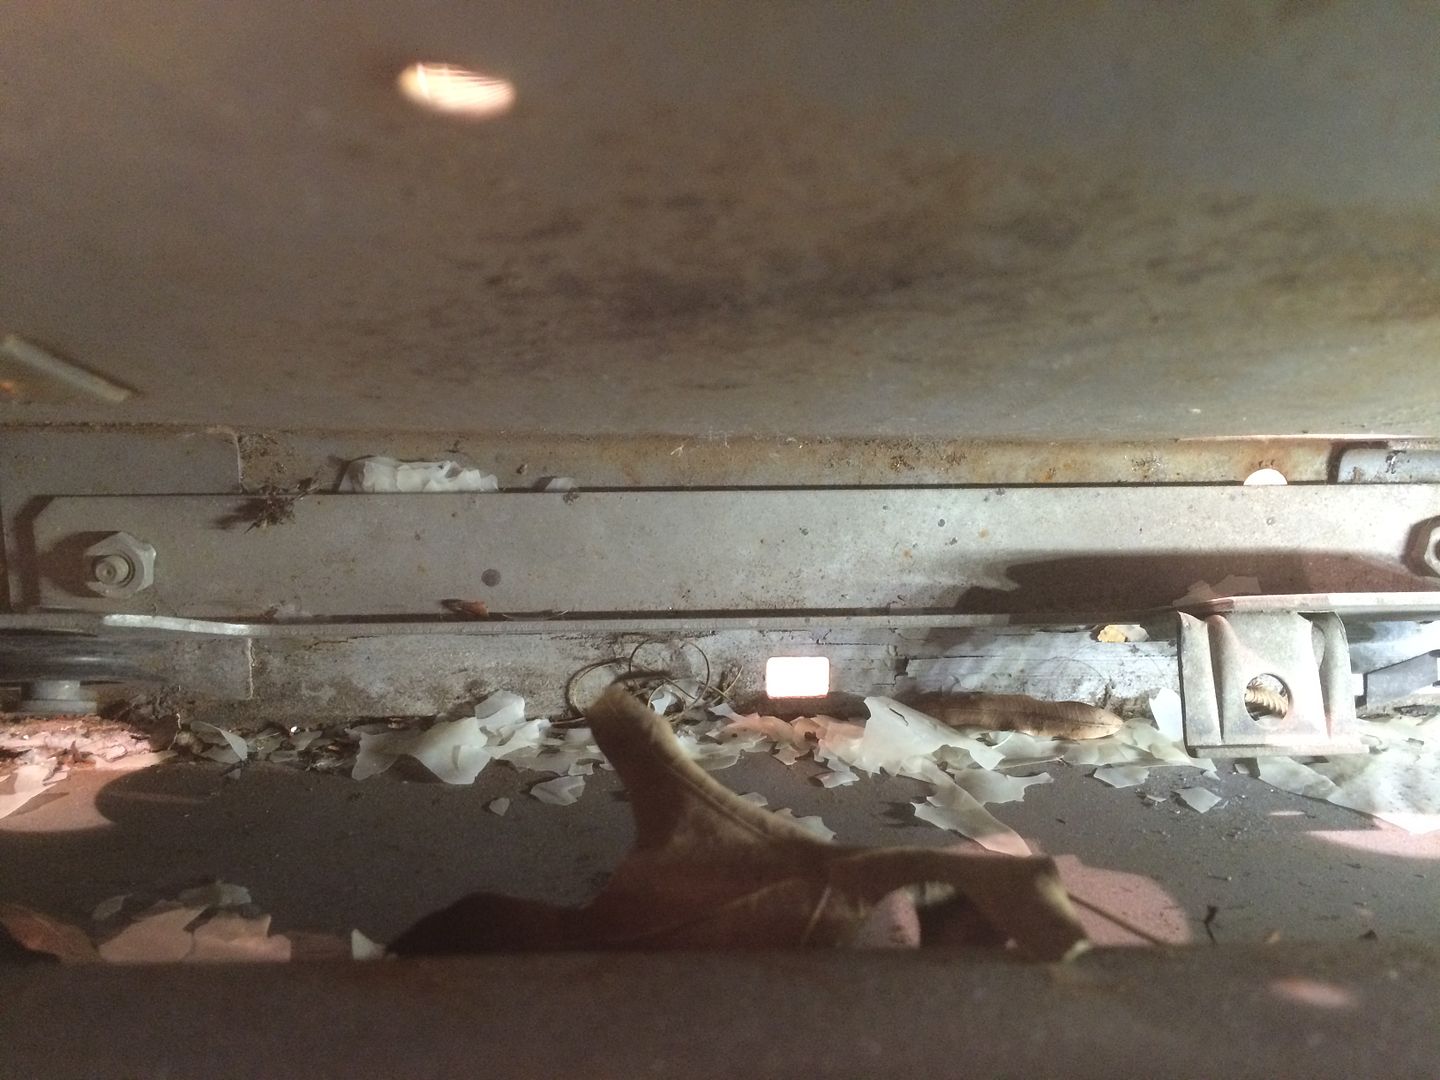
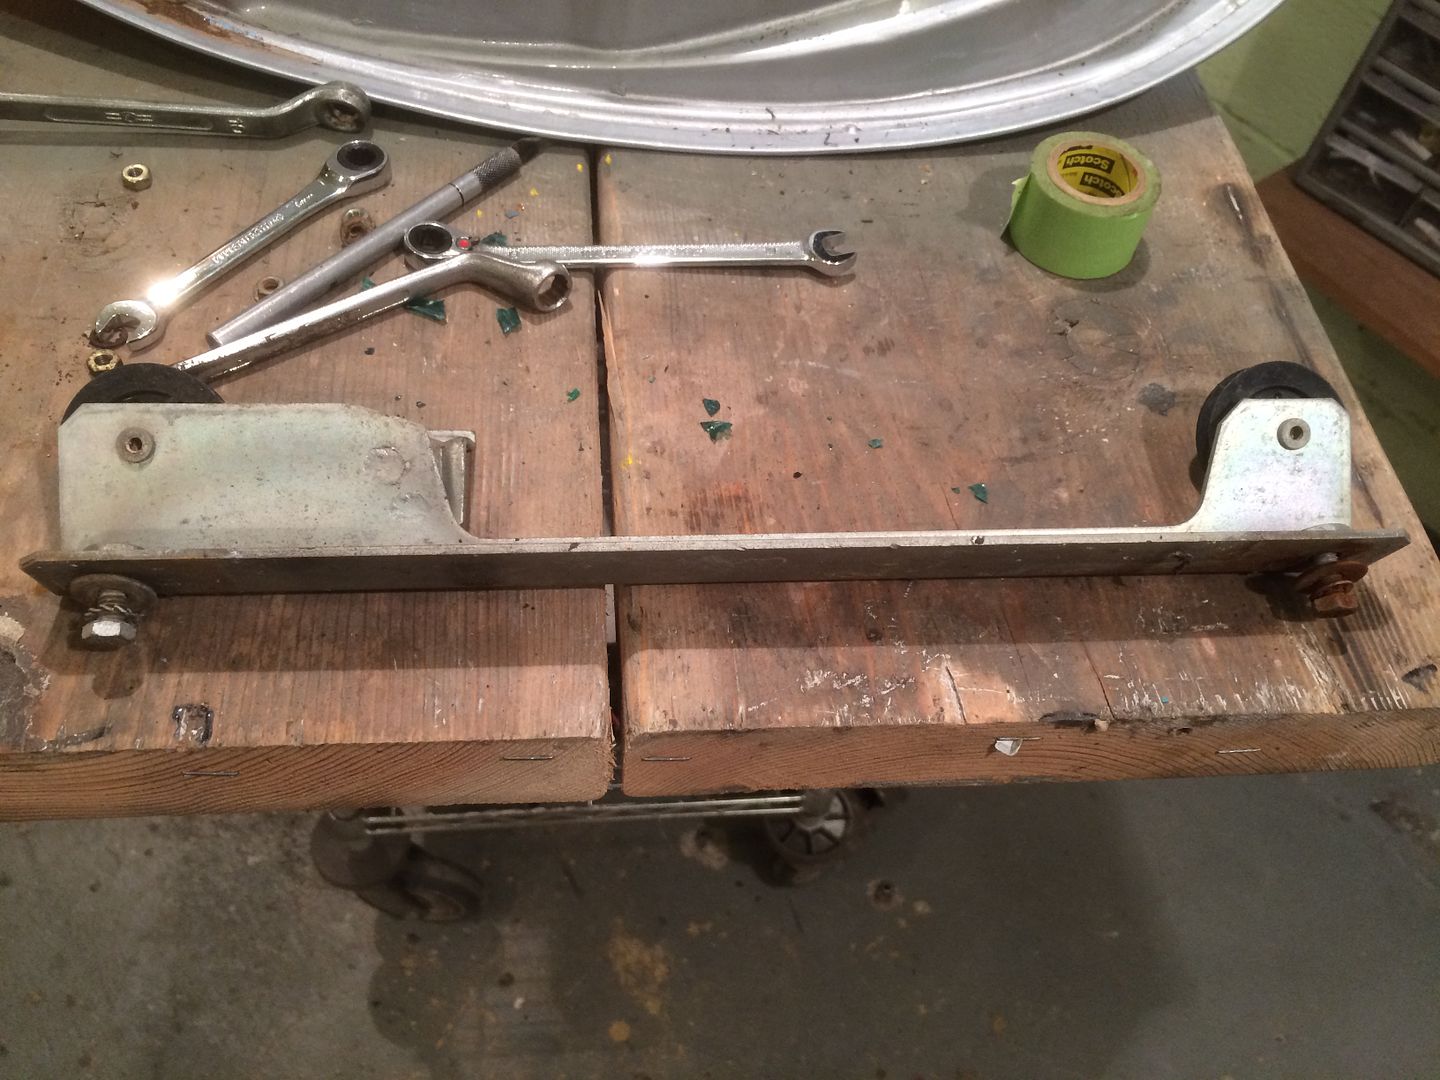
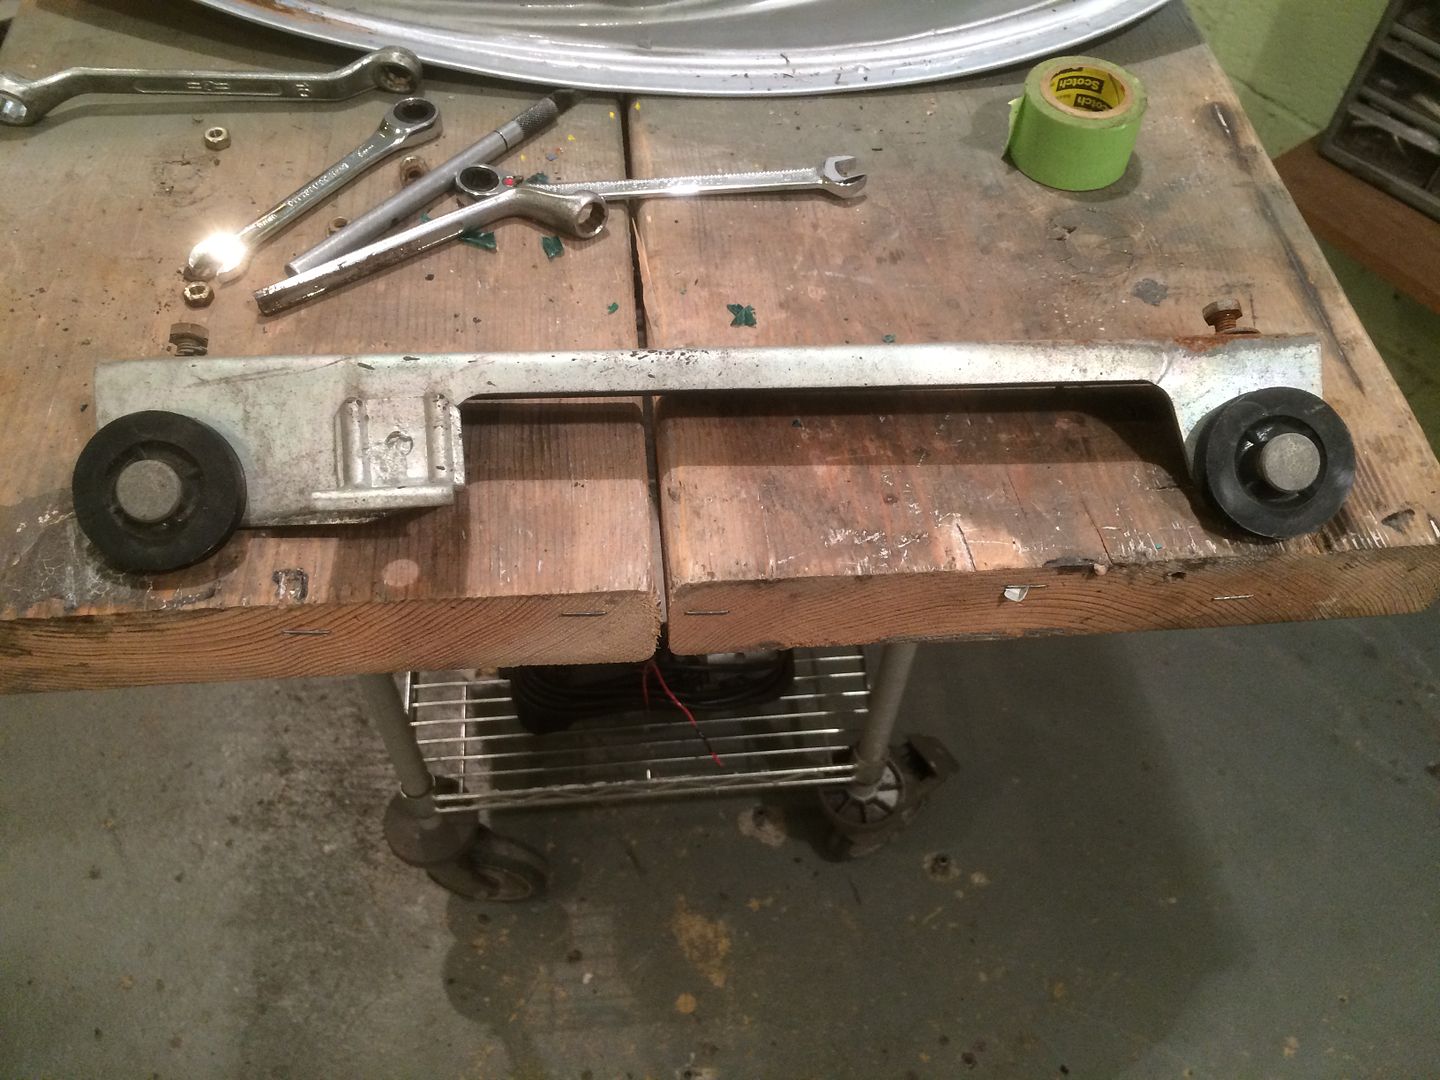
This puppy was totally seized!
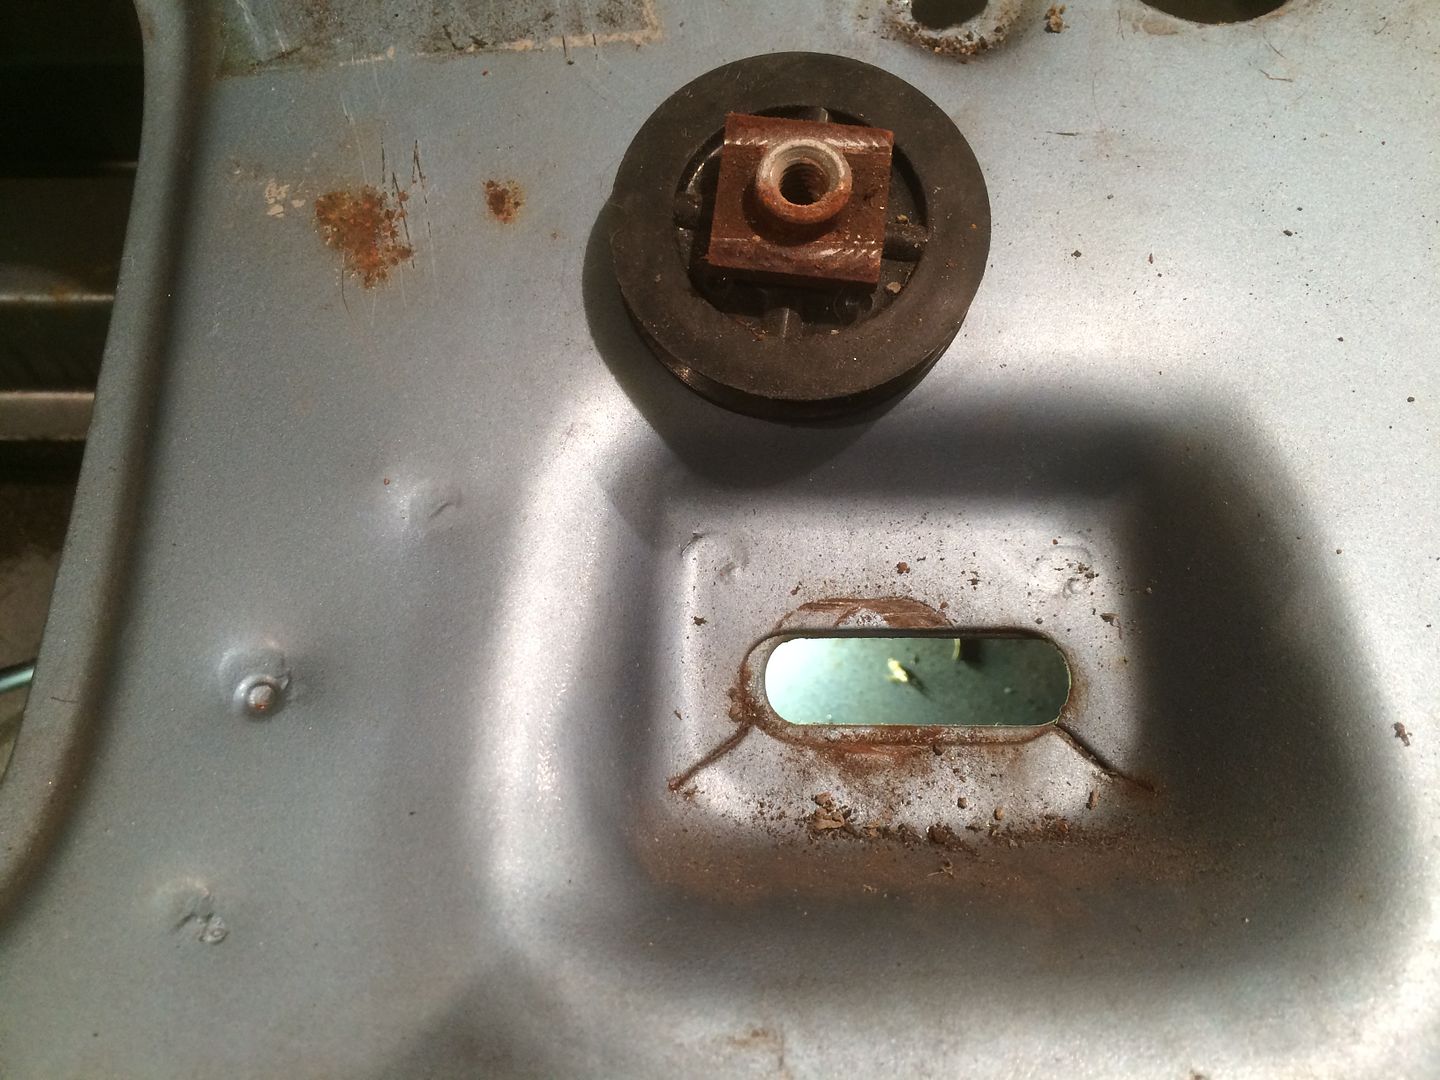
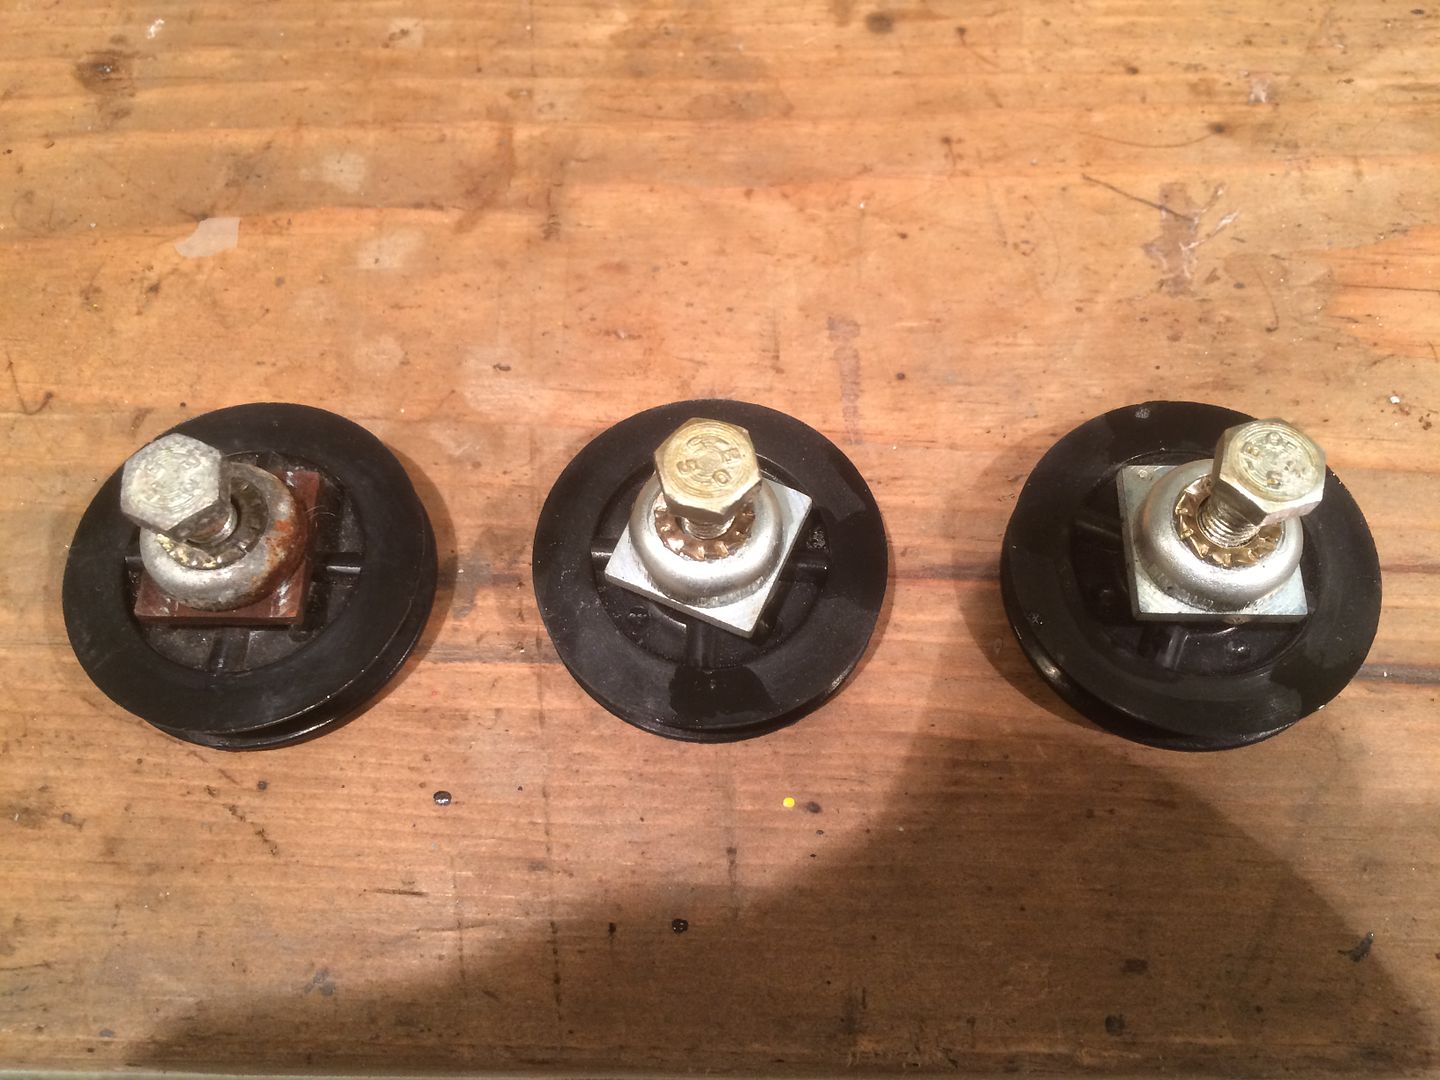
Left one did not move at all

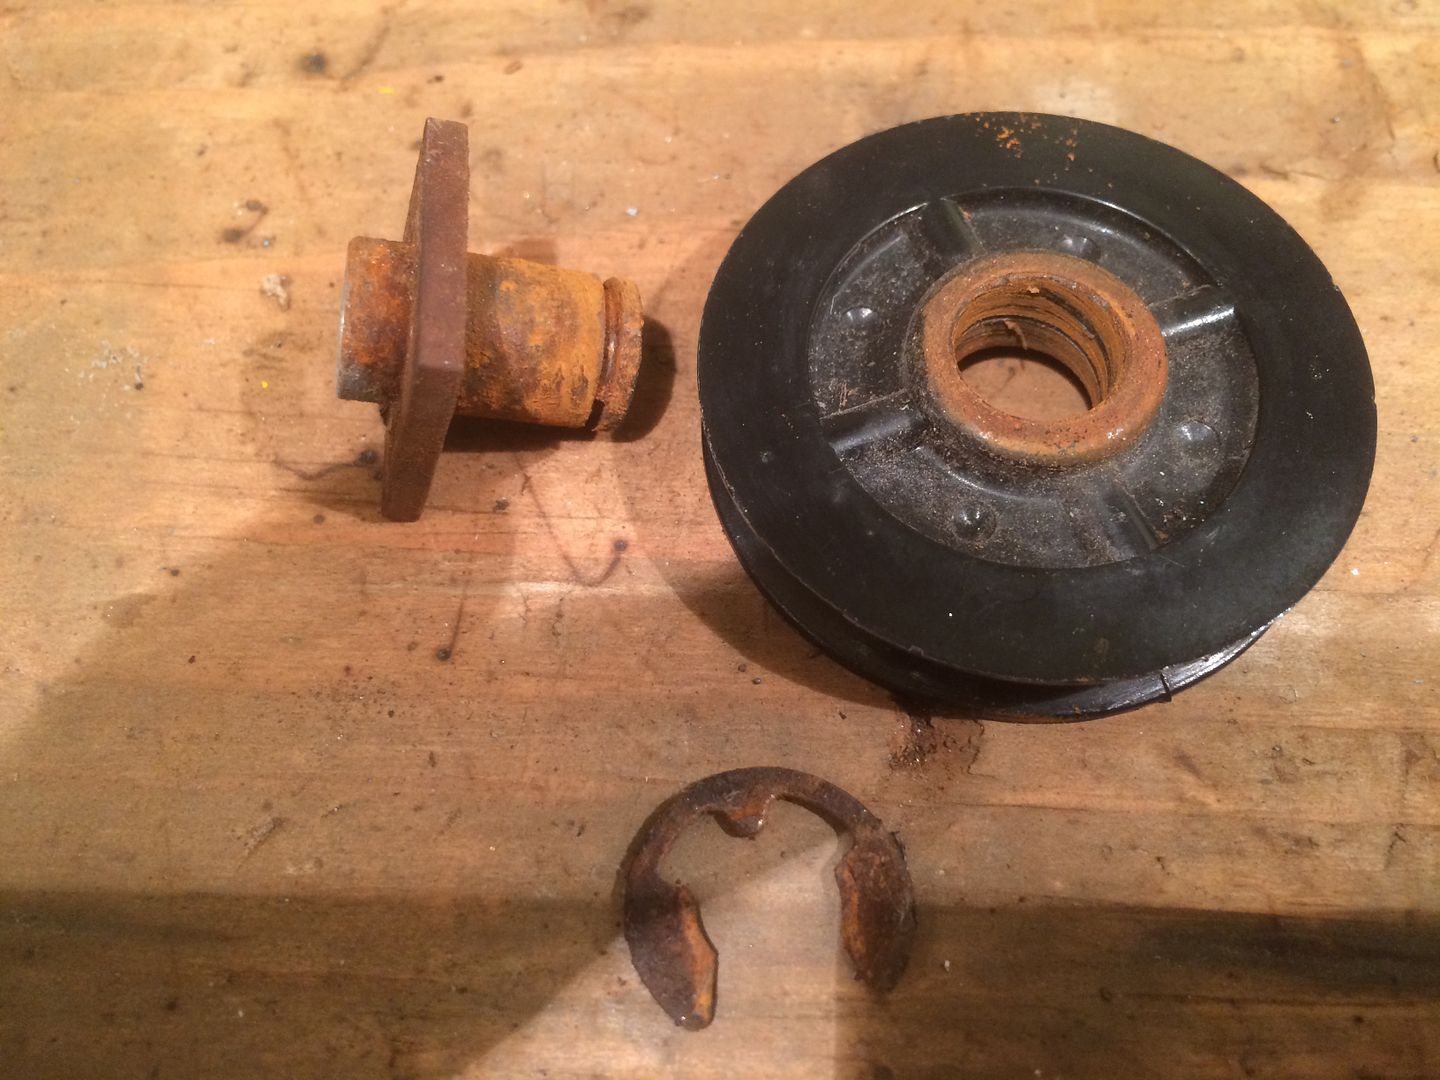
Rusty Bugger all cleaned up and loose. this was why the window went up and down slowly. Its a pain in the @@ to do but well worth it for both you and the motor. All new window guides were installed also


Re: 1980 spider Restoration phase 2
Posted: Mon Nov 28, 2016 10:26 pm
by DRUMMOND
Re: 1980 spider Restoration phase 2
Posted: Tue Nov 29, 2016 1:14 am
by So Cal Mark
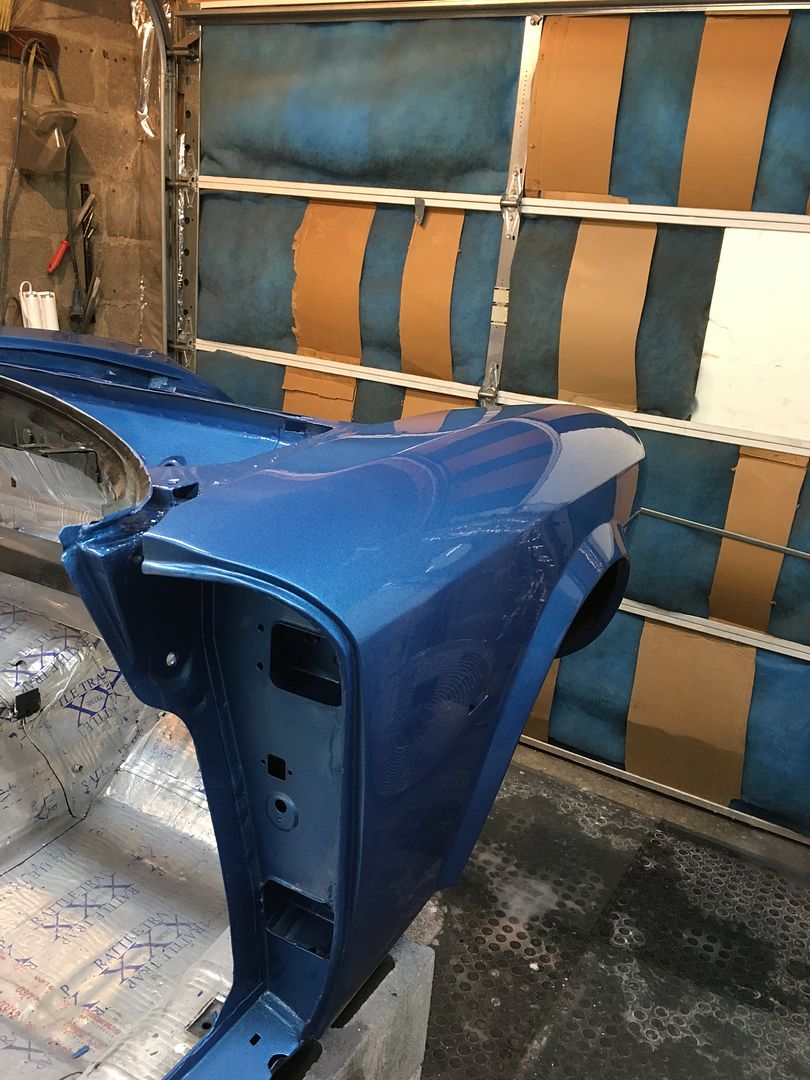
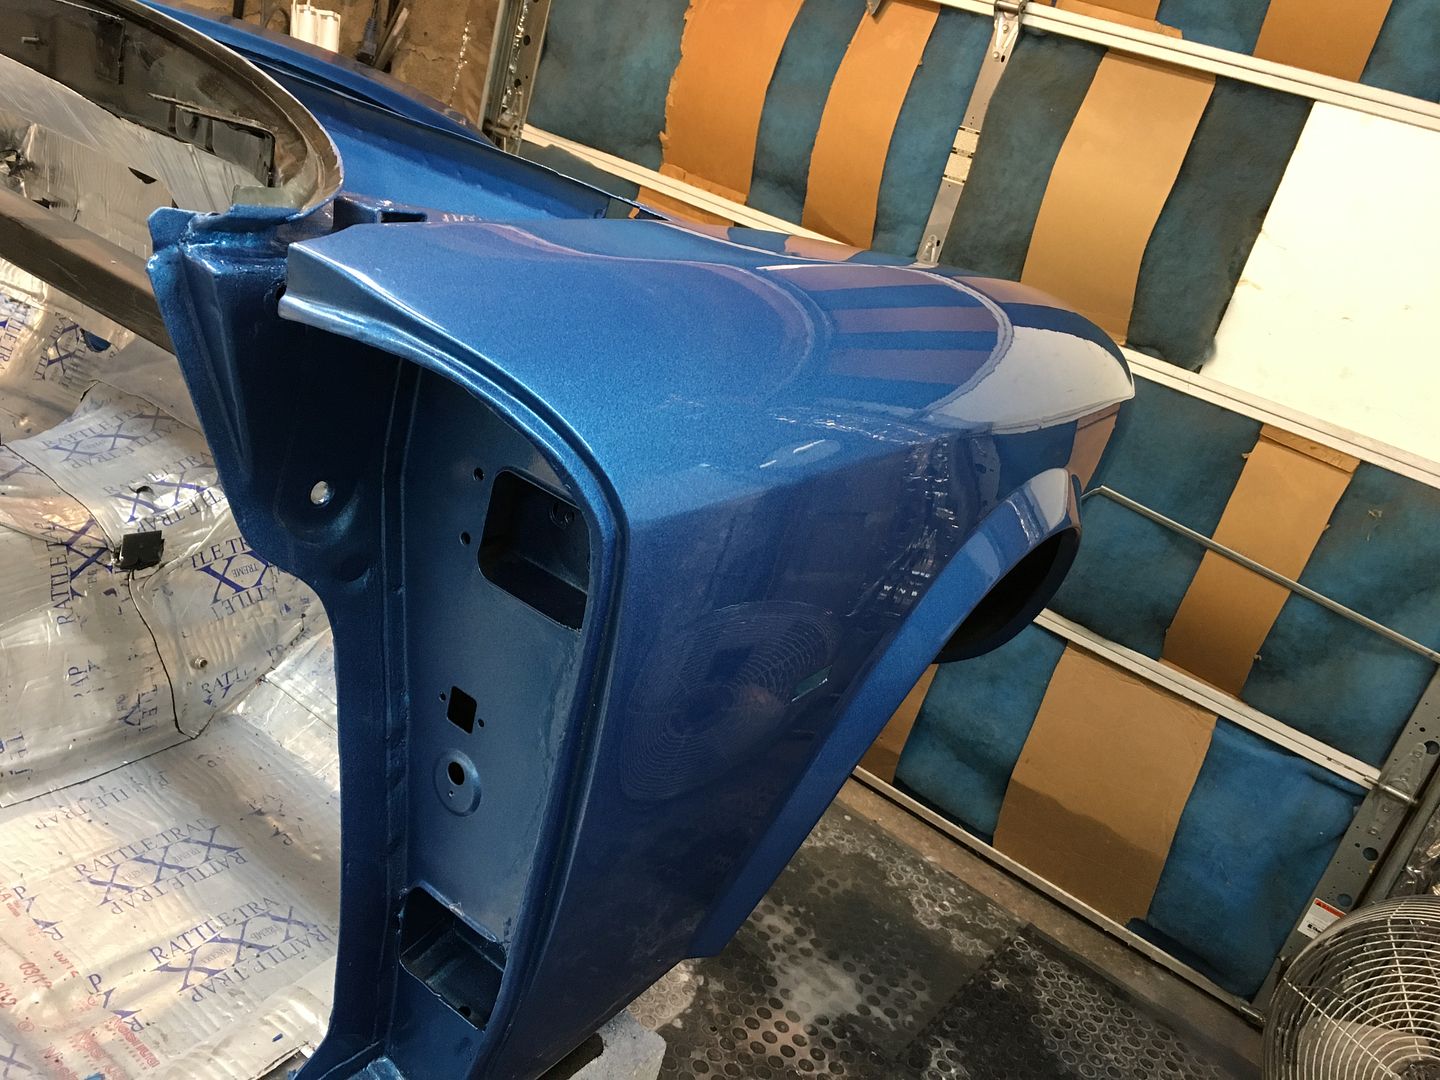
nice color
Re: 1980 spider Restoration phase 2
Posted: Tue Nov 29, 2016 3:51 pm
by seabeelt
Looks sharp!
Re: 1980 spider Restoration phase 2
Posted: Tue Nov 29, 2016 7:03 pm
by rjkoop
Love the paint! Can you provide anymore details on your process for painting? Did you build a home spray booth, what compressor, what gun? I'm still toying with the idea of painting my car at home but not sure what level of effort/setup/equipment is required.
Richard
Re: 1980 spider Restoration phase 2
Posted: Thu Dec 01, 2016 11:04 pm
by DRUMMOND
Hi rjkoop
Some info. Let me know if you need more detail
I have a 150psi 6 hp craftsman compressor with with a water trap , oil trap and pressure regulators (3) about $400 total (the compressor is 8 years old)
3 adp hvlp spray guns with 1.8 1.4 1.0 spray tips. In order of Primer, Base coat/clear coat. Crevice application for all 3 paint types $110
A 2 gun holder rack. Aircraft fitting air hose. Paint vapor mask, covered body paint coverall. $110
I use low voc paint. 1 x gall high build primer $120 1 x Gall Primer Surfacer 1.5 gall Base paint, $255 1.5 gall Clear coat $185
This amount of paint will cover all the bodywork from bare metal. (engine bay+ hood/trunk + Lid) less if you start from original paint
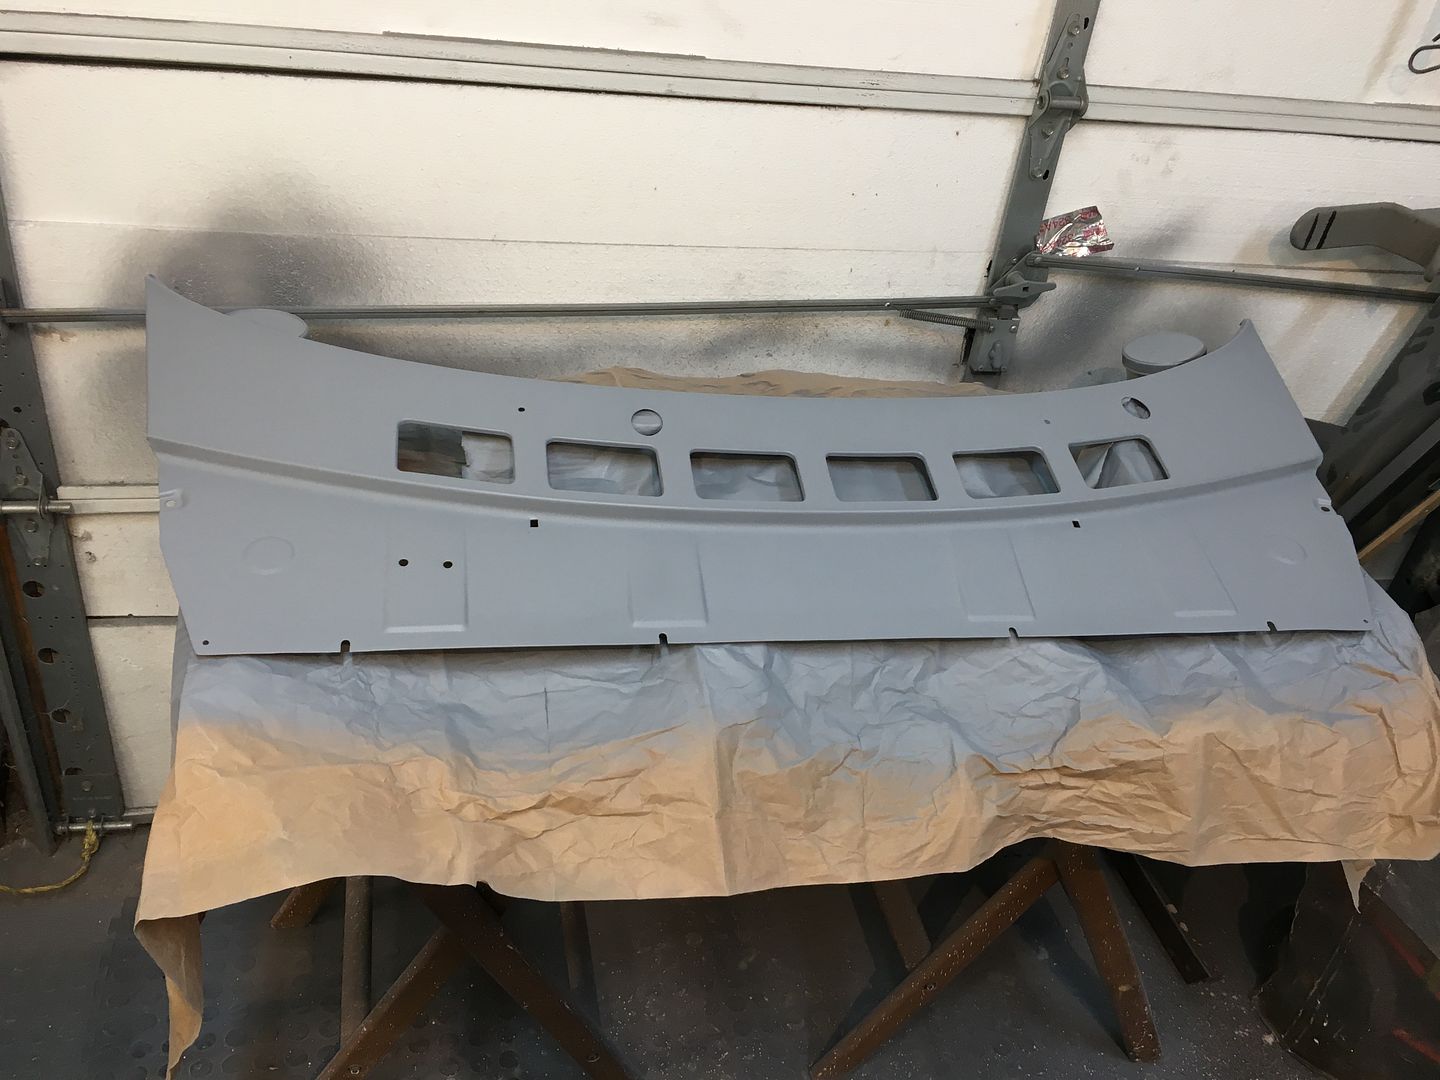
I set up plastic sheeting on the ceiling. I have a chimney vent which has a air filter over it for incoming air and i have the garage door open 1/4 with two extraction fans blowing out. not the perfect setup but it works for me.
Re: 1980 spider Restoration phase 2
Posted: Fri Dec 02, 2016 6:55 am
by rjkoop
DRUMMOND wrote:Hi rjkoop
Some info. Let me know if you need more detail
I have a 150psi 6 hp craftsman compressor with with a water trap , oil trap and pressure regulators (3) about $400 total (the compressor is 8 years old)
3 adp hvlp spray guns with 1.8 1.4 1.0 spray tips. In order of Primer, Base coat/clear coat. Crevice application for all 3 paint types $110
A 2 gun holder rack. Aircraft fitting air hose. Paint vapor mask, covered body paint coverall. $110
I use low voc paint. 1 x gall high build primer $120 1 x Gall Primer Surfacer 1.5 gall Base paint, $255 1.5 gall Clear coat $185
This amount of paint will cover all the bodywork from bare metal. (engine bay+ hood/trunk + Lid) less if you start from original paint
I set up plastic sheeting on the ceiling. I have a chimney vent which has a air filter over it for incoming air and i have the garage door open 1/4 with two extraction fans blowing out. not the perfect setup but it works for me.
And that's why I love these forums...!

Thanks for the great info.
Richard
Re: 1980 spider Restoration phase 2
Posted: Mon Dec 19, 2016 9:22 pm
by DRUMMOND
Re: 1980 spider Restoration phase 2
Posted: Mon Dec 19, 2016 9:38 pm
by DRUMMOND
Re: 1980 spider Restoration phase 2
Posted: Tue Dec 20, 2016 5:26 am
by RRoller123
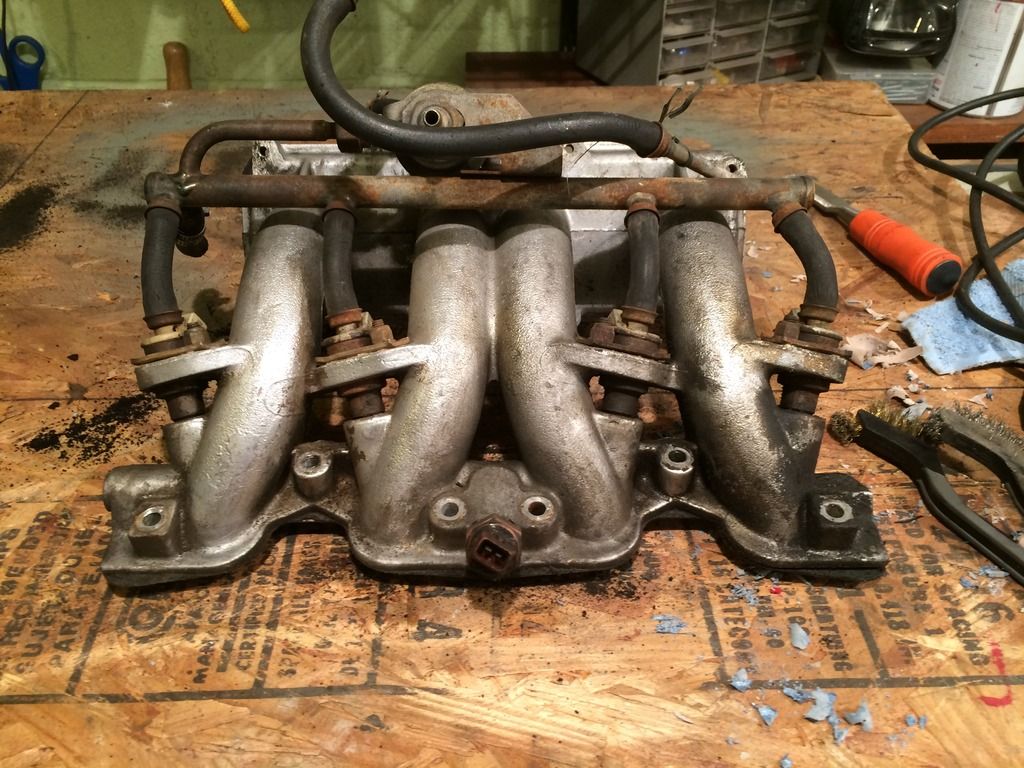
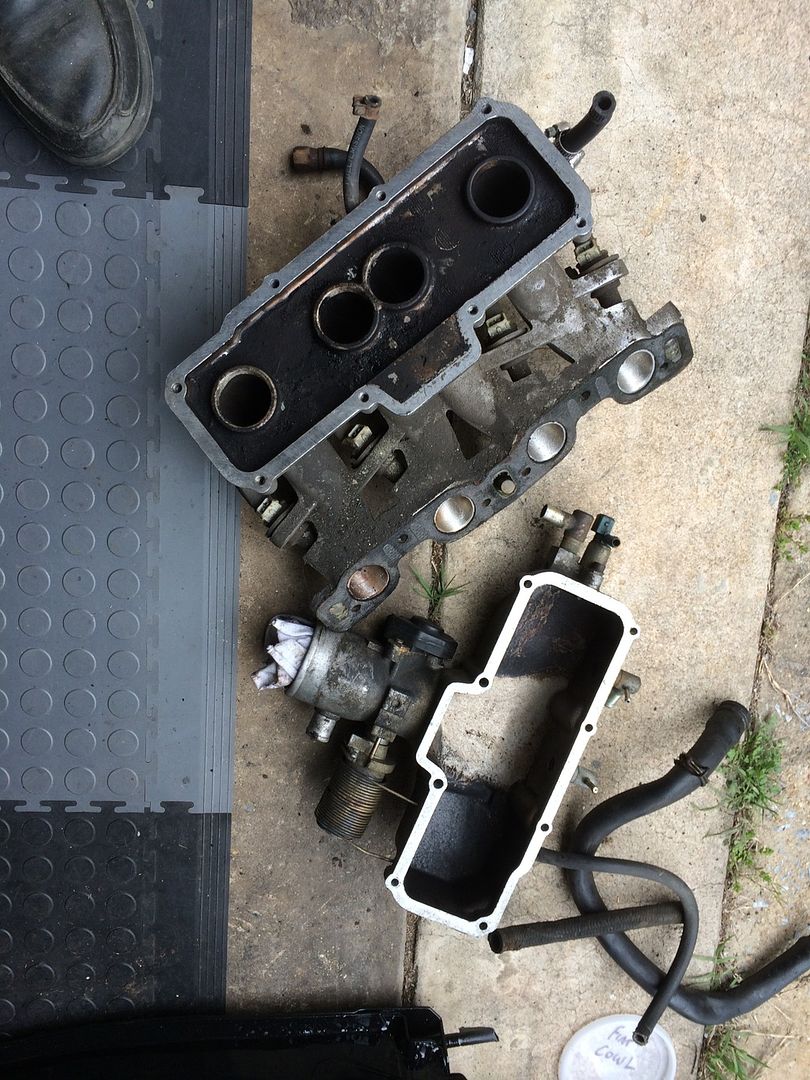
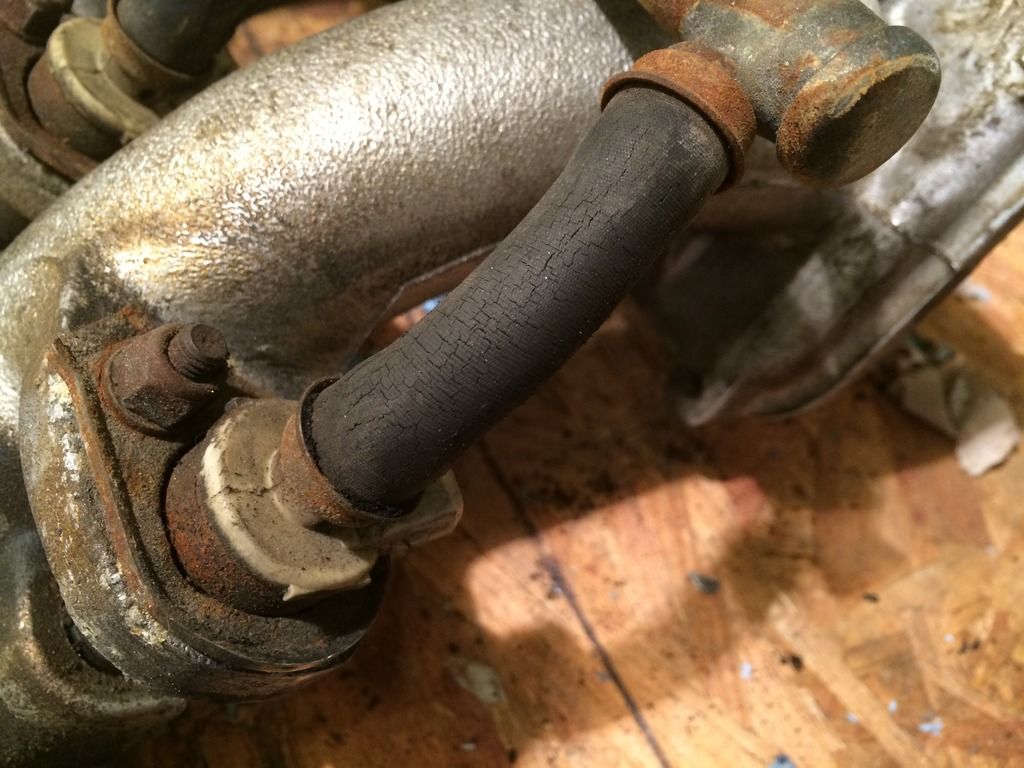
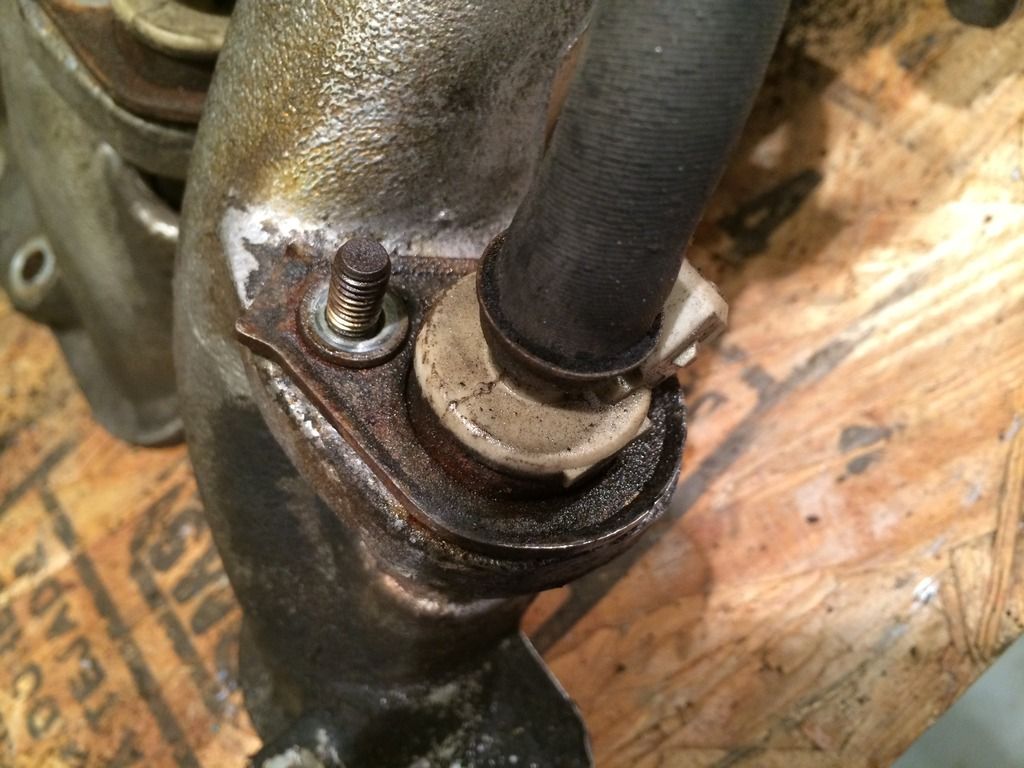
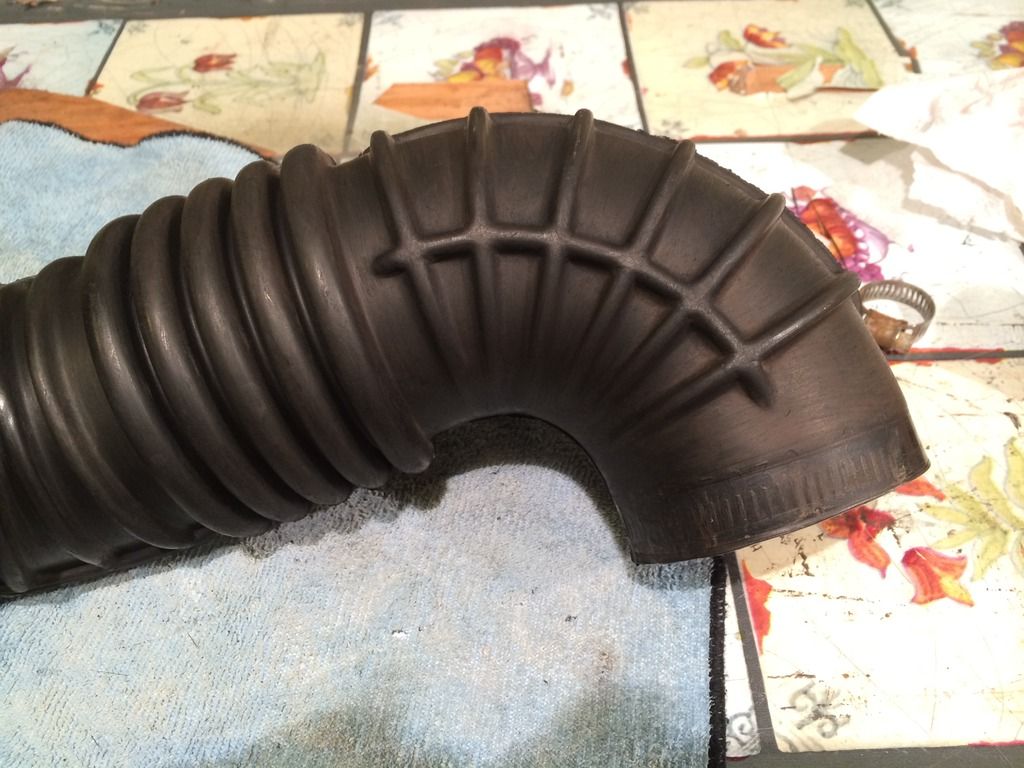
Nice work! That looks very familiar, good to see that they may look the same inside as mine did too. Are those new hose compression clamps, or were you able to reuse the originals?

