New Pininfarina "f" Side Emblems - Install tips
Posted: Tue Oct 11, 2011 3:32 am
Just finished another part of my restoration on my 1978 Spider 124. It's been a lot of fun so far - replaced my clock the other day too - all these little things really start adding to fun and enjoyment of owning a Spider. New muffler tomorrow! Anyways - here are some pics and a description of the project. Kinda grainy pics taken with old iphone so bear with me.
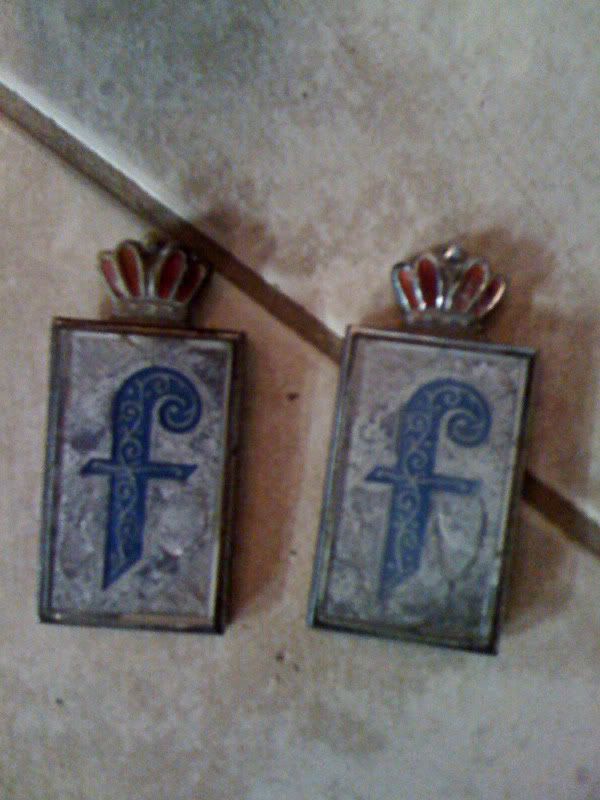
Old side emblems:

I did love the red in the crowns and wish I could have found some with the qualities of the new ones I found in metal & that also had the red in the crowns....of course then that would have just been another thing to wear off over time....anyways here are....
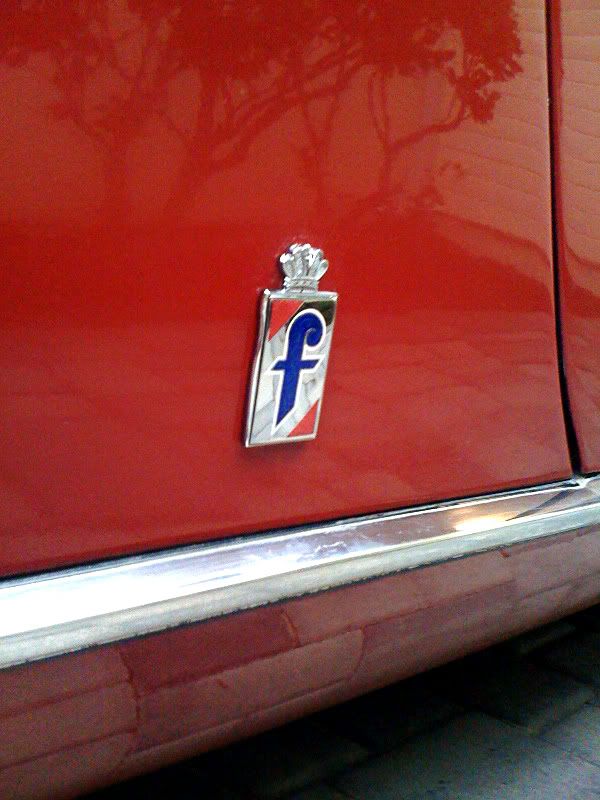
New side emblems:

My car had been previously painted in '95 long before it was mine. I believe it was at this time that either new plastic "f" side emblems were installed - or the old ones were re-installed using double sided tape. I'm glad they were not bolted on - as it made replacement much easier. Those of you who have to deal with unbolting them.....I'm sorry for you!
Here are the supplies I used:

What I did:
- wiggle and coerce gently the old emblems off, pulling a little slowly as to make sure no paint was coming up
- get all the leftover tape, dirt and sticky stuff off with GOO GONE
- make sure car is clean & you are not rubbing dirt around as you do this
- once all the sticker is off and the car is CLEAN then you can reapply.
The new emblems I got are metal, very sturdy and fairly authentic, but I'm not an expert!!! They are from Auto Ricambi and are #RE3-184 press on style.
- on a clean surface of the back of emblem cover with silicone glue
- indent should be filled & applied fairly even
- clean off sides & press into holes on car and until emblem is secure
- wipe off excess glue with goo gone until car, emblem, and sides are clean & tidy
The reason I chose the silicone glue over using tape, or buying gaskets and bolting the emblems back on is because it is easy, and no water can lurk underneath creating rust. By coating the whole back with the silicone you are sealing it off & making no room for water or dirt to get in. It's like really well applied caulking in your shower - it keeps things out!
Voila! You are finished.....let cure & they are ready for action. Here is a pic of my car - next cosmetic fix up will be the rims - dreaming up low cost alternatives to getting new rims. Most likely will clean, steel wool & get paint ready the inner rims - & paint an old vintage white with auto paint. Then I'll put back on the chrome hubcaps that are in excellent shape possibly adding an inner medallion in the center if I can find 4 nice ones - or just leave as is.


Old side emblems:

I did love the red in the crowns and wish I could have found some with the qualities of the new ones I found in metal & that also had the red in the crowns....of course then that would have just been another thing to wear off over time....anyways here are....
New side emblems:

My car had been previously painted in '95 long before it was mine. I believe it was at this time that either new plastic "f" side emblems were installed - or the old ones were re-installed using double sided tape. I'm glad they were not bolted on - as it made replacement much easier. Those of you who have to deal with unbolting them.....I'm sorry for you!
Here are the supplies I used:

What I did:
- wiggle and coerce gently the old emblems off, pulling a little slowly as to make sure no paint was coming up
- get all the leftover tape, dirt and sticky stuff off with GOO GONE
- make sure car is clean & you are not rubbing dirt around as you do this
- once all the sticker is off and the car is CLEAN then you can reapply.
The new emblems I got are metal, very sturdy and fairly authentic, but I'm not an expert!!! They are from Auto Ricambi and are #RE3-184 press on style.
- on a clean surface of the back of emblem cover with silicone glue
- indent should be filled & applied fairly even
- clean off sides & press into holes on car and until emblem is secure
- wipe off excess glue with goo gone until car, emblem, and sides are clean & tidy
The reason I chose the silicone glue over using tape, or buying gaskets and bolting the emblems back on is because it is easy, and no water can lurk underneath creating rust. By coating the whole back with the silicone you are sealing it off & making no room for water or dirt to get in. It's like really well applied caulking in your shower - it keeps things out!
Voila! You are finished.....let cure & they are ready for action. Here is a pic of my car - next cosmetic fix up will be the rims - dreaming up low cost alternatives to getting new rims. Most likely will clean, steel wool & get paint ready the inner rims - & paint an old vintage white with auto paint. Then I'll put back on the chrome hubcaps that are in excellent shape possibly adding an inner medallion in the center if I can find 4 nice ones - or just leave as is.
